

Install & Activate the Plugin
This page walks through installing BuddyPress Contact Me and reaching its admin screen for the first time.
Requirements
Section titled “Requirements”| Requirement | Minimum | Tested |
|---|---|---|
| WordPress | 6.0 | 6.9 |
| PHP | 7.4 | 8.4 |
| BuddyPress | 12.0 | 14.x |
The BuddyPress Notifications component must be active if you want in-site notification bell entries — email notifications work without it.
Install via WordPress admin
Section titled “Install via WordPress admin”- Go to Plugins → Add New.
- Click Upload Plugin and choose the ZIP you downloaded from your Wbcom Designs account.
- Click Install Now, then Activate Plugin.
After activation, WordPress redirects you to the Contact Me admin screen automatically.
Install via FTP
Section titled “Install via FTP”- Unzip the plugin archive on your computer. You will get a folder named
buddypress-contact-me. - Upload the folder to
/wp-content/plugins/on your server. - Go to Plugins → Installed Plugins and click Activate under “Wbcom Designs - BuddyPress Contact Me”.
Install via WP-CLI
Section titled “Install via WP-CLI”wp plugin install /path/to/buddypress-contact-me.zip --activateWhat happens on activation
Section titled “What happens on activation”The activator runs once and does the following:
- Creates the
{prefix}contact_metable that stores all submitted messages. - Stores the current plugin version in the
buddypress_contact_me_db_versionoption. - Sets every existing user’s
contact_me_buttonuser-meta toon, so existing members default to “accepting contact”. - Installs a BuddyPress email post of type
bcm-contact-messageso notifications render through the BuddyPress email template. Once you edit that email from Dashboard → Emails, the plugin will not overwrite your changes on future upgrades.
Find the admin screen
Section titled “Find the admin screen”Wbcom plugins share a single top-level WordPress menu called WB Plugins. After activation:
- Open WB Plugins in the sidebar.
- Click Contact Me in the submenu.
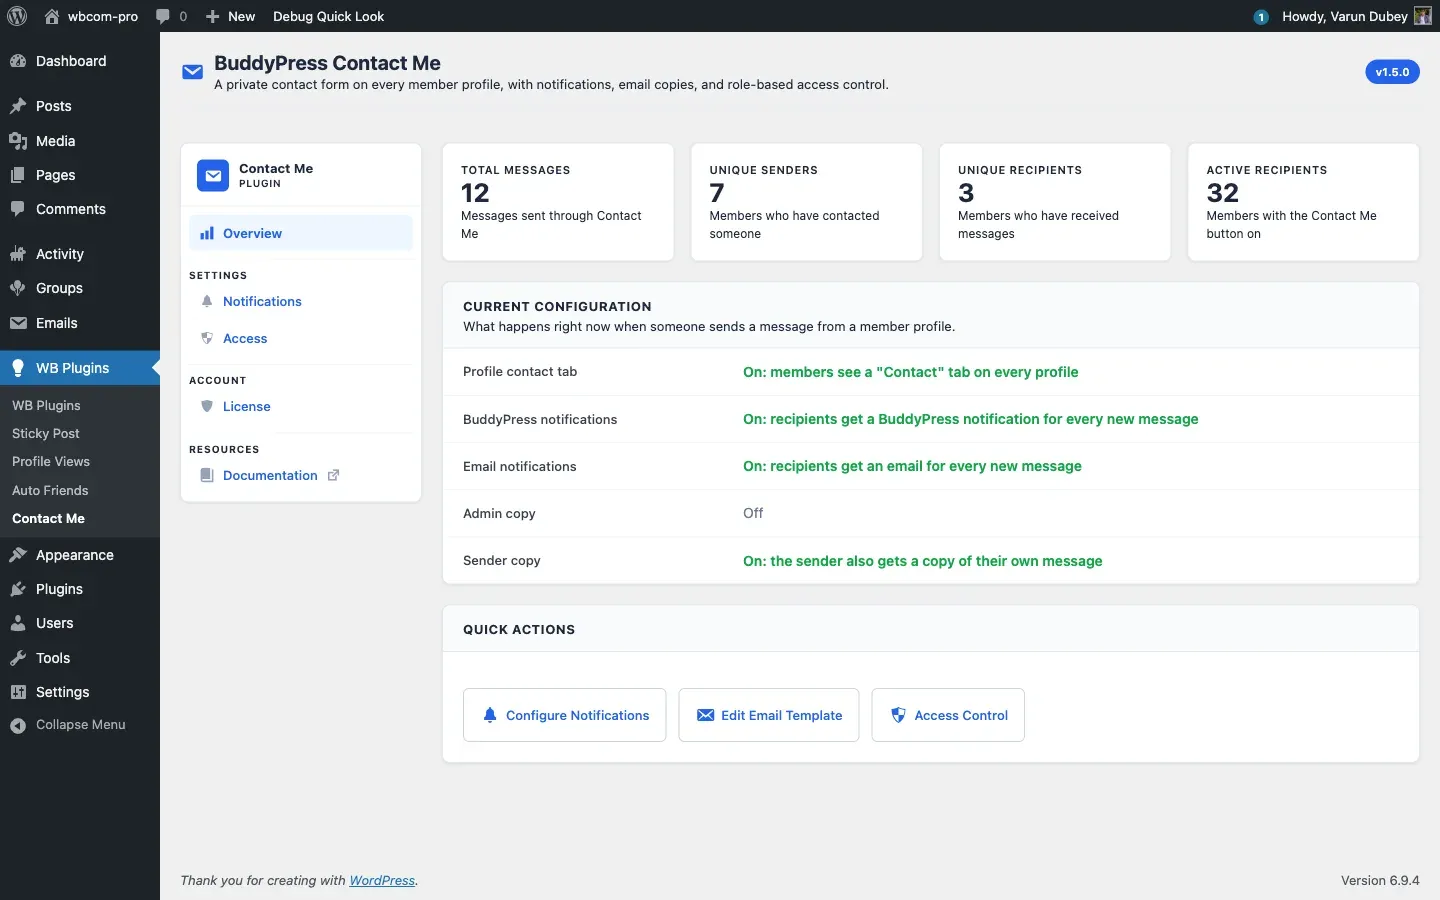
You land on the Overview tab. The sidebar inside the page lists the four tabs: Overview, Notifications, Access, and License.
Recommended first-run checklist
Section titled “Recommended first-run checklist”- Notifications tab — turn on at least one of “BuddyPress notification” or “Email notification” so recipients actually find out about new messages.
- Access tab — confirm the role allow-lists match your community. By default every logged-in role can send and receive.
- License tab — paste your license key and click Activate License so the plugin can pull updates straight from your dashboard.
What’s next
Section titled “What’s next”The License doc explains exactly what activation does and how to rotate keys. After that the Features section walks through every user-facing surface in detail.