

Admin Setup Wizard
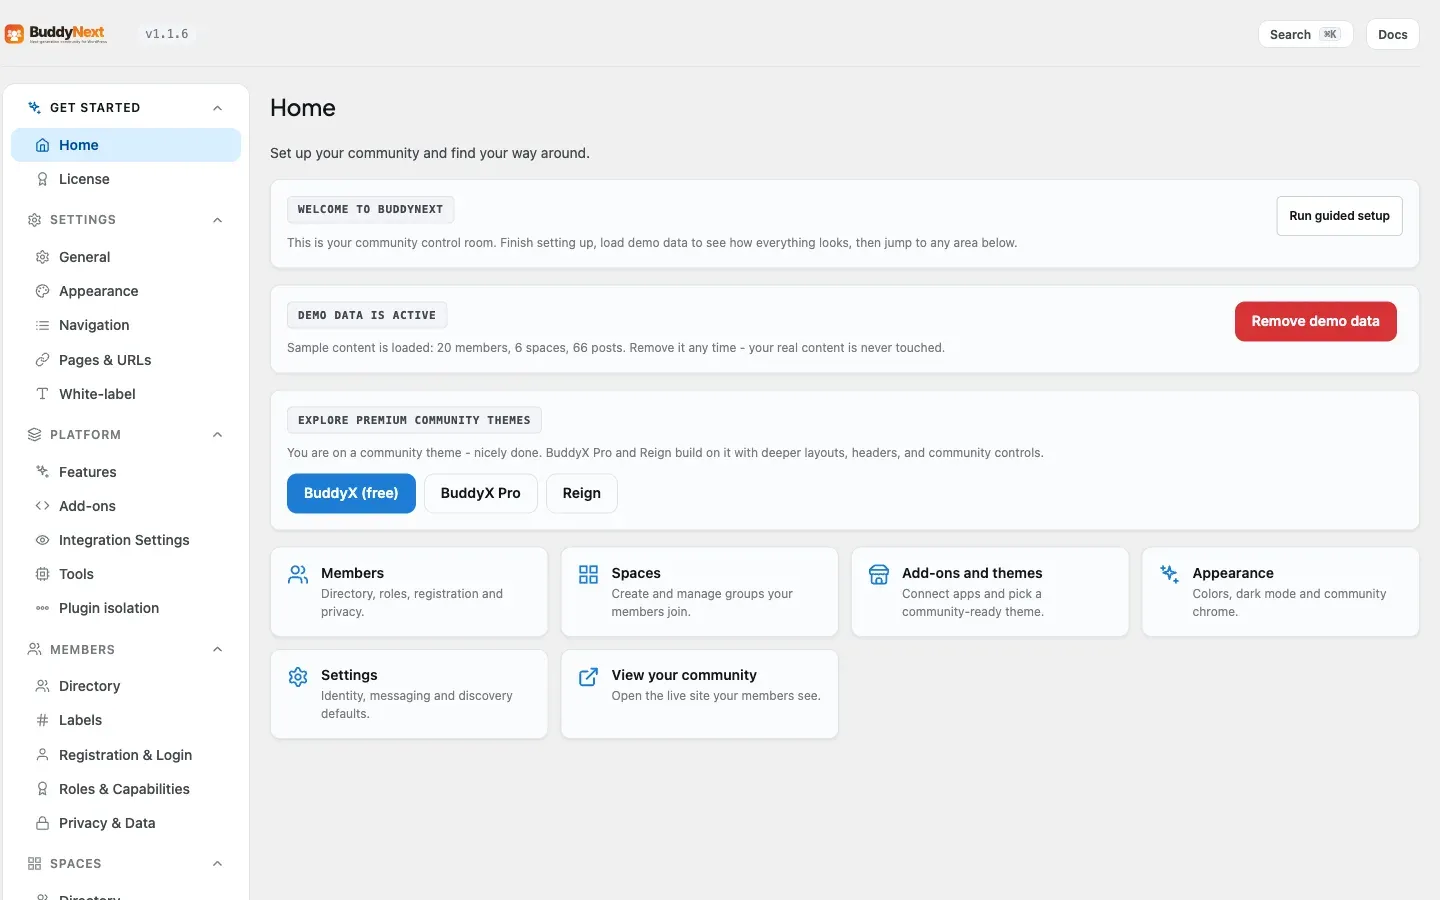
The Setup Wizard is the first thing BuddyNext shows you after the plugin is active, and it is the fastest way to a working community. In a few minutes it walks you through the handful of decisions that turn a fresh install into a real place to invite people: what to call it, how people join, what profiles look like, how spaces are organized, and which pages members visit. Every choice comes with a sensible default, so you can click straight through and still end up with a complete, usable community - then fine-tune later if you want to.
What it is
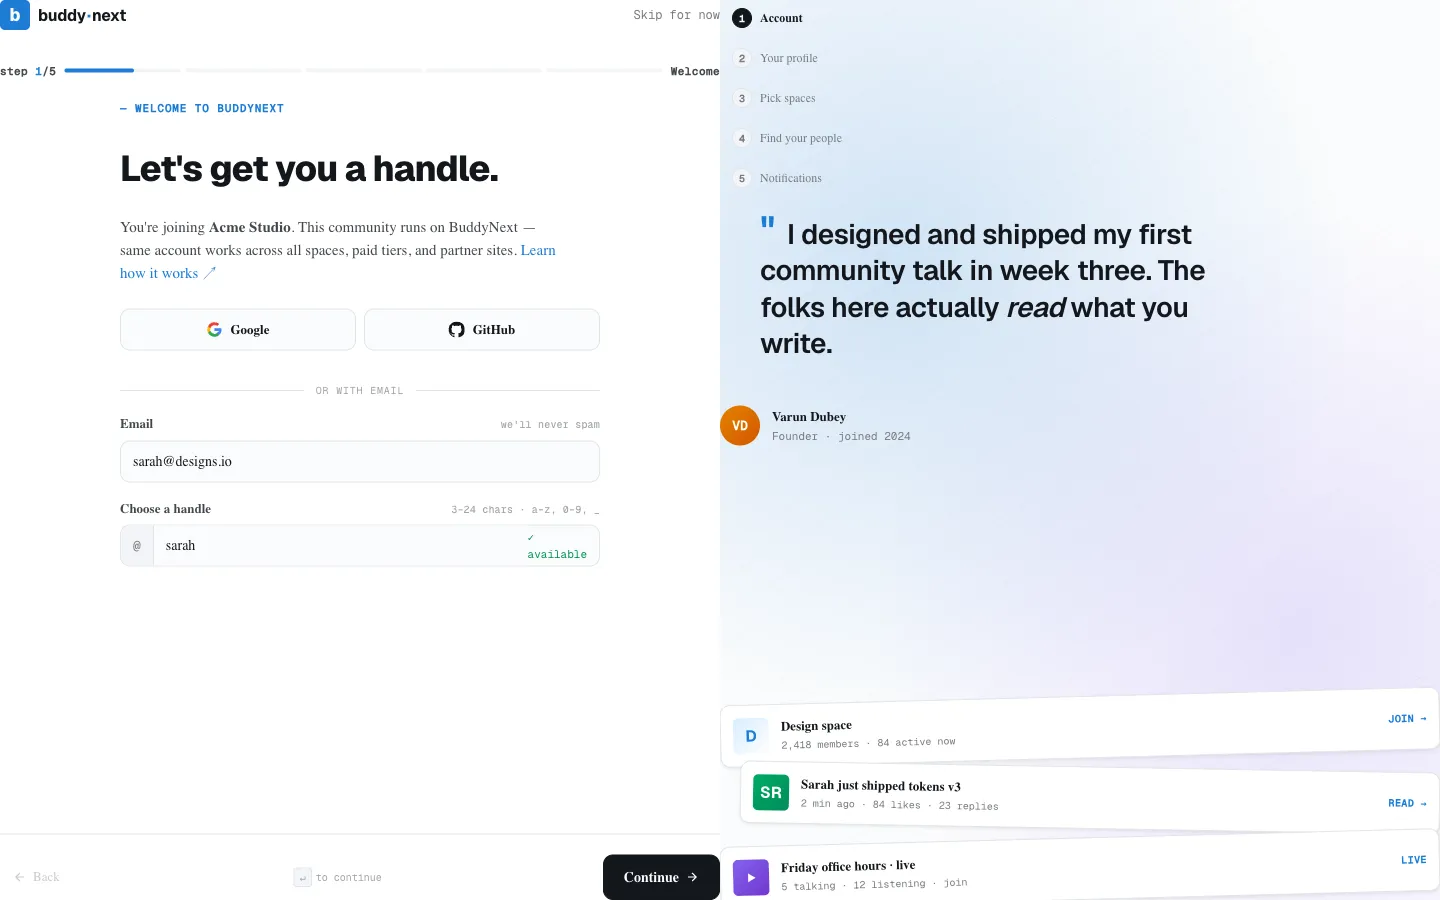
Section titled “What it is”The wizard is a seven-step guided setup that opens automatically the first time BuddyNext is active. Until you finish it, a Run the setup wizard link stays in the wp-admin notice area; you can also reach it directly at wp-admin/admin.php?page=buddynext-setup. It is built for the community owner, not for developers. Each step asks one plain-language question, shows a short hint, and tells you exactly where the setting lives afterward so you never feel locked in.
You stay in control of the pace:
- Continue saves the current step and moves on.
- Back returns to the previous step without saving the current one.
- Skip this step moves on without changing anything on that step.
- Save & exit leaves the wizard and returns you to the dashboard. You can come back any time.
Note: Nothing on this wizard is permanent. Every step names the admin section where you can change that setting later, and re-running the wizard never creates duplicate pages, categories, or profile groups.
Why use it
Section titled “Why use it”A community has a lot of moving parts - registration rules, profile fields, notification defaults, core pages, companion plugins. The wizard collects all of them into one short flow with safe defaults, so you do not have to hunt through the admin menu before your first member signs up. Finishing it gives you a community that is ready to invite people into, not a blank shell you still have to wire together.
Step by step
Section titled “Step by step”| Step | Screen | What you decide |
|---|---|---|
| 1 | Branding | Your community name and a single brand color. The name appears in headers, emails, and the browser tab. The color drives primary buttons, links, and focus states. |
| 2 | Registration | How new members get in (see the registration modes below) and whether to require email verification before a member can post or react. |
| 3 | Profile Fields | A review of the profile groups your community will start with - Headline, bio, and location, plus extras such as Social Links, Work Experience, Education, and Skills. This step lists them so you know what members will fill in; you shape the actual fields later under Members - Profile Fields. (Interests are added automatically from your space categories.) |
| 4 | Spaces | Starter categories for organizing spaces. Comes pre-filled with General, Announcements, Help & Support, and Off-topic. Edit the comma-separated list or clear it to set categories up later. |
| 5 | Pages | Creates the core community pages - Community Feed, Members, and Spaces - with editable URL slugs. Pages that already exist are shown with a Created badge and are skipped, so nothing is duplicated. |
| 6 | Addons | Review the companion plugins that extend BuddyNext. They are off by default - if you can install plugins, tick the ones you want and Continue installs and activates them. Already-active plugins show as connected. |
| 7 | Done | Confirms your community is ready. From here you can go to the dashboard to start inviting members, or open the front end to see what members will see. |
Registration modes (Step 2)
Section titled “Registration modes (Step 2)”This is your main lever for who can join. Pick one:
| Mode | Who gets in | Best for |
|---|---|---|
| Open registration | Anyone can sign up directly. | Public communities. |
| Invite only | New members need an invite link. | Private circles. |
| Admin approval | Anyone can apply, and admins review each request. | Communities where curation matters. |
The same step has a Require email verification switch. With it on, members must confirm their email before they can post or react.
Note: Open registration is the default. If you choose Invite only or Admin approval and want to be sure walk-in signups are fully closed, also turn off WordPress core registration under Settings - General in wp-admin.
What finishing does
Section titled “What finishing does”Reaching Step 7 and choosing Finish setup / Go to dashboard marks the wizard complete and applies everything you chose: your branding and registration options are saved, the starter profile groups are created, your space categories are added, and the core pages are published with the links you set, ready to use straight away.
Re-running the wizard and where settings live afterward
Section titled “Re-running the wizard and where settings live afterward”You can re-open the wizard at any time at wp-admin/admin.php?page=buddynext-setup (the page stays available even after you finish, though it is hidden from the menu once setup is complete). It is safe to re-run: existing pages, categories, and profile groups are detected and left untouched rather than duplicated.
After setup, every choice has a permanent home in the admin:
| What you set in the wizard | Where to change it later |
|---|---|
| Community name | Settings - General |
| Brand color | Settings - Appearance |
| Registration mode and email verification | Members - Registration |
| Profile field groups | Members - Profile Fields |
| Space categories | Spaces - Directory, Categories sub-tab |
| Page slugs | Settings - Pages & URLs |
| Companion plugins | Platform - Integrations, and the WordPress Plugins screen |
For the full map of the admin and where each of those sections lives, see the Admin Overview.
Related
Section titled “Related”- Installation - getting BuddyNext active before the wizard runs.
- Admin Overview - the full map of where each setting lives afterward.
- Appearance and Branding - refine the name and brand color the wizard set.
- Integrations Overview - configure the companion plugins the Addons step offers.