

Managing Lessons
The Lessons tab lets instructors and admins create and manage LearnDash lessons from the frontend dashboard. Lessons are the main content sections within a course.
Who Can Do What
Section titled “Who Can Do What”| Action | Admin | Instructor | Group Leader |
|---|---|---|---|
| View lessons | All lessons | Own lessons only | Assigned lessons (read-only) |
| Create lesson | Yes | Yes | No |
| Edit lesson | Yes | Own lessons only | No |
| Delete lesson | Yes | Own lessons only | No |
Each lesson card shows an access badge: Your Content, Shared, or View Only.
Screenshots
Section titled “Screenshots”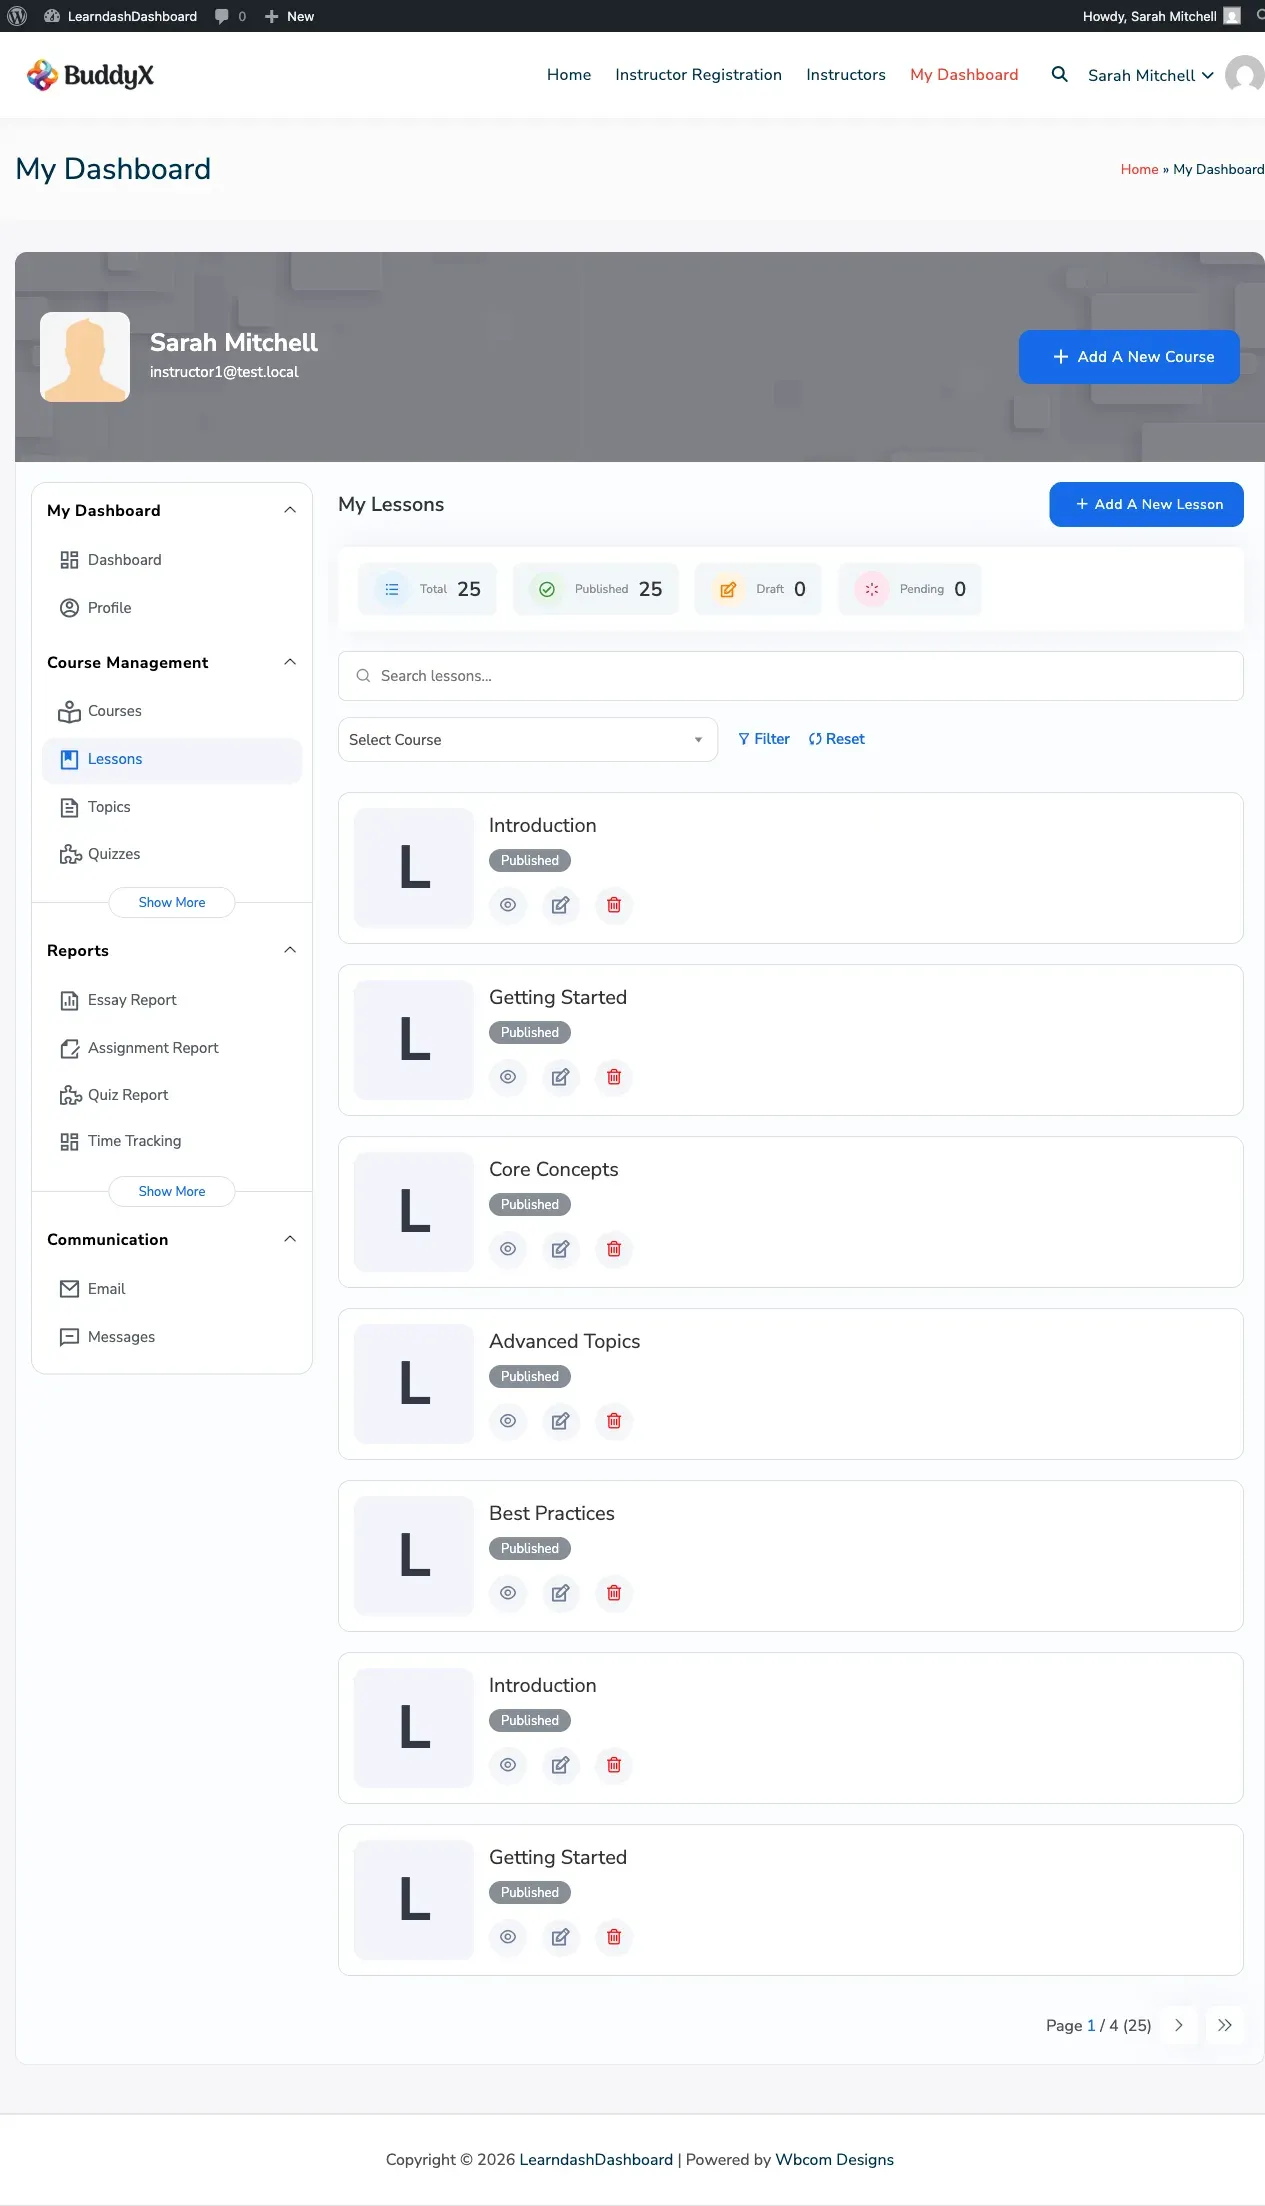
Viewing Your Lessons
Section titled “Viewing Your Lessons”Go to My Dashboard > Lessons. Each lesson card shows:
- Lesson title
- Publication status: Published, Draft, or Pending
- Categories and tags (if assigned)
- Action buttons: View, Edit, Delete, and Edit with Elementor (if active)
Use the course filter dropdown to show only lessons from a specific course. Use the search bar to find lessons by title. The list shows 7 lessons per page.
Creating a Lesson
Section titled “Creating a Lesson”-
Go to My Dashboard > Lessons.
-
Click Add New Lesson.
-
Fill in the Post Data tab:
Field Required Description Lesson Title Yes The name of your lesson Status No Published, Pending, or Draft Lesson Content No The main lesson content Featured Image No The lesson thumbnail Lesson Category No Organise lessons by category Lesson Tags No Add searchable tags -
Switch to the Settings tab and configure:
Field Description Lesson Materials Add downloadable resources for students Video Progression Require students to watch a video before they can continue Video URL The URL of the required video Display Timing Show the video before or after sub-steps are complete Lesson Auto-Completion Mark the lesson complete automatically when the video ends Autostart Play the video automatically (muted) when the lesson loads Video Controls Allow students to pause or skip through the video Assignment Upload Let students submit a file as an assignment Forced Timer Require students to spend a minimum amount of time before completing Sample Lesson Make this lesson visible to anyone, even non-enrolled visitors Drip Schedule Set a delay (in days after enrollment) before this lesson becomes available External Lesson Link to a virtual or in-person session -
Click Save Lesson.
Scheduling Lessons with Drip Content
Section titled “Scheduling Lessons with Drip Content”Drip scheduling controls when a lesson becomes accessible after a student enrolls.
- Open a lesson edit form.
- Go to the Settings tab.
- Turn on the drip option and enter the number of days after enrollment.
Students can see the lesson in the course outline but cannot open the content until the drip date arrives.
Arranging Lesson Order
Section titled “Arranging Lesson Order”Lesson order within a course is set using the Course Builder on the Courses tab — not from the lesson form itself. See Managing Courses for instructions.
When you filter lessons by course, they appear in the order defined in the Course Builder.
Editing a Lesson
Section titled “Editing a Lesson”- Find the lesson in your listing, or use the course filter to narrow it down.
- Click the Edit icon on the lesson card.
- Make your changes in the Post Data or Settings tab.
- Click Save Lesson.
Deleting a Lesson
Section titled “Deleting a Lesson”- Click the Delete icon on the lesson card.
- Confirm the deletion.
The lesson moves to the trash. Student progress records are kept and are not deleted.