

Setting Up Cloud Storage [PRO]
Connect your marketplace to Amazon S3, Google Cloud Storage, or DigitalOcean Spaces for scalable, fast file delivery.
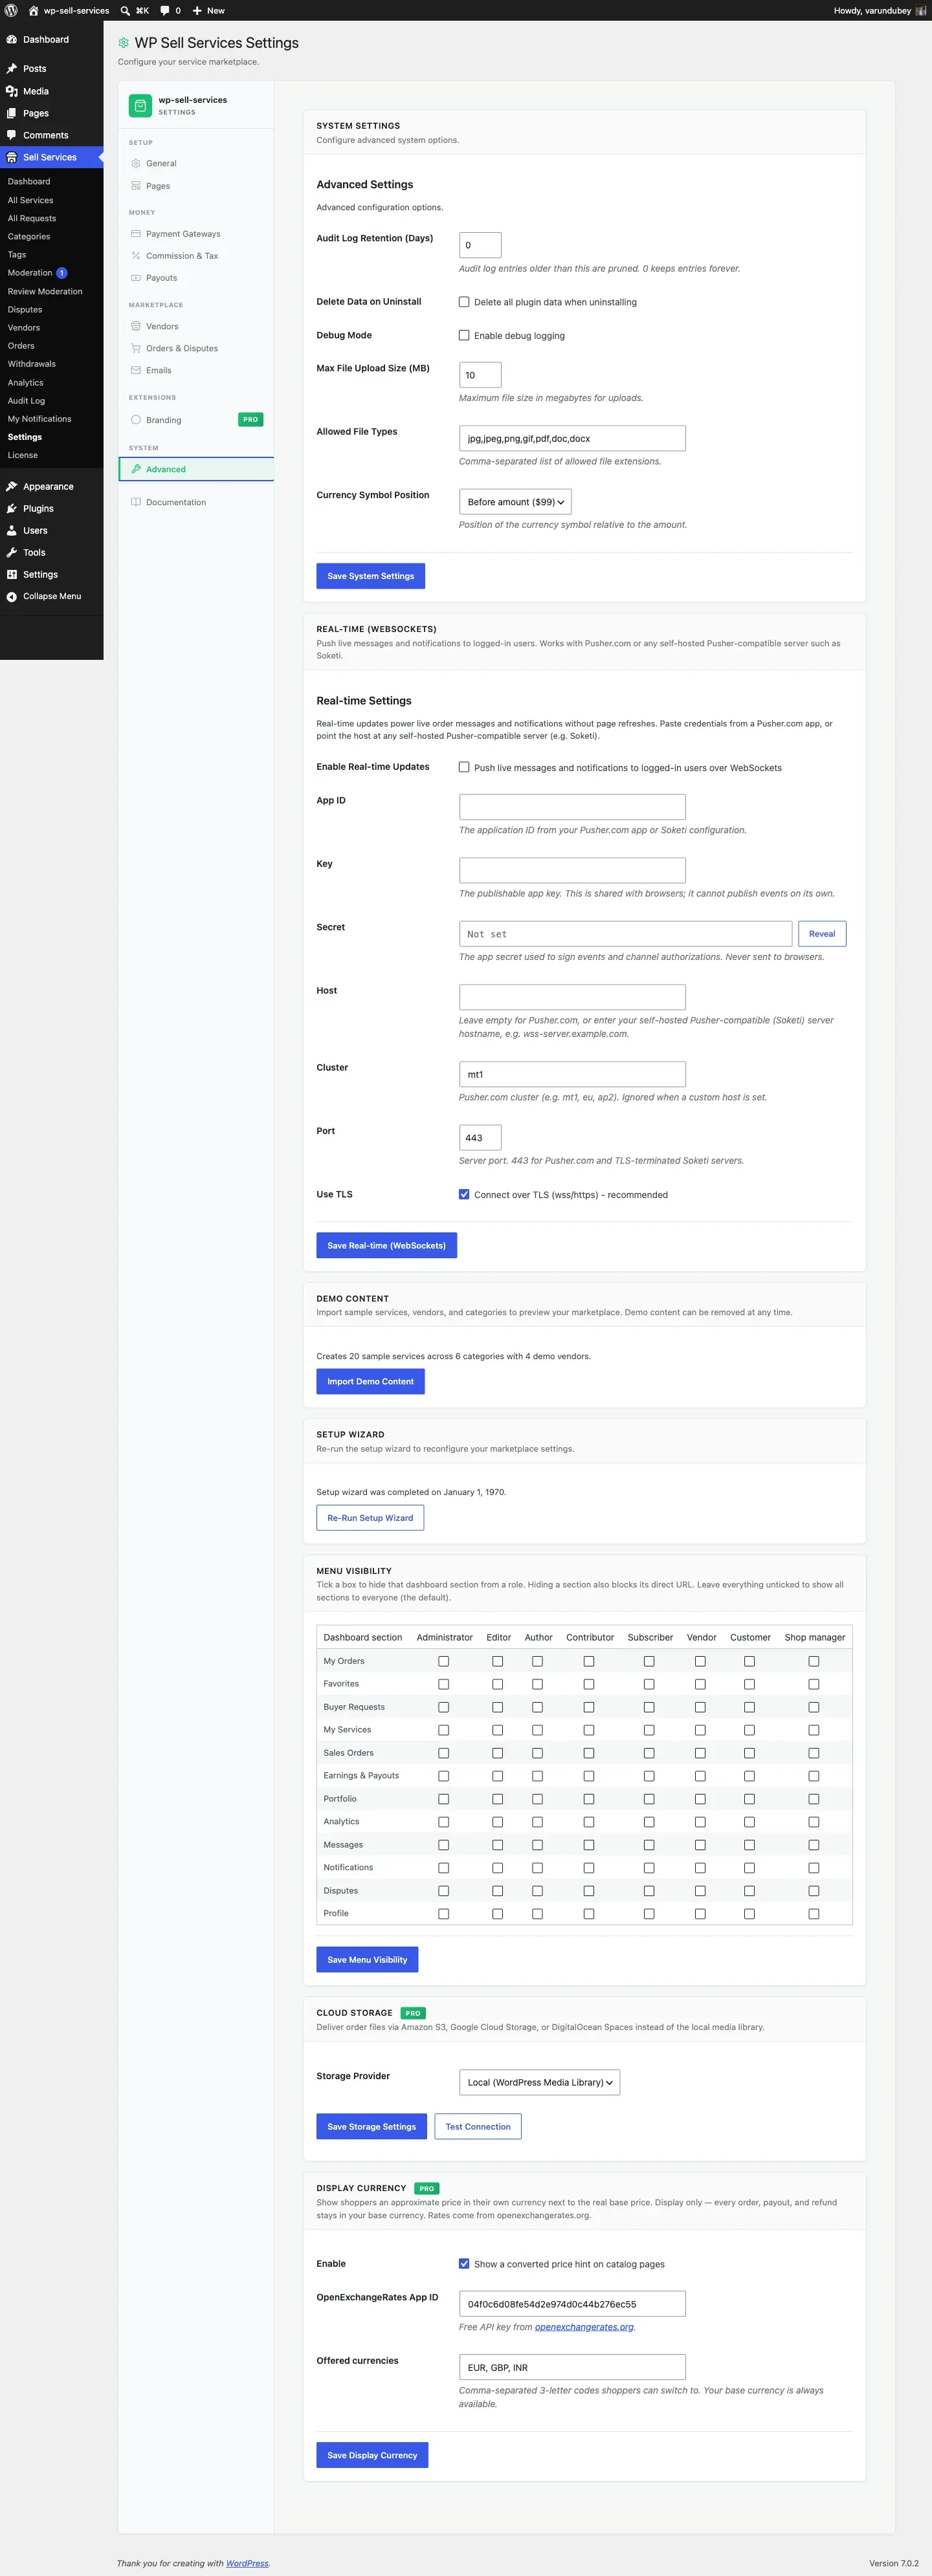
Before You Start
Section titled “Before You Start”You will need:
- WP Sell Services Pro active and licensed
- An account with your chosen cloud provider
- Access credentials (API keys or service account) from the provider
Amazon S3
Section titled “Amazon S3”Step 1: Create an S3 Bucket
Section titled “Step 1: Create an S3 Bucket”- Sign in to the AWS Console
- Go to S3 and click Create Bucket
- Choose a bucket name (e.g., “yoursite-deliveries”) and region
- Keep the default security settings (block public access)
- Click Create Bucket
Step 2: Create Access Keys
Section titled “Step 2: Create Access Keys”- Go to IAM > Users > Add User
- Create a user with programmatic access
- Attach the AmazonS3FullAccess policy (or a custom policy limited to your bucket)
- Save the Access Key ID and Secret Access Key
Step 3: Configure in WP Sell Services
Section titled “Step 3: Configure in WP Sell Services”- Go to Sell Services > Settings > Advanced
- Select Amazon S3 as the provider
- Enter your Access Key ID, Secret Access Key, bucket name, and region
- Click Test Connection to verify
- Save Changes
Google Cloud Storage
Section titled “Google Cloud Storage”Step 1: Create a Storage Bucket
Section titled “Step 1: Create a Storage Bucket”- Sign in to the Google Cloud Console
- Go to Cloud Storage > Buckets > Create
- Choose a bucket name and location
- Set access control to “Uniform”
- Click Create
Step 2: Create a Service Account
Section titled “Step 2: Create a Service Account”- Go to IAM & Admin > Service Accounts > Create Service Account
- Give it a name like “wpss-storage”
- Grant the Storage Object Admin role
- Create a JSON key and download it
Step 3: Configure in WP Sell Services
Section titled “Step 3: Configure in WP Sell Services”- Go to Sell Services > Settings > Advanced
- Select Google Cloud Storage as the provider
- Upload or paste your service account JSON key
- Enter your bucket name
- Click Test Connection to verify
- Save Changes
DigitalOcean Spaces
Section titled “DigitalOcean Spaces”Step 1: Create a Space
Section titled “Step 1: Create a Space”- Sign in to the DigitalOcean Control Panel
- Go to Spaces and click Create a Space
- Choose a datacenter region
- Give it a name (e.g., “yoursite-deliveries”)
- Click Create a Space
Step 2: Generate API Keys
Section titled “Step 2: Generate API Keys”- Go to API > Spaces Keys > Generate New Key
- Save the Key and Secret
Step 3: Configure in WP Sell Services
Section titled “Step 3: Configure in WP Sell Services”- Go to Sell Services > Settings > Advanced
- Select DigitalOcean Spaces as the provider
- Enter your Key, Secret, Space name, and region
- Click Test Connection to verify
- Save Changes
After Setup
Section titled “After Setup”Once connected, new delivery uploads are automatically sent to your cloud provider. Existing files on your server continue to work – they are served locally until you optionally migrate them.
Test It
Section titled “Test It”- Create a test order
- Upload a delivery file as a vendor
- Download it as the buyer
- Confirm the file downloads quickly from the cloud
Fallback Behavior
Section titled “Fallback Behavior”If your cloud storage credentials become invalid or the service is temporarily unavailable, the plugin automatically falls back to local storage. Files upload to your server instead, and you will see a warning in the admin dashboard. Fix the credentials and new uploads will resume going to the cloud.
Choosing a Provider
Section titled “Choosing a Provider”| Factor | Amazon S3 | Google Cloud | DigitalOcean Spaces |
|---|---|---|---|
| Pricing | Pay per use | Pay per use | $5/month flat start |
| Ease of setup | Moderate | Moderate | Simple |
| CDN included | Extra (CloudFront) | Extra (Cloud CDN) | Included |
| Best for | Large, global marketplaces | Asia-Pacific focus | Small to medium marketplaces |
| S3-compatible | Yes (native) | No | Yes |
Troubleshooting
Section titled “Troubleshooting”“Connection failed” when testing? Double-check your credentials (access key, secret, bucket name, region). Make sure the bucket exists and the credentials have permission to read and write to it.
Files not uploading to cloud? Check that cloud storage is selected as the active provider in settings. Also verify your server can make outbound HTTPS connections (some hosting providers block them).
Slow downloads? Enable the CDN option for your provider. S3 uses CloudFront, GCS uses Cloud CDN, and DigitalOcean Spaces includes a CDN by default.