

Shortcode Usage
The Advanced Username Manager plugin provides a simple shortcode that you can add to any page or post to display a username change form. This gives you complete flexibility in where and how users can change their usernames.
The Username Manager Shortcode
Section titled “The Username Manager Shortcode”The shortcode is:
[username_manager]This shortcode displays a complete username change form with:
- Current username field (read-only)
- New username input field
- Real-time username availability check
- Username suggestions
- Save Changes button
Adding the Shortcode to a Page
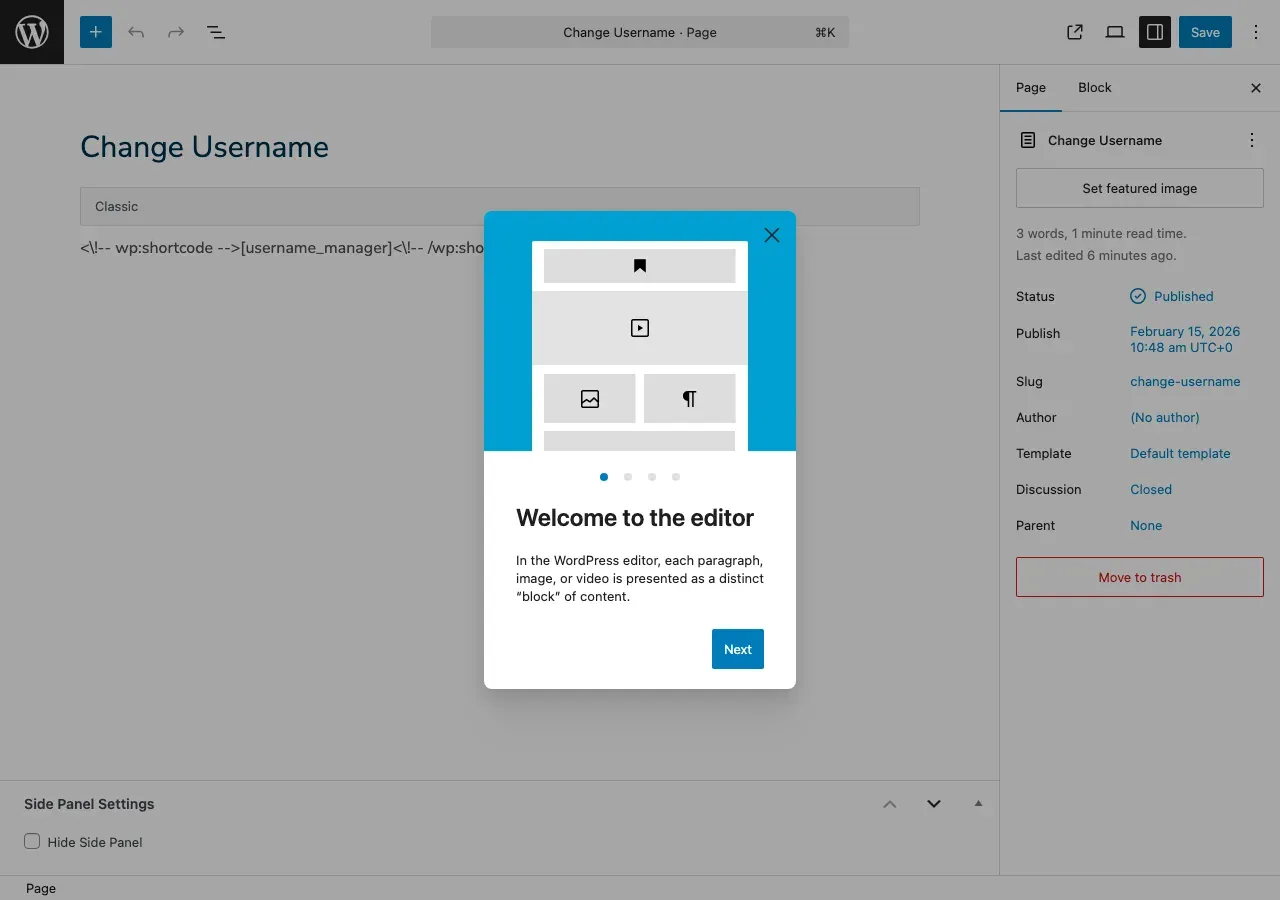
Section titled “Adding the Shortcode to a Page”Step 1: Create or Edit a Page
Section titled “Step 1: Create or Edit a Page”- Log in to your WordPress admin dashboard
- Navigate to Pages → Add New (or edit an existing page)
- Give your page a title (e.g., “Change Username” or “Account Settings”)
Step 2: Add the Shortcode
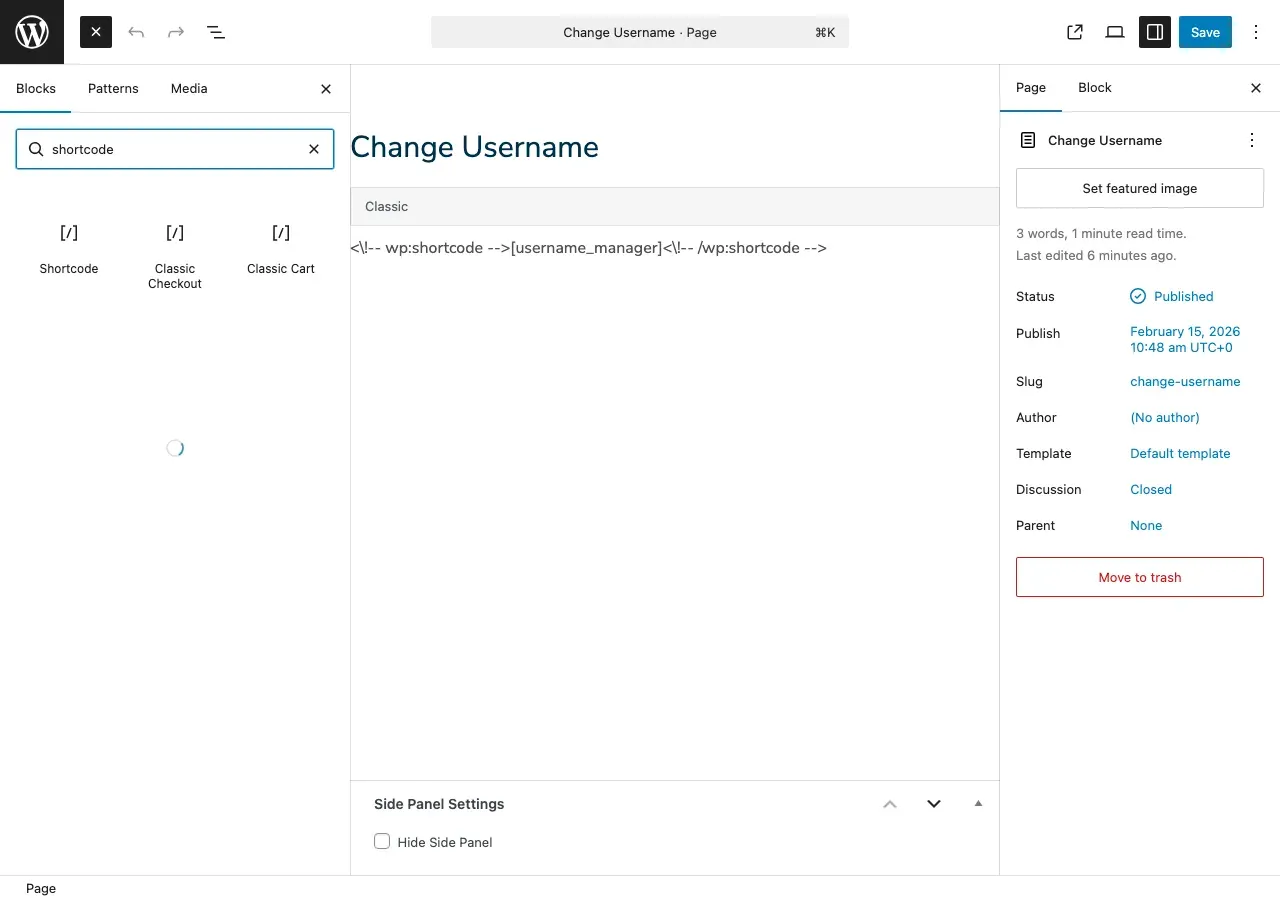
Section titled “Step 2: Add the Shortcode”For Block Editor (Gutenberg):
- Click the + button to add a new block
- Search for “Shortcode” block
- Click the Shortcode block to add it
- Type
[username_manager]in the shortcode field
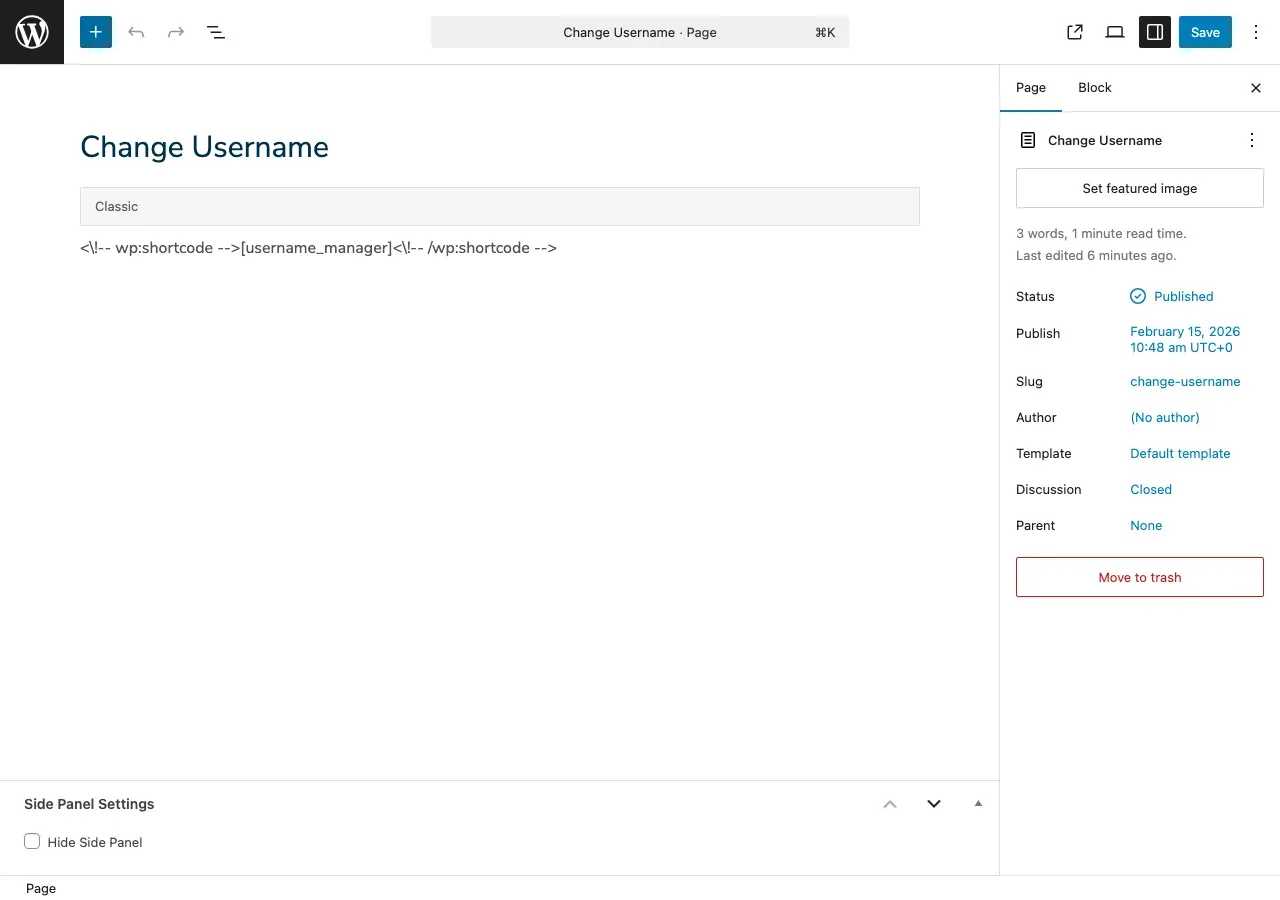
For Classic Editor:
- Place your cursor where you want the form to appear
- Type
[username_manager]directly in the editor - The shortcode will appear in square brackets
Step 3: Publish the Page
Section titled “Step 3: Publish the Page”- Click Publish (or Update if editing an existing page)
- View the page on the frontend to see the form
What the Form Looks Like
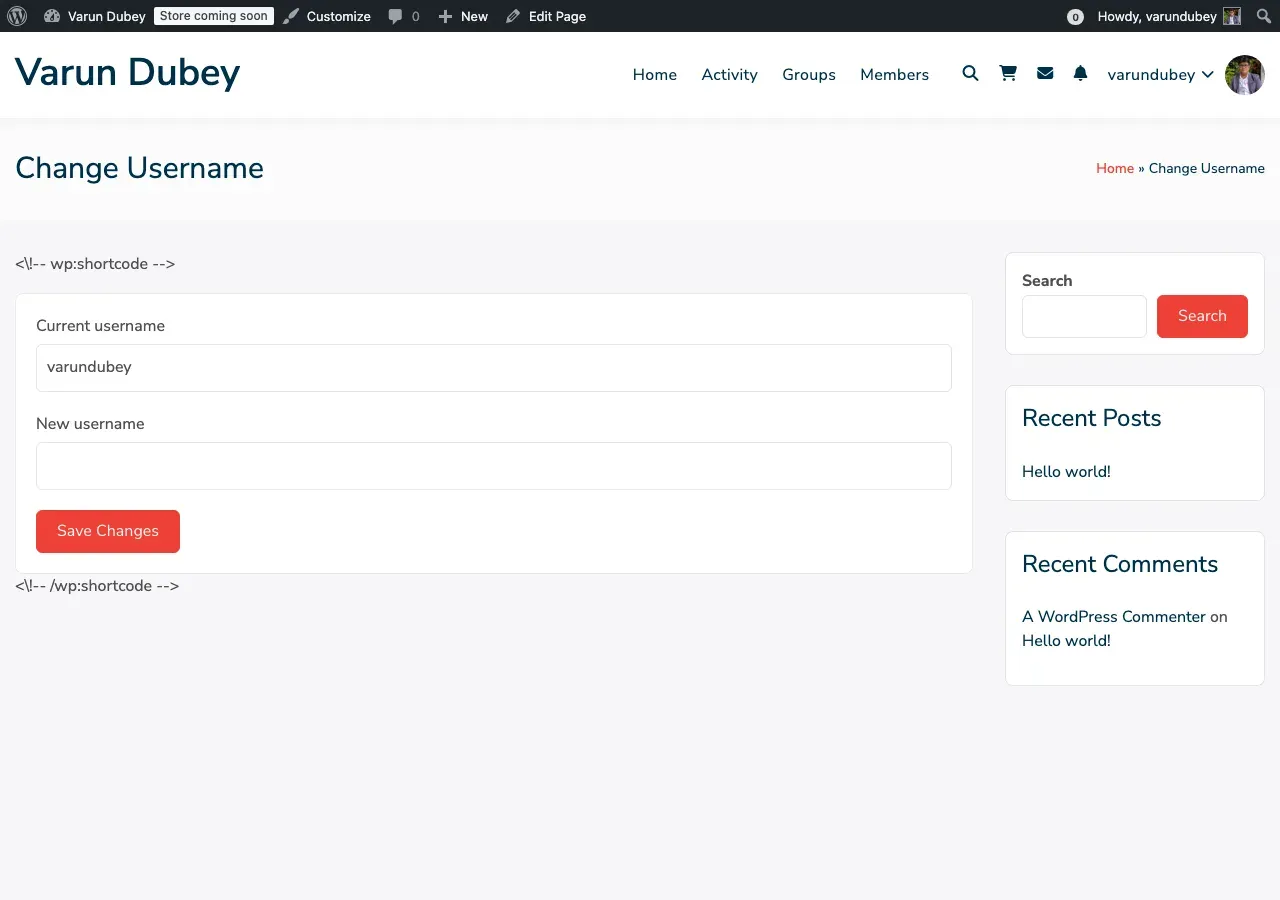
Section titled “What the Form Looks Like”When users visit a page with the [username_manager] shortcode, they will see:
For Logged-In Users with Permission
Section titled “For Logged-In Users with Permission”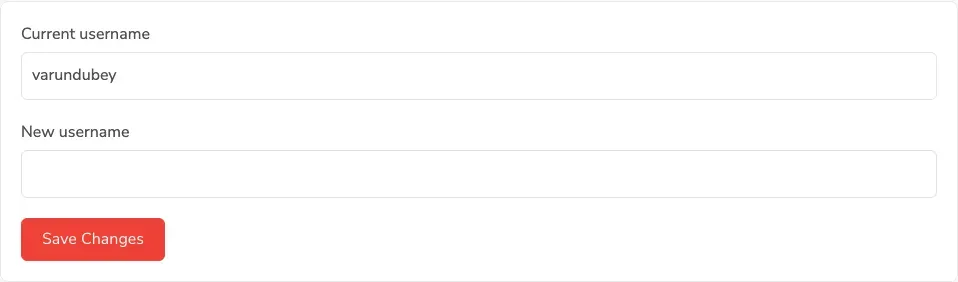
The form includes:
- Current Username - Displays the user’s current login username (read-only field)
- New Username - Input field where users type their desired new username
- Real-Time Validation - Instant feedback as users type
- Username Suggestions - Alternative options if the username is taken
- Save Changes Button - Submit the username change
For Logged-Out Users
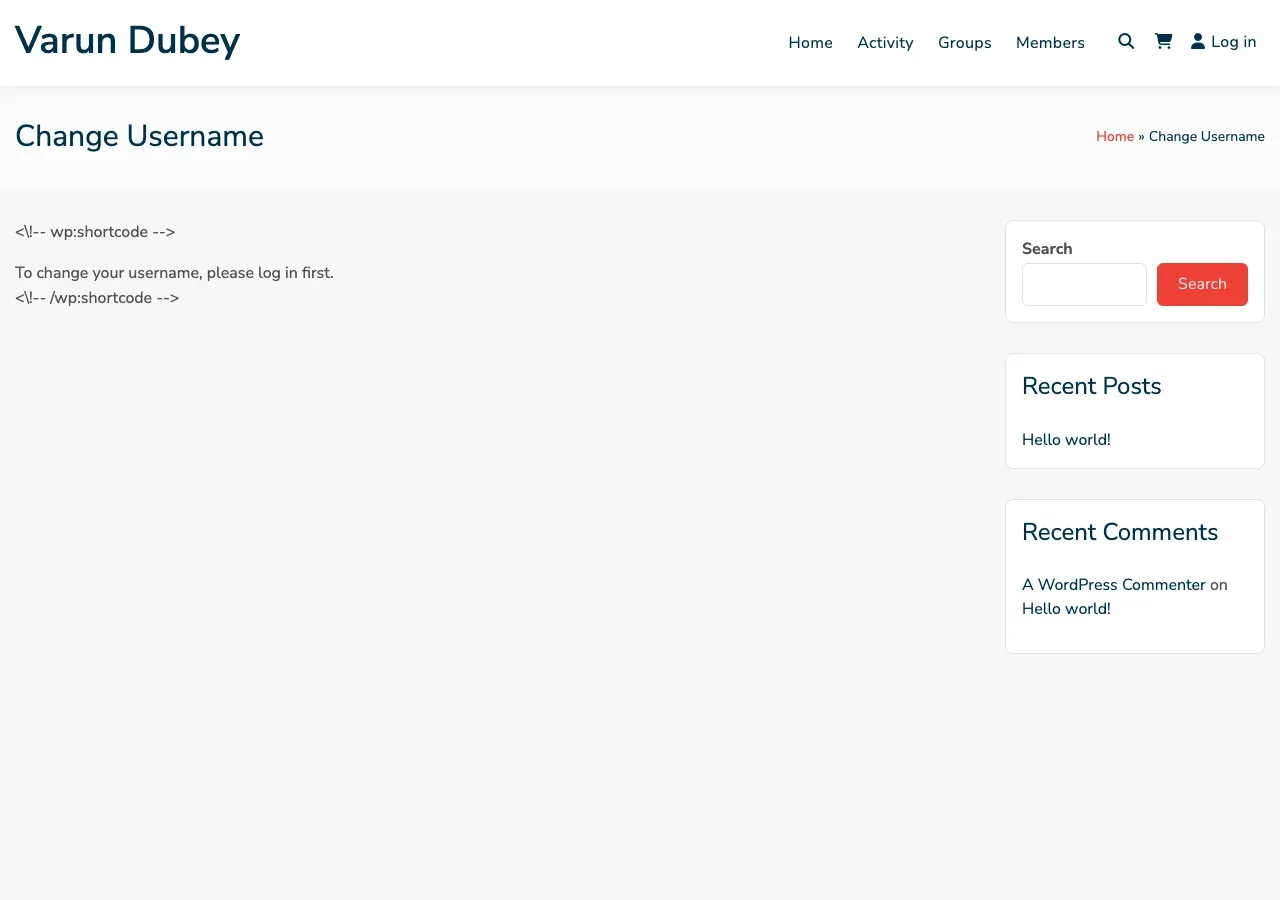
Section titled “For Logged-Out Users”If a user is not logged in, they see a message:
“To change your username, please log in first.”
For Users Without Permission
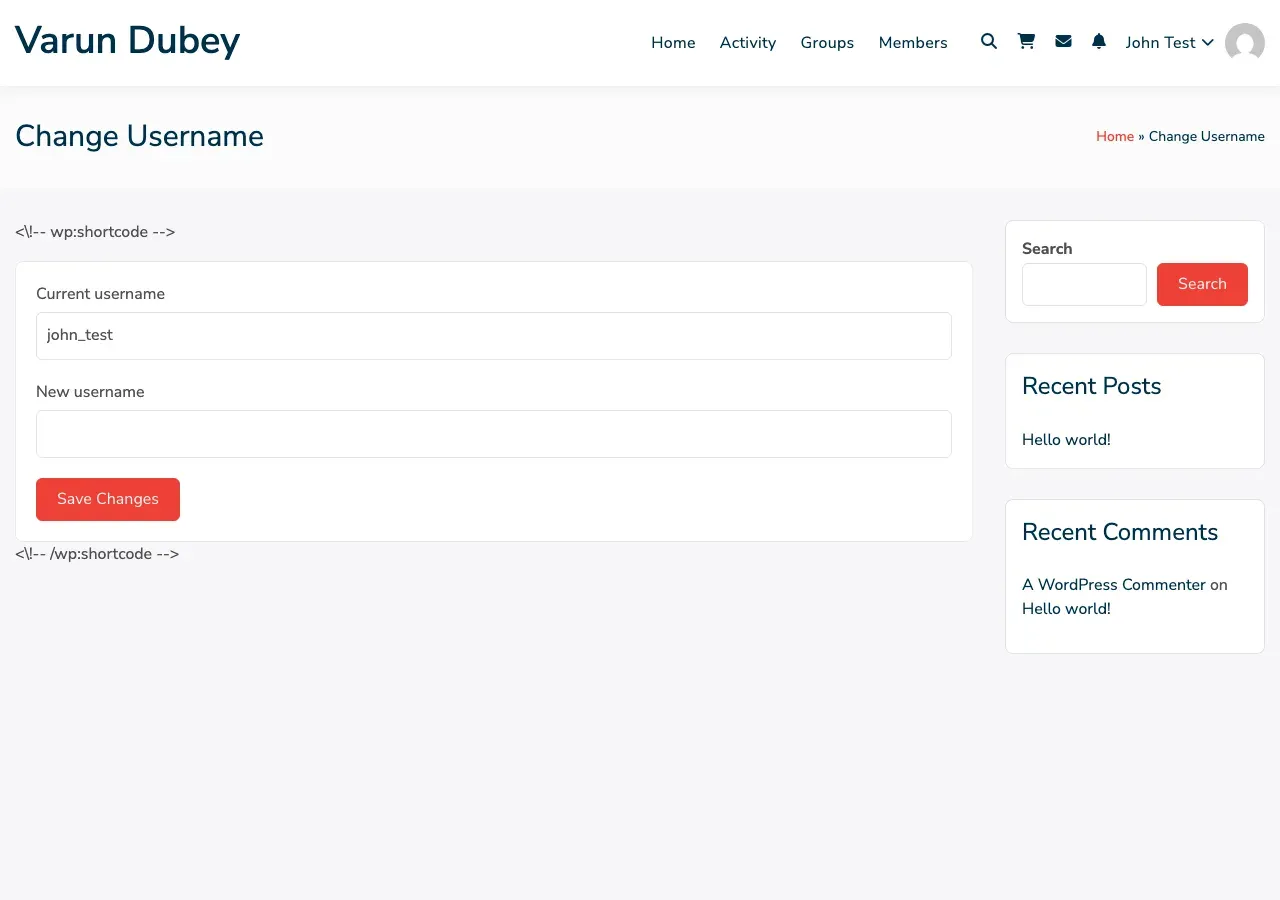
Section titled “For Users Without Permission”If a logged-in user doesn’t have the required role, they see:
“You do not have permission to change usernames. Please contact the administrator for assistance.”
When Feature is Disabled
Section titled “When Feature is Disabled”If username changes are disabled in settings, users see:
“Username changes are temporarily disabled. Please try again later or contact support for assistance.”
Using the Form: Step-by-Step
Section titled “Using the Form: Step-by-Step”Step 1: Enter New Username
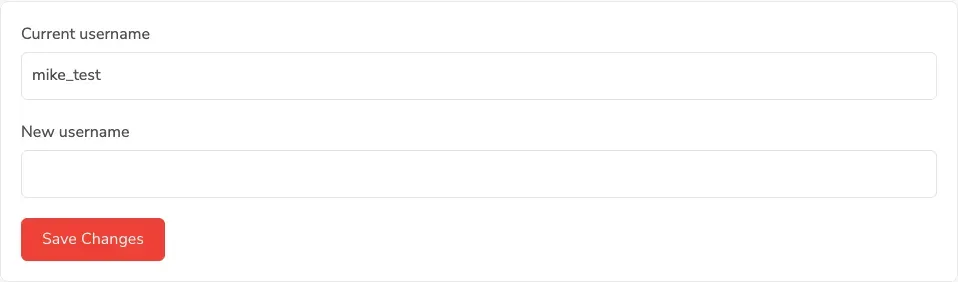
Section titled “Step 1: Enter New Username”- The Current Username field shows your existing username (cannot be edited)
- Click in the New Username field
- Start typing your desired new username
Step 2: Check Availability
Section titled “Step 2: Check Availability”As you type, the plugin automatically checks if the username is available:
If Available:
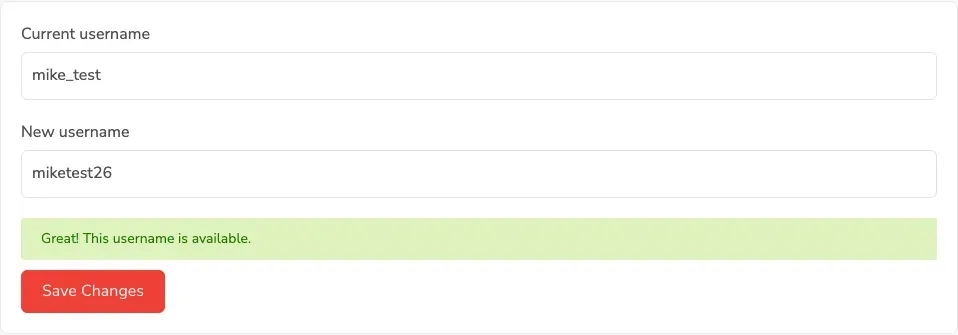
You’ll see: “Great! This username is available.”
If Taken:
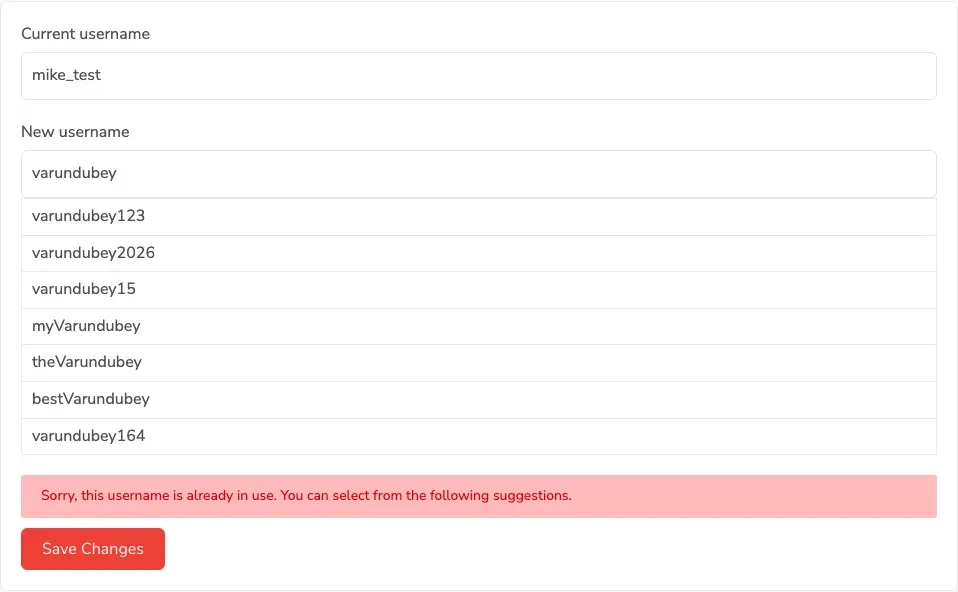
You’ll see: “Sorry, this username is already in use. You can select from the following suggestions.”
The form will display alternative username suggestions you can choose from.
Step 3: Validate Username Requirements
Section titled “Step 3: Validate Username Requirements”The form checks your username against the configured rules:
- Minimum Length: Username must meet the minimum character requirement
- Maximum Length: Username cannot exceed the maximum character limit
- Valid Characters: Only letters, numbers, and underscores allowed
- Not Same: New username must be different from current username
Validation Errors:
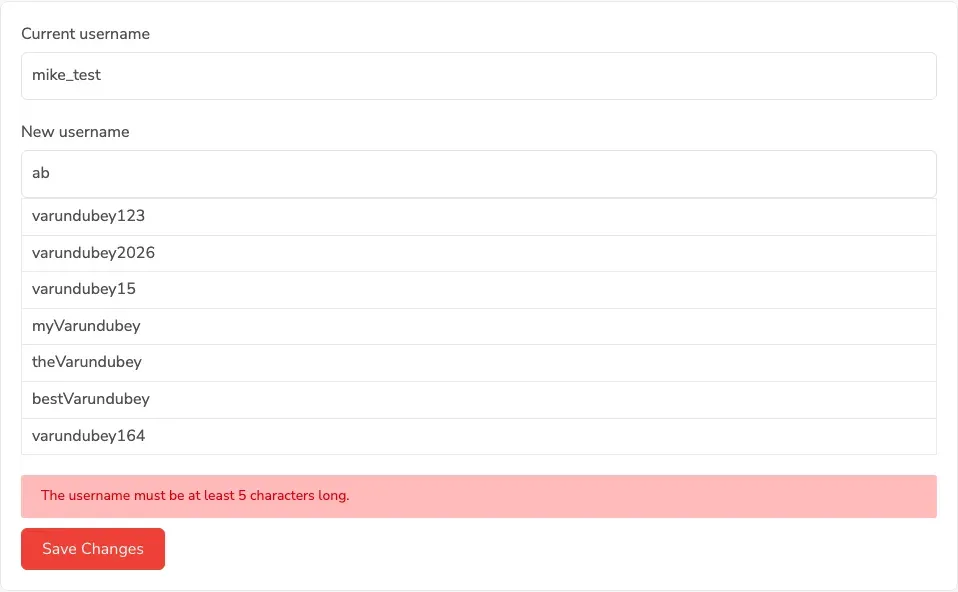
Examples:
- “The username must be at least 5 characters long.”
- “The username must not exceed 12 characters.”
- “Please enter a different username!”
Step 4: Save Changes
Section titled “Step 4: Save Changes”- Once you enter a valid, available username, the Save Changes button becomes enabled
- Click Save Changes
- Wait for the form to process (a loading indicator may appear)
Step 5: Success
Section titled “Step 5: Success”After successful username change:
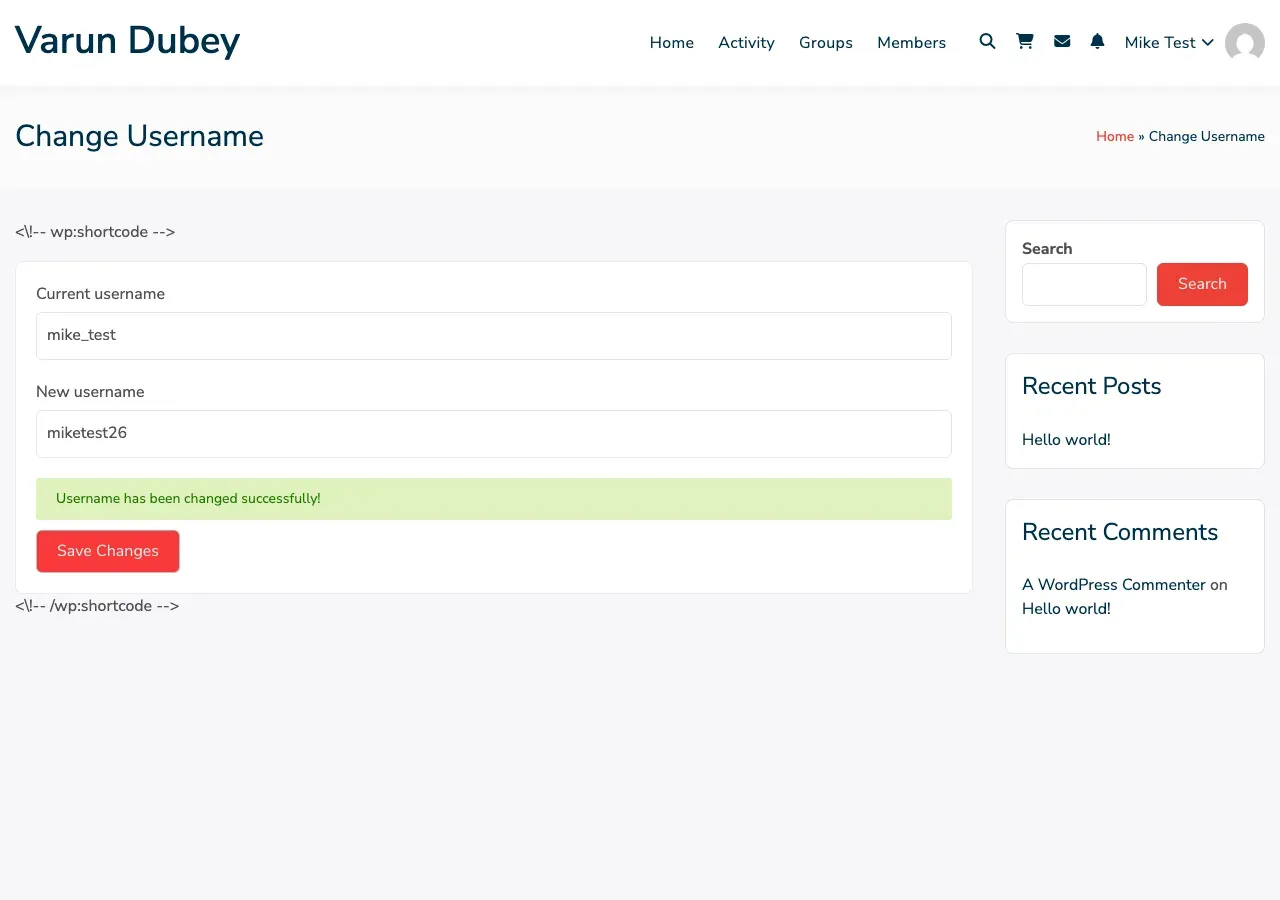
You’ll see: “Username has been changed successfully!”
What Happens Next:
- Email Notification - You receive a confirmation email
- Auto Re-login - You remain logged in with your new username
- Cooldown Activated - The rate limit timer starts
- Page Refresh - For BuddyPress users, the page redirects to the new profile URL
Email Notification
Section titled “Email Notification”After changing your username, you’ll receive an email like this:
Subject: “{Site Name} Your Username Has Been Successfully Updated !”
Email Content:
Hello John,
We’re writing to let you know that your username on Example Site has been successfully updated.
Your new username is: john_doe_2026
If you did not request this change, please contact our support team immediately to secure your account.
Thank you for being part of Example Site!
Best regards, The Example Site Team
Rate Limiting (Cooldown Period)
Section titled “Rate Limiting (Cooldown Period)”If you try to change your username again before the cooldown period expires, you’ll see a message:
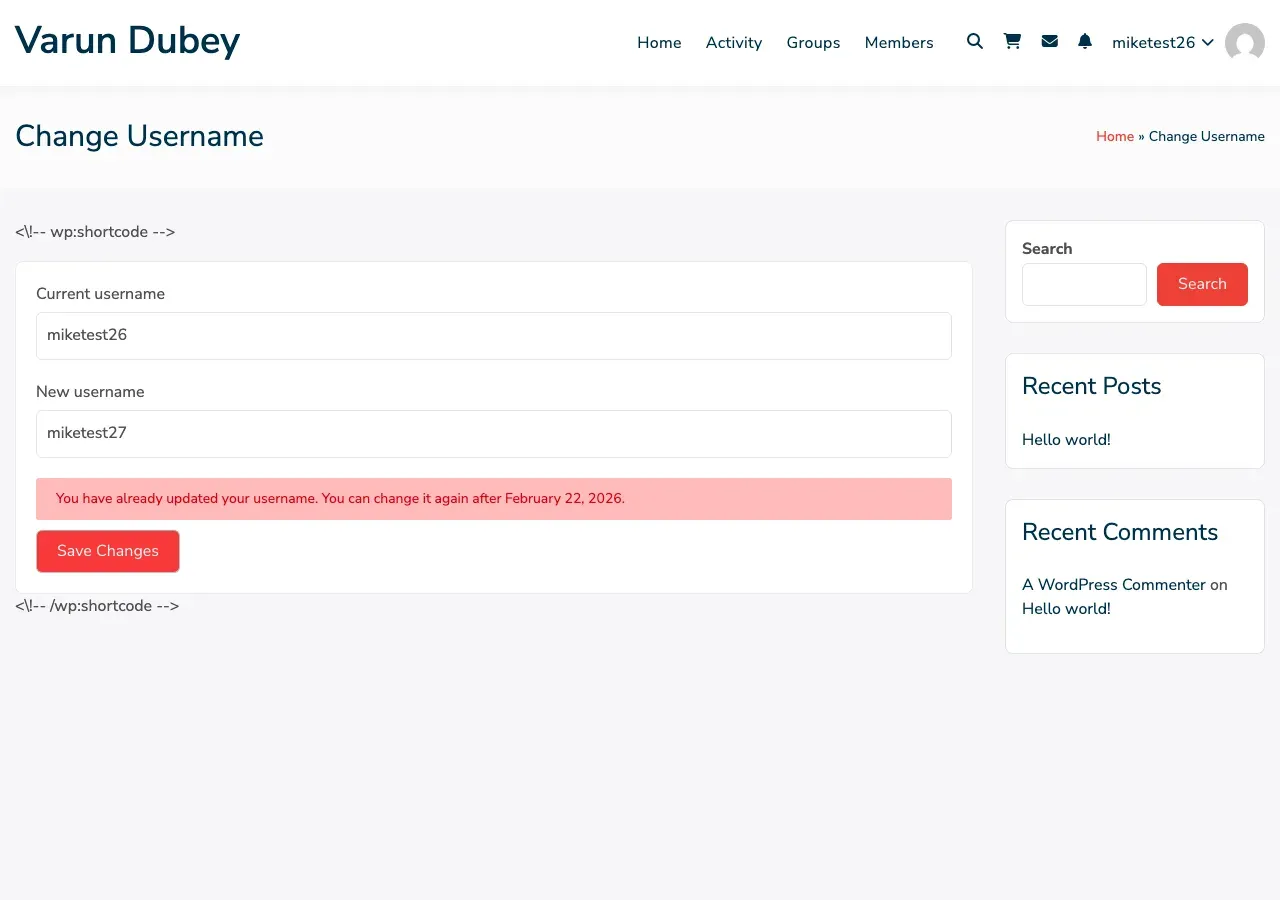
“You have already updated your username. You can change it again after February 22, 2026.”
The cooldown period is set by the site administrator (7, 15, or 30 days).
Adding the Shortcode to Widgets
Section titled “Adding the Shortcode to Widgets”You can also add the shortcode to widget areas:
For Block-Based Widgets (WordPress 5.8+):
Section titled “For Block-Based Widgets (WordPress 5.8+):”- Go to Appearance → Widgets
- Click + to add a block
- Search for “Shortcode”
- Add the Shortcode block
- Enter
[username_manager] - Click Update
For Classic Widgets:
Section titled “For Classic Widgets:”- Go to Appearance → Widgets
- Drag a Text widget to your desired widget area
- Enter
[username_manager]in the content field - Click Save
Using Shortcode in Page Builders
Section titled “Using Shortcode in Page Builders”Elementor
Section titled “Elementor”- Add a Shortcode widget to your page
- Enter
[username_manager]in the shortcode field - Style the widget as desired
Beaver Builder
Section titled “Beaver Builder”- Add a HTML module
- Enter
[username_manager]in the HTML field - Save the module
Divi Builder
Section titled “Divi Builder”- Add a Code module
- Enter
[username_manager]in the code field - Save the module
WPBakery Page Builder
Section titled “WPBakery Page Builder”- Add a Raw HTML element
- Enter
[username_manager]in the content field - Save the element
Styling the Form
Section titled “Styling the Form”The shortcode outputs standard HTML with CSS classes you can customize:
Main Form Class
Section titled “Main Form Class”.aum-standard-form { /* Your custom styles */}Input Field Classes
Section titled “Input Field Classes”.aum-input-field { /* Container for each input field */}
.aum-input-field label { /* Label styling */}
.aum-input-field input { /* Input field styling */}Button Styling
Section titled “Button Styling”#username_change_submit { /* Save Changes button */}Message Styling
Section titled “Message Styling”.aum-error { /* Error message container */}Add these styles to Appearance → Customize → Additional CSS or your child theme’s stylesheet.
Common Use Cases
Section titled “Common Use Cases”Use Case 1: Dedicated Username Change Page
Section titled “Use Case 1: Dedicated Username Change Page”Create a page called “Change Username” with only the shortcode:
[username_manager]Add this page to your user account navigation menu.
Use Case 2: Account Settings Page
Section titled “Use Case 2: Account Settings Page”Create an “Account Settings” page with multiple shortcodes:
<h2>Profile Settings</h2>[profile_edit_shortcode]
<h2>Change Username</h2>[username_manager]
<h2>Change Password</h2>[password_change_shortcode]
Use Case 3: Sidebar Widget
Section titled “Use Case 3: Sidebar Widget”Add the shortcode to a sidebar widget that appears only on user profile pages:
- Create a widget area
- Add the shortcode to a Text/Shortcode widget
- Display the widget conditionally using a plugin like Widget Options
Troubleshooting Shortcode Issues
Section titled “Troubleshooting Shortcode Issues”Shortcode Displays as Text
Section titled “Shortcode Displays as Text”Problem: The shortcode appears as [username_manager] instead of showing the form.
Solution:
- Verify the plugin is activated
- Check that you’re using square brackets
[]not parentheses or curly braces - Ensure there are no extra spaces in the shortcode
- Try switching to the Text/HTML editor and back
Form Not Showing
Section titled “Form Not Showing”Problem: Nothing appears where the shortcode is placed.
Solution:
- Verify username changes are enabled in General Settings
- Check if you’re logged in
- Verify your user role has permission to change usernames
- Check for JavaScript errors in the browser console
- Disable other plugins to check for conflicts
Form Appears Unstyled
Section titled “Form Appears Unstyled”Problem: The form looks broken or has no styling.
Solution:
- Clear your browser cache
- Clear your site cache (if using a caching plugin)
- Check if your theme’s CSS is conflicting
- Verify the plugin’s CSS files are loading
Save Button Stays Disabled
Section titled “Save Button Stays Disabled”Problem: The Save Changes button remains grayed out.
Solution:
- Ensure you’re entering a valid username
- Check that the username meets length requirements
- Verify the username is available
- Check browser console for JavaScript errors
Related Documentation
Section titled “Related Documentation”- Username Availability Check - Learn about real-time validation
- General Settings - Configure who can change usernames
- BuddyPress Integration - Alternative method for BuddyPress sites
- WooCommerce Integration - Alternative method for WooCommerce sites
- Troubleshooting - Fix common issues