

Member Labels
Member Labels are badges you define and hand out to members - things like Verified, Expert, or Staff. Each label has a name, a color, and an optional icon, and it appears next to the member’s name on their profile and on their post bylines.
Before you start: Member Labels come with BuddyNext Pro. With Pro active, you create and manage labels from the Member Labels admin screen described below.
Why use it
Section titled “Why use it”In a busy community, members need quick signals about who they are talking to. Is this person on your team? Are they a verified business? Are they a subject-matter expert worth listening to? Member Labels give you a way to mark those people so everyone can see the distinction at a glance.
Labels build trust and recognition. A “Verified” badge tells members an account is genuine. A “Staff” badge tells them when an official voice is speaking. An “Expert” badge rewards your most knowledgeable contributors and encourages others to aim for the same recognition. Because labels render right next to a member’s name on their profile and on every post they write, the signal travels with them across the community.
You stay in full control. Labels are owner-defined and owner-assigned. Members cannot give themselves a badge, which is exactly what makes a badge meaningful.
How it works (for members)
Section titled “How it works (for members)”Members do not create or request labels. When you assign a label to a member, it shows up in two places automatically:
- On their profile. The label renders as a colored chip in the profile header, next to the member’s name and other badges.
- On their post bylines. The same chip appears next to the member’s name on the posts they write in the feed, so readers see the badge in context.
Labels also travel into connected apps, so a member’s badges show there too. A member with several labels shows all of them, in the order you set.
Setting it up (for owners)
Section titled “Setting it up (for owners)”Setup has two parts: defining a label, then assigning it to members.
Create a label
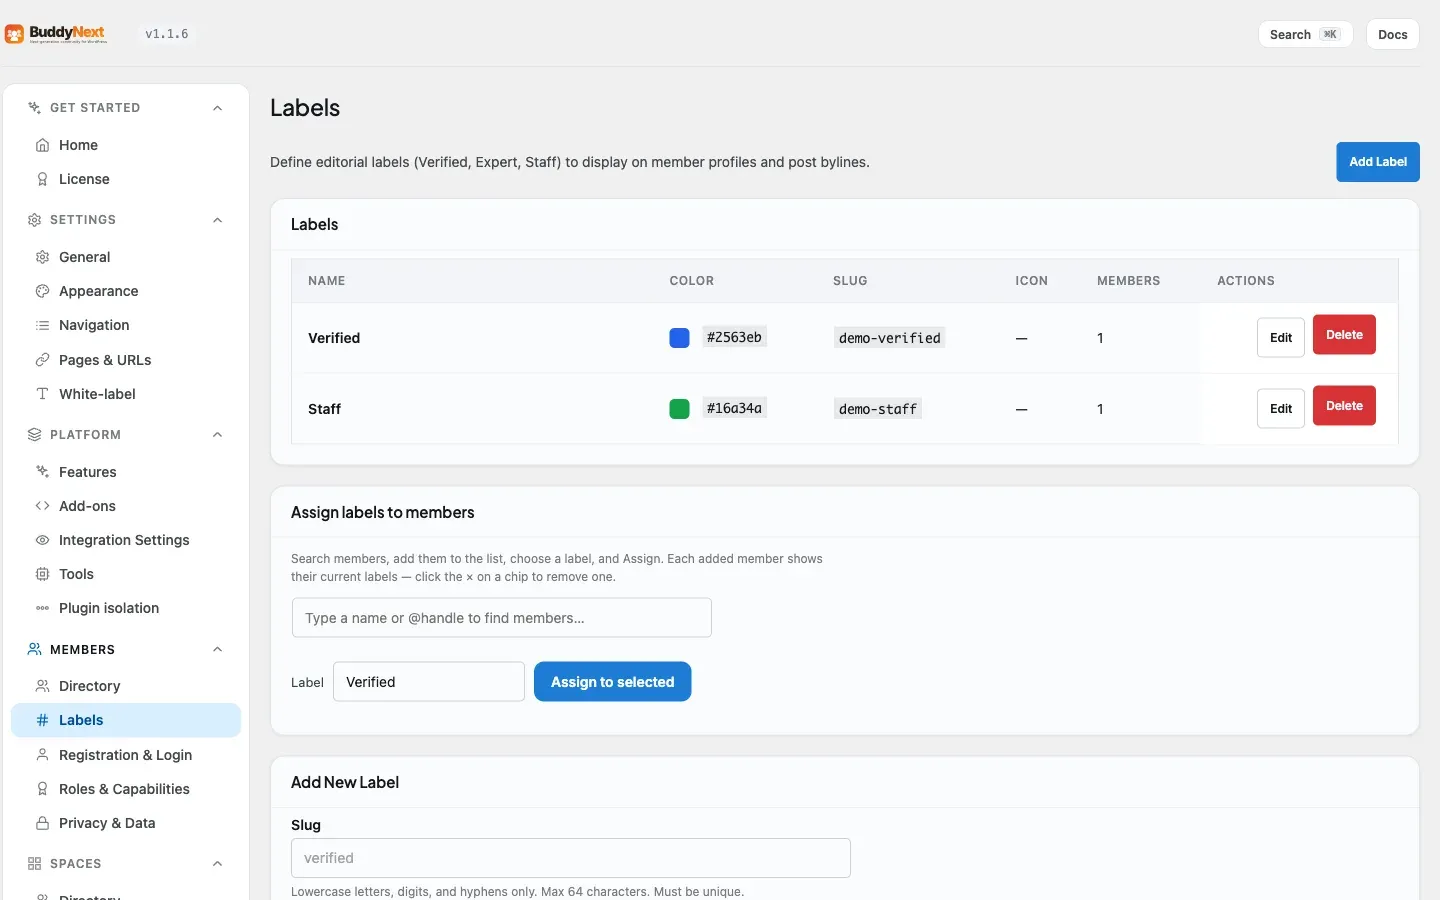
Section titled “Create a label”Open BuddyNext in wp-admin and go to the Member Labels page. In the Add New Label form, fill in the fields and select Add Label. The new label appears in the labels table.
| Setting | What it does | Default |
|---|---|---|
| Slug | A short, unique identifier for the label, using lowercase letters, digits, and hyphens. It keeps each label distinct behind the scenes. | None - required |
| Name | The display name shown on the chip (for example, “Verified”). Up to 255 characters. | None - required |
| Color | The chip color, chosen with a color picker. | A friendly blue |
| Icon | An optional icon shown on the chip, picked from the built-in icon set (for example a shield, a star, or a check). Leave blank for a text-only chip. | Empty (no icon) |
| Sort Order | Controls the order labels appear in when a member has more than one. Lower numbers show first. | 0 |
The labels table shows each label’s color swatch, name, icon, and a live count of how many members currently have it. Each row has an Edit control (an inline form to change any field) and a Delete button with a confirmation prompt.
Assign a label to a member
Section titled “Assign a label to a member”Once you have created at least one label, the Assign labels to members panel on the same screen lets you hand labels out without leaving wp-admin:
- Search for members in the member field and add each one to the list.
- Each member you add shows their current labels as chips - click the × on a chip to remove a label from that member.
- Choose the label you want to apply and select Assign to selected to apply it to everyone in the list.
The member count on the labels table updates as assignments are made, so you can always see how many members hold each label. Assignments also go through the same REST endpoints, so a connected app or a scripted/bulk process can assign and unassign the same way.
When a label is assigned to or removed from a member, the change requires administrator permission. The label definitions you create, and each member’s current labels, are visible to everyone.
Good to know
Section titled “Good to know”- Each label is unique. Two labels cannot share the same identifier. The form rejects a duplicate when you create or edit a label.
- The icon is optional. Leave it blank for a text-and-color chip, or pick an icon from the built-in set. An icon that is not in the set is rejected.
- Deleting a label tidies up after itself. When you delete a label, it is removed from every member who had it first, so no member is left pointing at a label that no longer exists.
- The member count stays accurate at scale. The admin table counts each label’s members directly, so the number stays correct even in a large community.
- Empty profiles stay clean. A member with no labels shows no chips - there is no empty placeholder, so members and installs without labels carry no visible clutter.
- Only admins manage and assign labels. Creating, editing, deleting, assigning, and unassigning are all limited to site administrators. Reading labels and a member’s labels is open to everyone.
Free vs Pro
Section titled “Free vs Pro”Member Labels is a Pro feature in full - the labels themselves, the admin screen, the profile and byline chips, and the ability to assign them are all part of BuddyNext Pro. Pro adds the chips into the profile and byline using BuddyNext Free’s display seams, so labels appear in the right places without any changes to Free.
Related
Section titled “Related”- Advanced Search - filter members by the labels you assign.
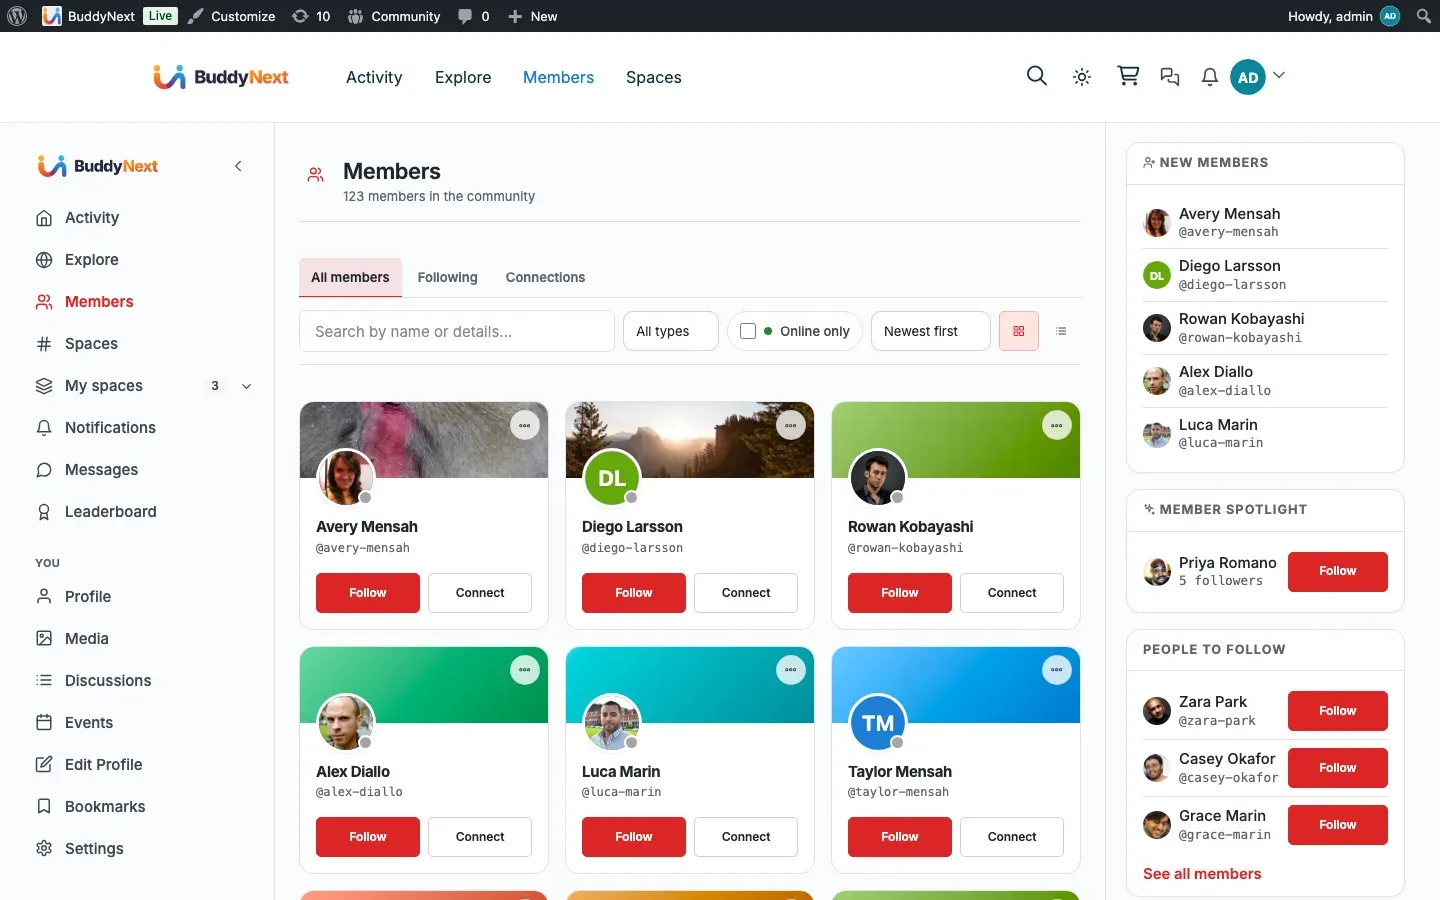
- Member Directory - where labels appear next to names.
- Broadcast Email - target a campaign by member label.