

Installation
Installation
Section titled “Installation”Get Jetonomy running on your WordPress site in under five minutes. This guide covers system requirements, how to install, and what happens the moment you activate.
What You Will Learn
Section titled “What You Will Learn”- Whether your server meets the requirements
- Three ways to install Jetonomy
- What Jetonomy sets up automatically on first activation
See it running first - launch a free sandbox site in your browser before you install anything. It is a throwaway Jetonomy install you can click around in to see how spaces, topics, replies and voting behave. The sandbox is disposable and not permanent, so nothing you do there matters - it is for trying the software, not a community to join.
Requirements
Section titled “Requirements”Jetonomy requires a modern WordPress stack. Check these before installing.
| Requirement | Minimum |
|---|---|
| WordPress | 6.7 or higher |
| PHP | 8.1 or higher |
| MySQL | 5.7 or higher (or MariaDB 10.4+) |
| Browser | Any modern browser (Chrome, Firefox, Safari, Edge) |
Jetonomy works with any WordPress theme. For the best visual result with zero extra configuration, use BuddyX.
Note: Jetonomy does not use WordPress custom post types. It stores all community data in its own optimized database tables (
wp_jt_*). This is intentional - it gives your community the query performance and scalability that CPT-based plugins cannot match.
Installation
Section titled “Installation”Jetonomy is distributed from wbcomdesigns.com. Both the free plugin and Pro come from the same downloads page, so start by downloading the ZIP: searching the WordPress plugin directory will not find it.
Method 1: Upload from WordPress Admin (Recommended)
Section titled “Method 1: Upload from WordPress Admin (Recommended)”- Go to Plugins → Add New Plugin → Upload Plugin.
- Choose the ZIP you downloaded.
- Click Install Now, then Activate.
Method 2: WP-CLI
Section titled “Method 2: WP-CLI”Point WP-CLI at the ZIP rather than at a slug. A bare slug is resolved against the WordPress plugin directory, where Jetonomy is not published, so it fails.
wp plugin install /path/to/jetonomy.zip --activateWhat Happens on Activation
Section titled “What Happens on Activation”Jetonomy sets everything up automatically the first time you activate it. You do not need to run any SQL or configure anything manually.
Database tables created:
Jetonomy creates its own set of custom tables under the wp_jt_ prefix - one for each data entity: categories, spaces, posts, replies, votes, user profiles, notifications, subscriptions, tags, moderation flags, revisions, invite links, bookmarks, and more. It does not use WordPress custom post types.
WordPress capabilities registered:
Jetonomy registers its own custom capabilities (jetonomy_read, jetonomy_create_posts, jetonomy_moderate, and others) and maps them to your existing WordPress roles automatically.
Permalink rules flushed:
Your community URLs (e.g. yoursite.com/community/) are registered and rewrite rules are flushed immediately. No manual permalink reset needed.
URL Note: Throughout this documentation,
/community/is used as the default base URL. You can change this to any slug (e.g./forum/,/discuss/,/hub/) in Jetonomy → Settings → General → Community Base URL. All community URLs automatically update when you change the base slug.
Cron jobs scheduled:
Six background jobs are scheduled via WP-Cron:
- Trust level evaluation - promotes members who have earned higher trust levels.
- Expired restriction cleanup - lifts temporary restrictions once they expire.
- Activity log pruning - trims old activity-log rows to keep the table lean.
- Notification cleanup - removes stale read notifications.
- Scheduled post publishing - publishes posts queued for a future date.
- Verification reminders - nudges members who have not completed verification.
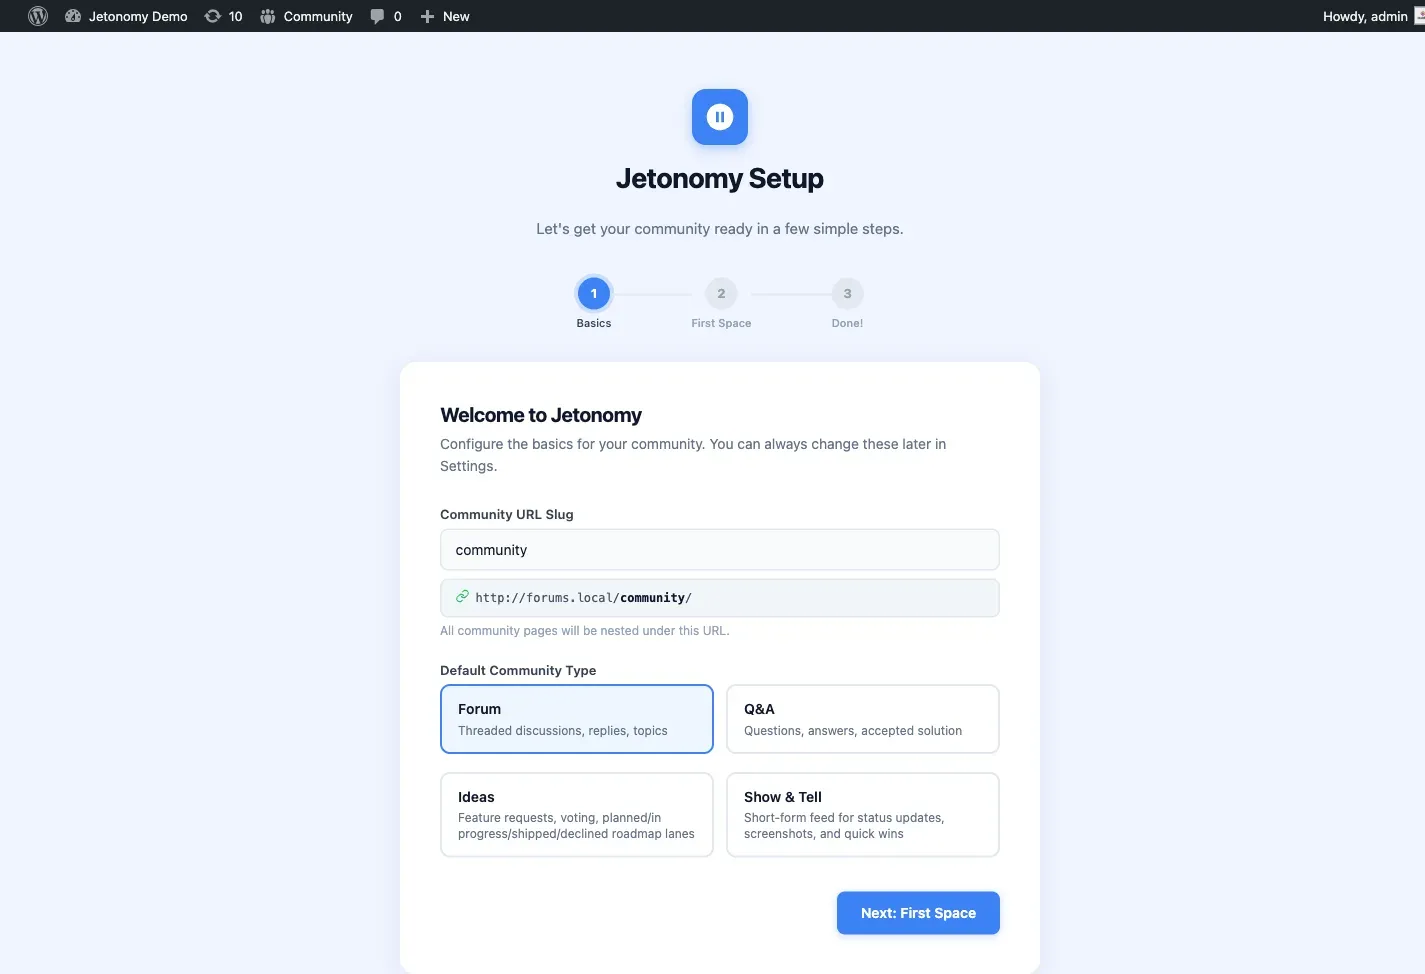
After activation, you will see a blue notice at the top of your dashboard:
Your community is almost ready. Run the setup wizard to get started.
Click that notice to launch the setup wizard and go live.
Tip: If you are migrating from bbPress, wpForo, or Asgaros Forum, activate Jetonomy first to complete setup, then use the importer at Jetonomy → Import. Your existing data is never touched until you explicitly start an import.
WordPress Multisite
Section titled “WordPress Multisite”Jetonomy is multisite-compatible. When you network-activate the plugin from Network Admin → Plugins, Jetonomy automatically creates all required wp_jt_* database tables on every existing subsite in the network.
New subsites created after network activation are also provisioned automatically. The moment WordPress adds a new subsite to the network, Jetonomy detects it and creates the required tables before any community activity can occur.
Note: Each subsite has its own independent set of
wp_{blog_id}_jt_*tables and its own community data. Spaces, posts, and members are not shared across subsites.
If you prefer per-site activation rather than network activation, install and activate Jetonomy on each subsite individually. Both approaches work correctly.
Uninstalling
Section titled “Uninstalling”If you deactivate Jetonomy, your data is preserved. Only a full uninstall (delete) removes the wp_jt_* tables, all plugin options, and all registered capabilities, giving you a clean removal with no database debris. Jetonomy Pro behaves the same way: uninstalling it removes every wp_jt_pro_* table, its options and user meta, and its scheduled tasks (fully covered as of 1.5.0).
What’s Next?
Section titled “What’s Next?”Run the three-step setup wizard to choose your community URL, create your first space, and go live.