

Custom Account Fields
Custom Account Fields
Section titled “Custom Account Fields”Custom account fields let you add your own questions to the sign-up form and the account profile page without writing any code. Use them to capture details Learnomy does not ask for by default, such as a license number, company name, phone number, or a consent checkbox.
Each field you define is saved to the member’s profile, can be made required, and shows up in the admin when you open a student’s detail page.
Where to manage fields
Section titled “Where to manage fields”Go to LMS Settings in the WordPress admin sidebar and click Registration Fields in the left-hand navigation panel.
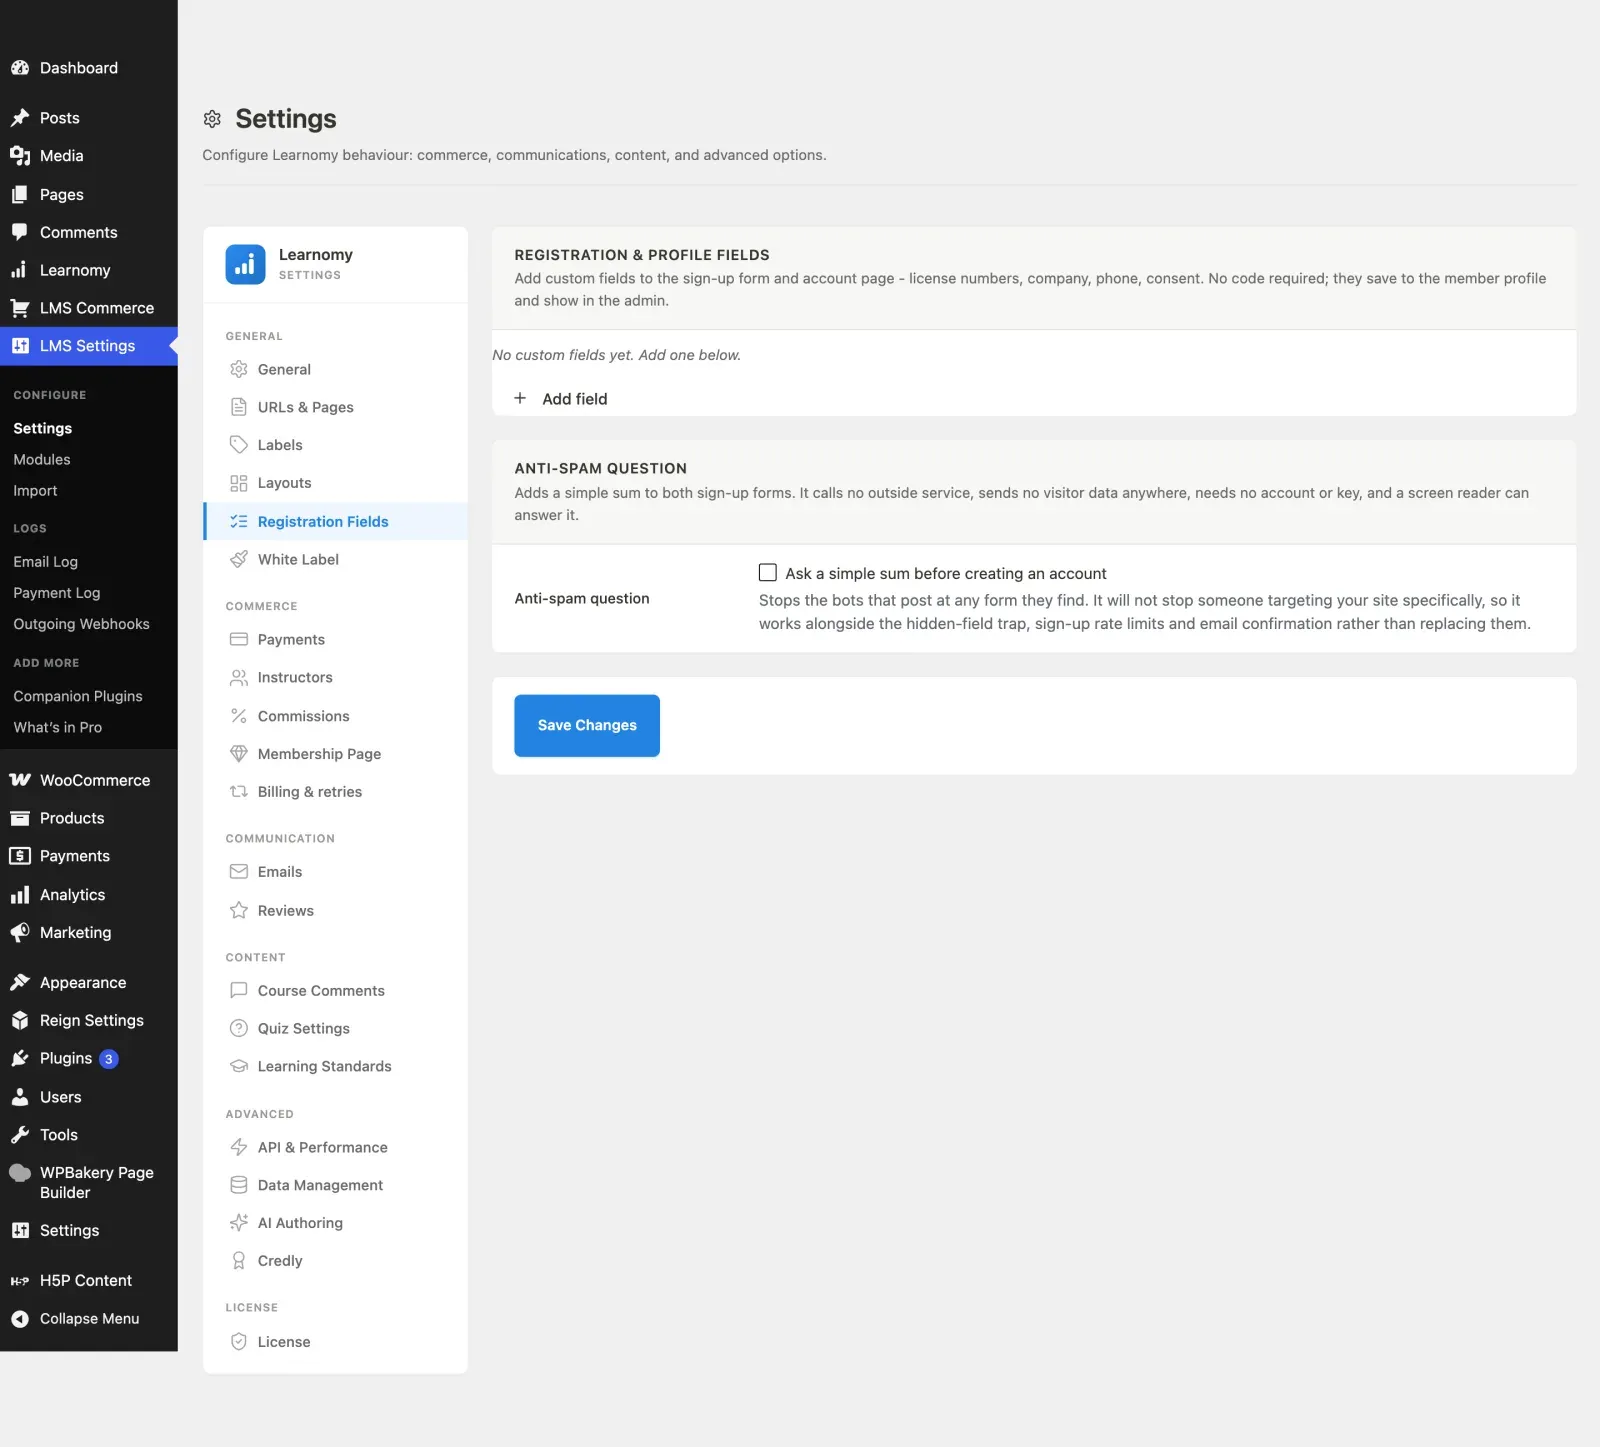
The section is called Registration & profile fields. It shows a list of every field you have added, an Add field button, and a Save Changes button. If you have not added any fields yet, it reads “No custom fields yet. Add one below.”
Adding a field
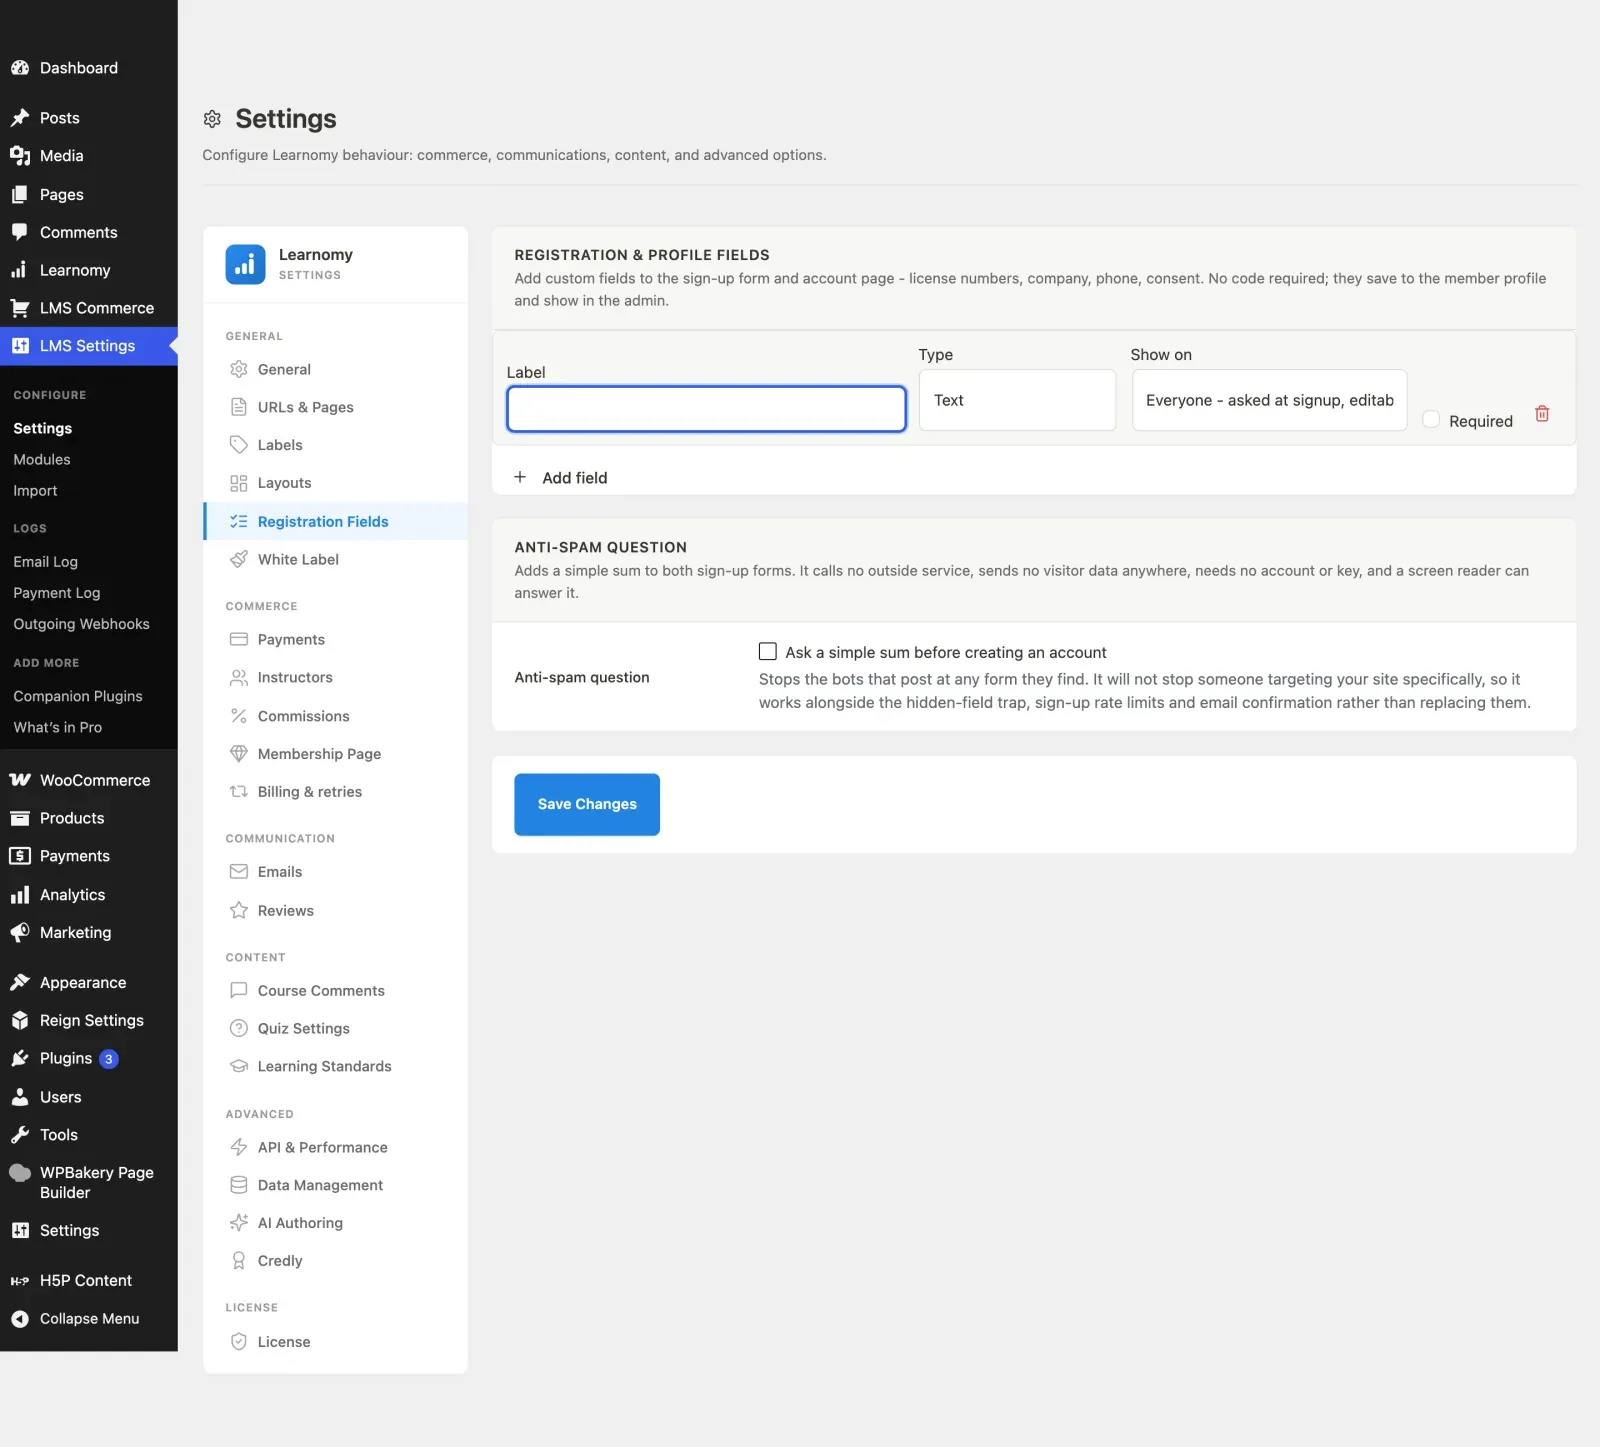
Section titled “Adding a field”- Go to LMS Settings and click Registration Fields.
- Click Add field. A new blank row appears.
- Enter a Label. This is the text shown to the member next to the input.
- Choose a Type (see the table below).
- Choose who is asked, and where, under Show on (see the table below). You can ask everyone, or only the people signing up as a student, or only the people applying to teach.
- Check Required if the member must fill the field in before the form can be submitted.
- If you picked the Dropdown type, a Dropdown options box appears. Enter one option per line.
- Click Save Changes.
Field types
Section titled “Field types”| Type | What it collects |
|---|---|
| Text | A single line of plain text. |
| An email address. | |
| Phone | A telephone number. |
| Paragraph | A multi-line text box for longer answers. |
| Dropdown | A select menu. You supply the choices, one per line. |
| Checkbox | A single on/off tick box, for consent or yes/no questions. |
How the field key is created
Section titled “How the field key is created”Every field has a stable internal key that Learnomy uses to store the value. When you add a field, the key is generated from the label: spaces become underscores and the text is lower-cased, so a label of “Bar Number” produces the key bar_number. The value is then stored against the member as user meta named learnomy_field_bar_number.
The key is set once, when the field is first saved, and does not change afterwards even if you rename the label later. This keeps already-collected answers attached to the field.
Where fields appear and when they save
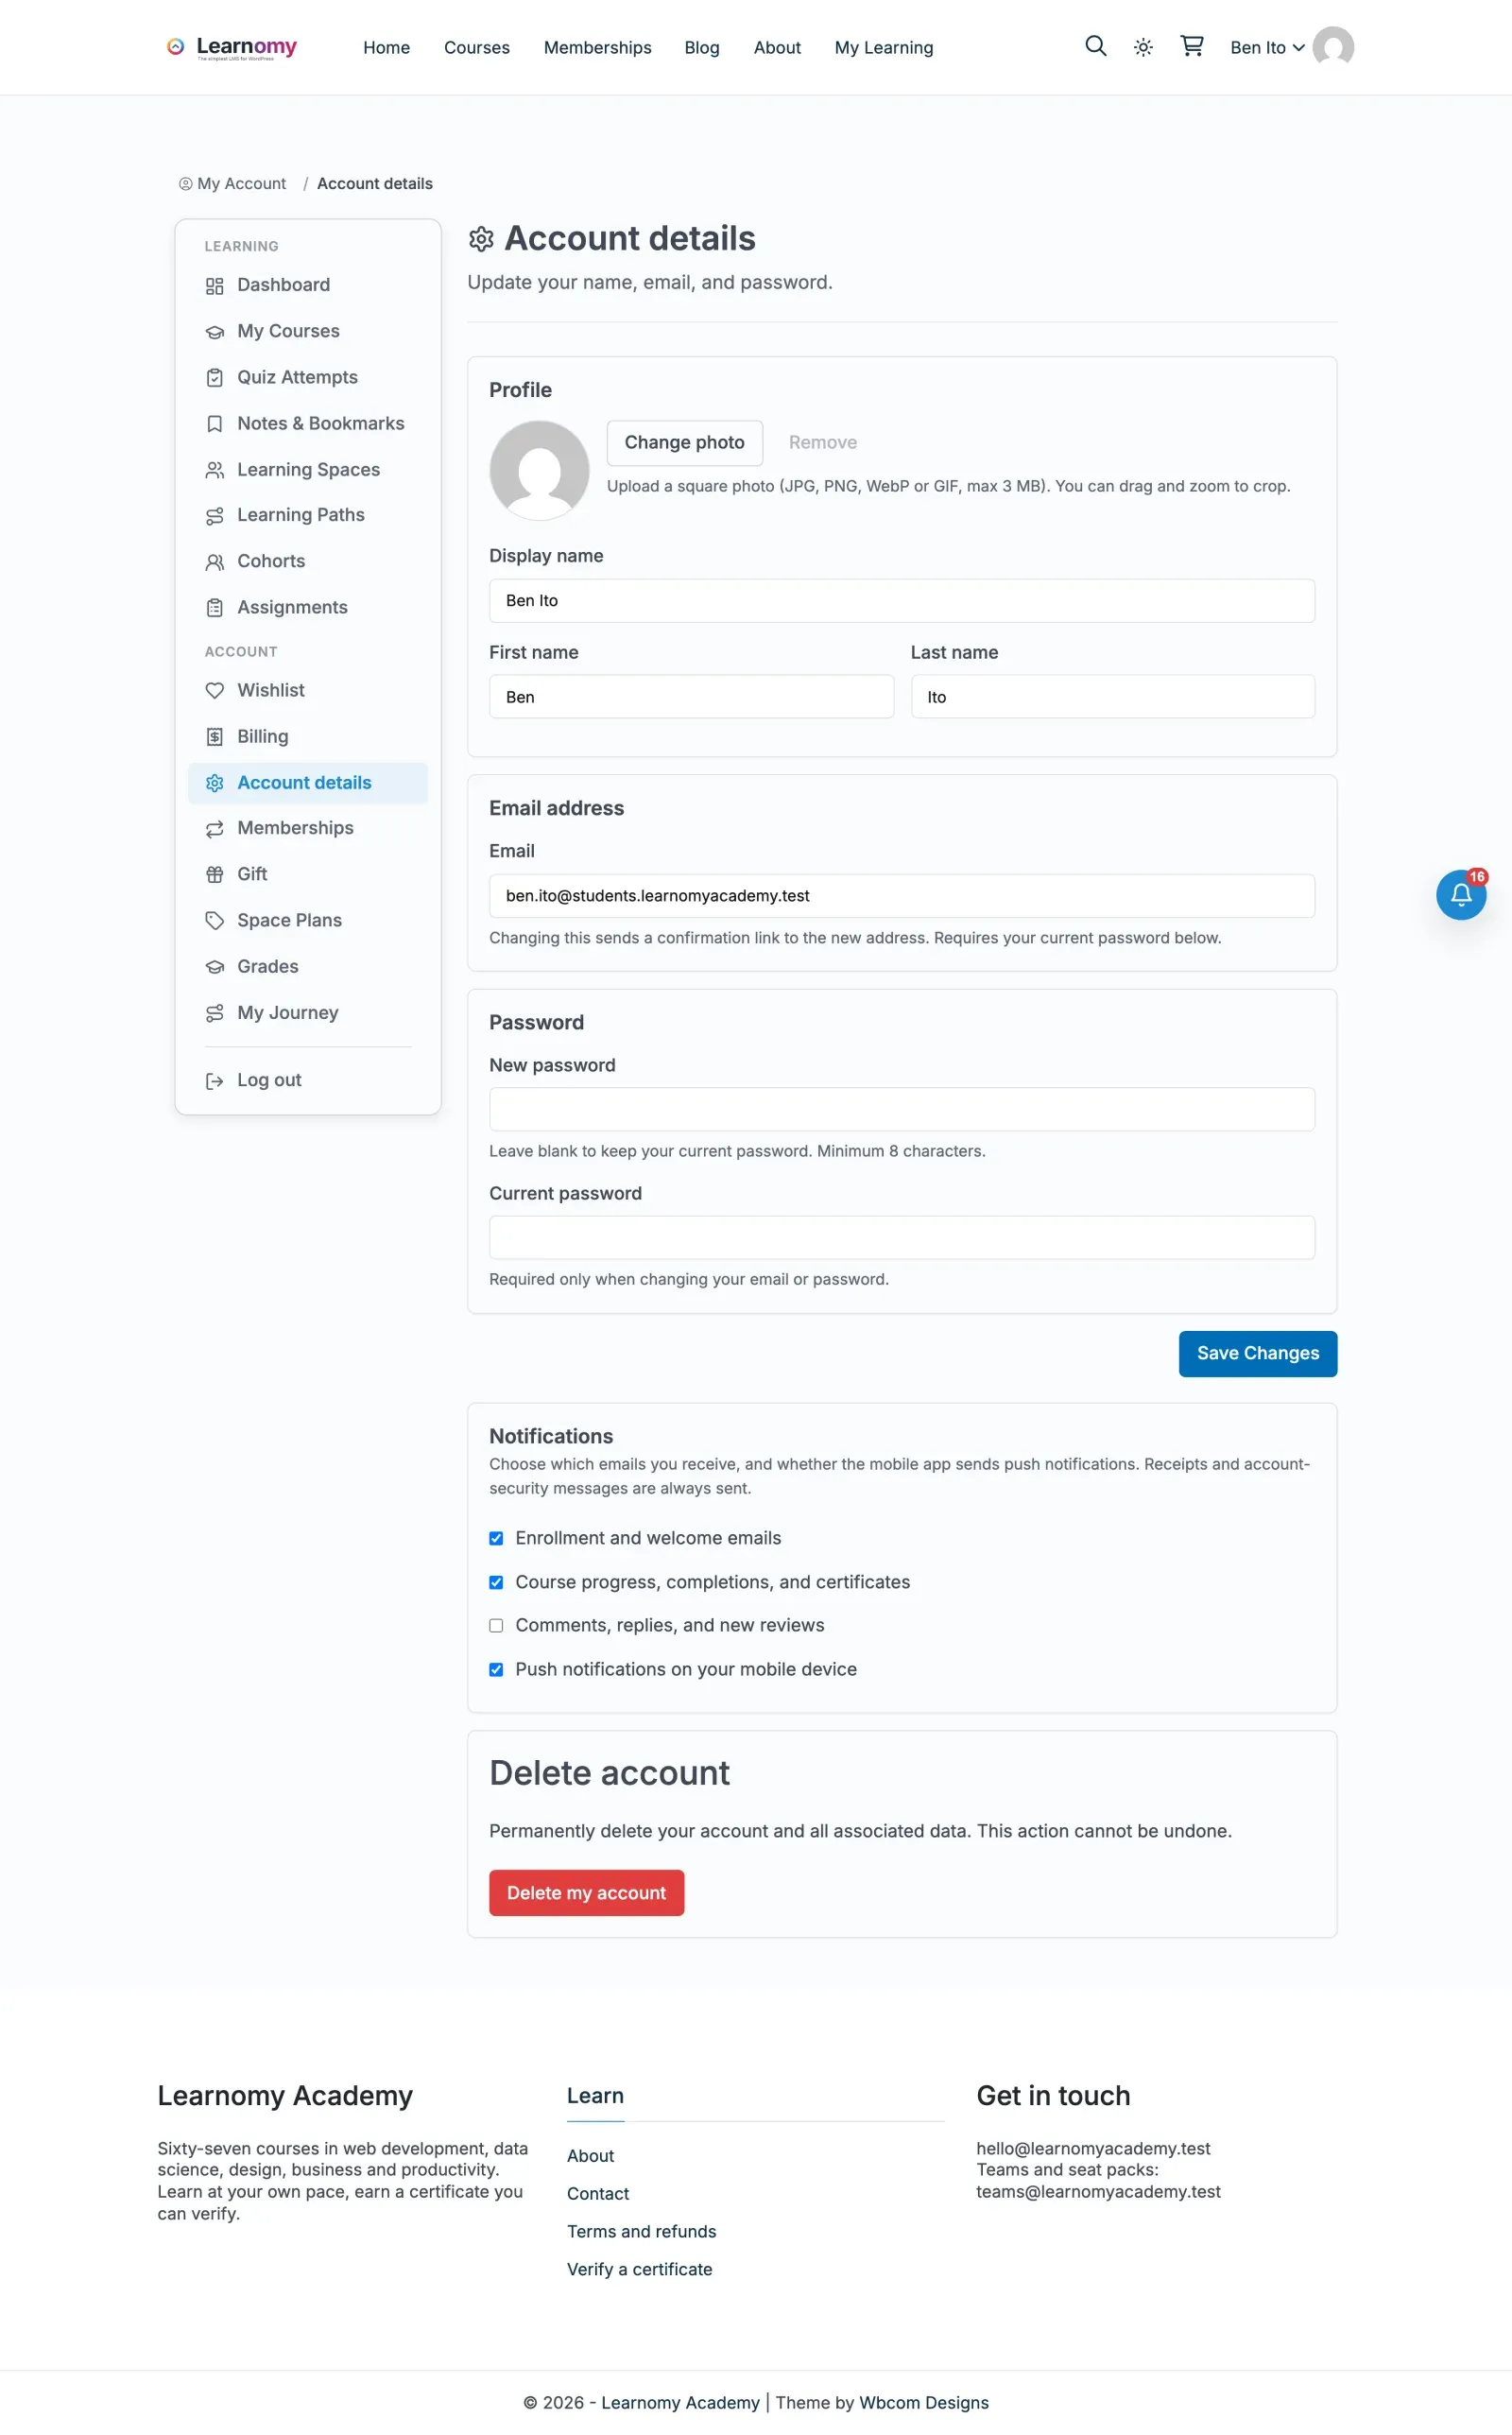
Section titled “Where fields appear and when they save”Fields render and save on both member-facing surfaces, controlled by the Show on setting:
| Show on | Where it appears | Can the member change it later? |
|---|---|---|
| Everyone - asked at signup, editable in the account | Both sign-up forms and Account details | Yes |
| Everyone - asked once at signup | Both sign-up forms | No |
| Students only - asked once at signup | The student sign-up form only | No |
| Instructors only - asked on the application | The instructor application, and that instructor’s Instructor profile page | Yes |
| Everyone - account only | Account details only | Yes |
Pick a signup-only option for a question you ask once and never need again, such as “How did you hear about us?”. Be deliberate about it: the member never sees that field again, so they cannot correct a typo, and neither can you from the admin screens, which show the answer but do not edit it.
The two audience options exist because the forms ask different people different things. A certification number belongs on the instructor application and has no business on student sign-up; a student ID is the reverse. Before this you could only put a field on both forms or neither.
Required fields are enforced on the server before the account is created or updated, so a missing required answer blocks the submission with a message naming the field. A field limited to one audience is only required for that audience - an instructor-only required field never blocks a student signing up.
A submission only writes the fields that were actually on that form, so updating the account page never clears a registration-only field, and vice versa.
Viewing captured values
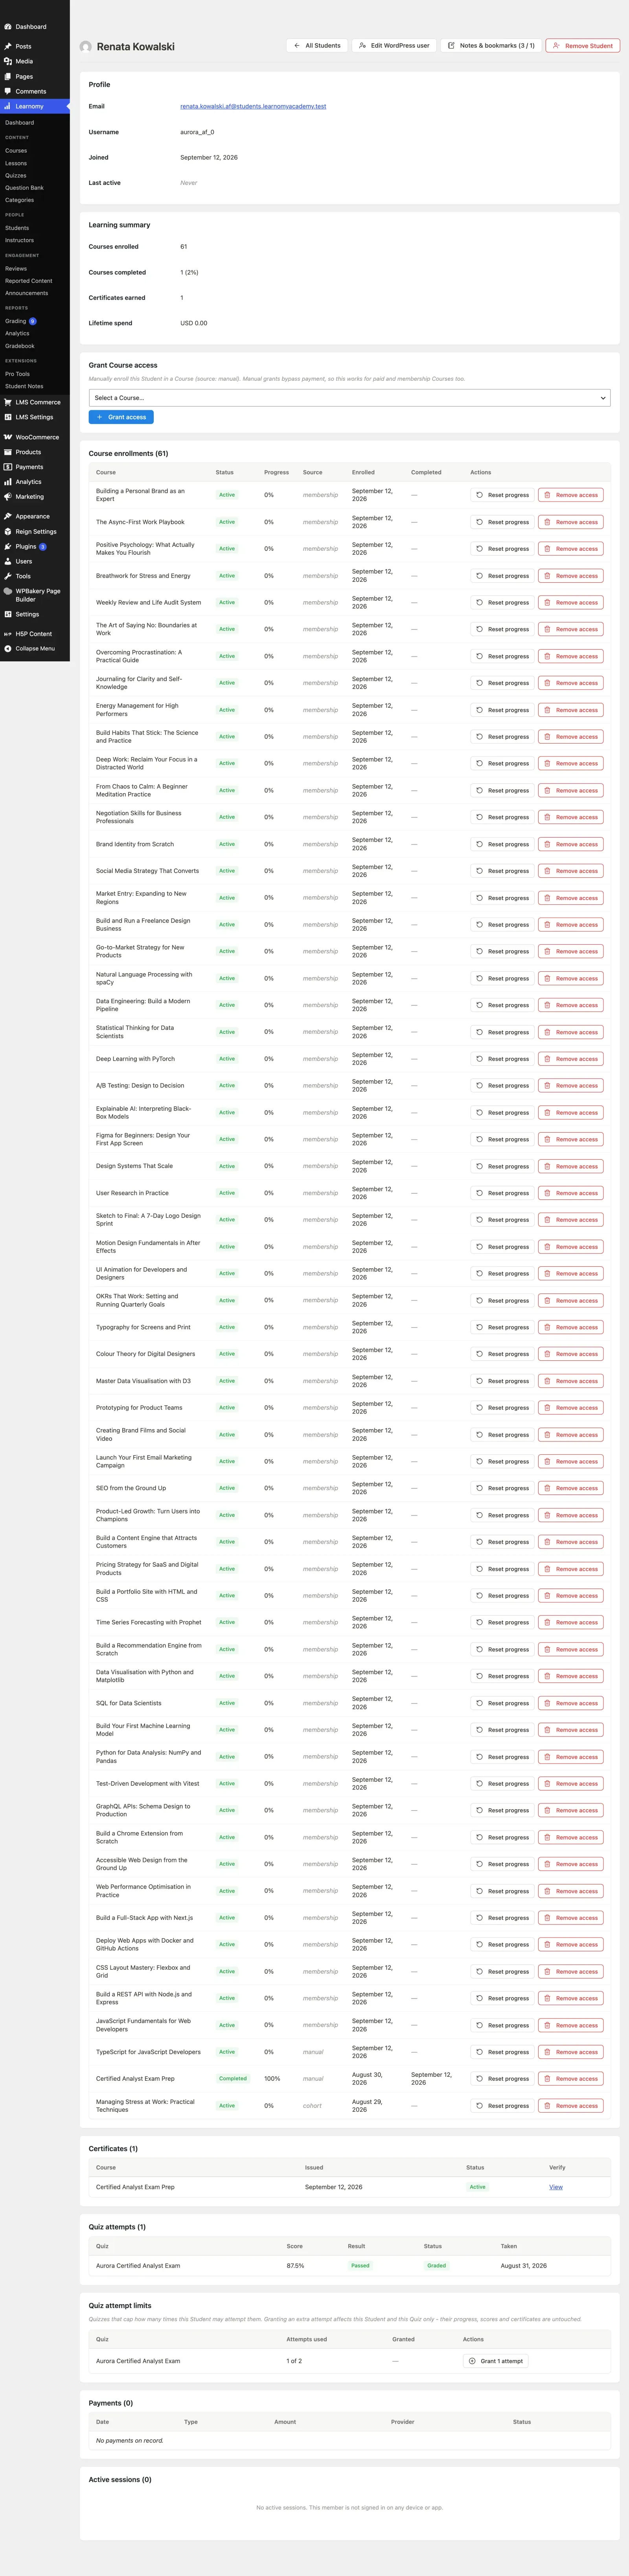
Section titled “Viewing captured values”Open Learnomy > Students and click a student to open their detail page. Any custom field values that member has filled in are listed in their profile, using the field label. A checkbox field shows as Yes or No, and an empty field shows a dash.
Editing and removing fields
Section titled “Editing and removing fields”- Rename a field: change its Label and click Save Changes. The internal key stays the same, so existing answers are kept.
- Change type, location, or required: adjust the controls on the field’s row and click Save Changes.
- Remove a field: click the trash icon at the end of the field’s row, then click Save Changes. Removing a field stops it from appearing on the forms. Values already saved against members remain in the database under the field’s user-meta key.
Developer note
Section titled “Developer note”Custom account fields are a no-code layer built on top of two extension hooks that developers can also use directly:
learnomy_account_fields(action) - fires where fields should render. It receives0on the registration forms and the current user ID on the account details page.learnomy_account_fields_save(action) - fires where submitted values should be persisted. It receives the user ID and the request object.
The built-in builder is a first-party consumer of these same hooks, so admin-defined fields and any developer-registered fields render and save through one shared seam. Field definitions are stored in the learnomy_settings option under the custom_account_fields key, and values are stored as user meta prefixed learnomy_field_.