

Zoom Meetings
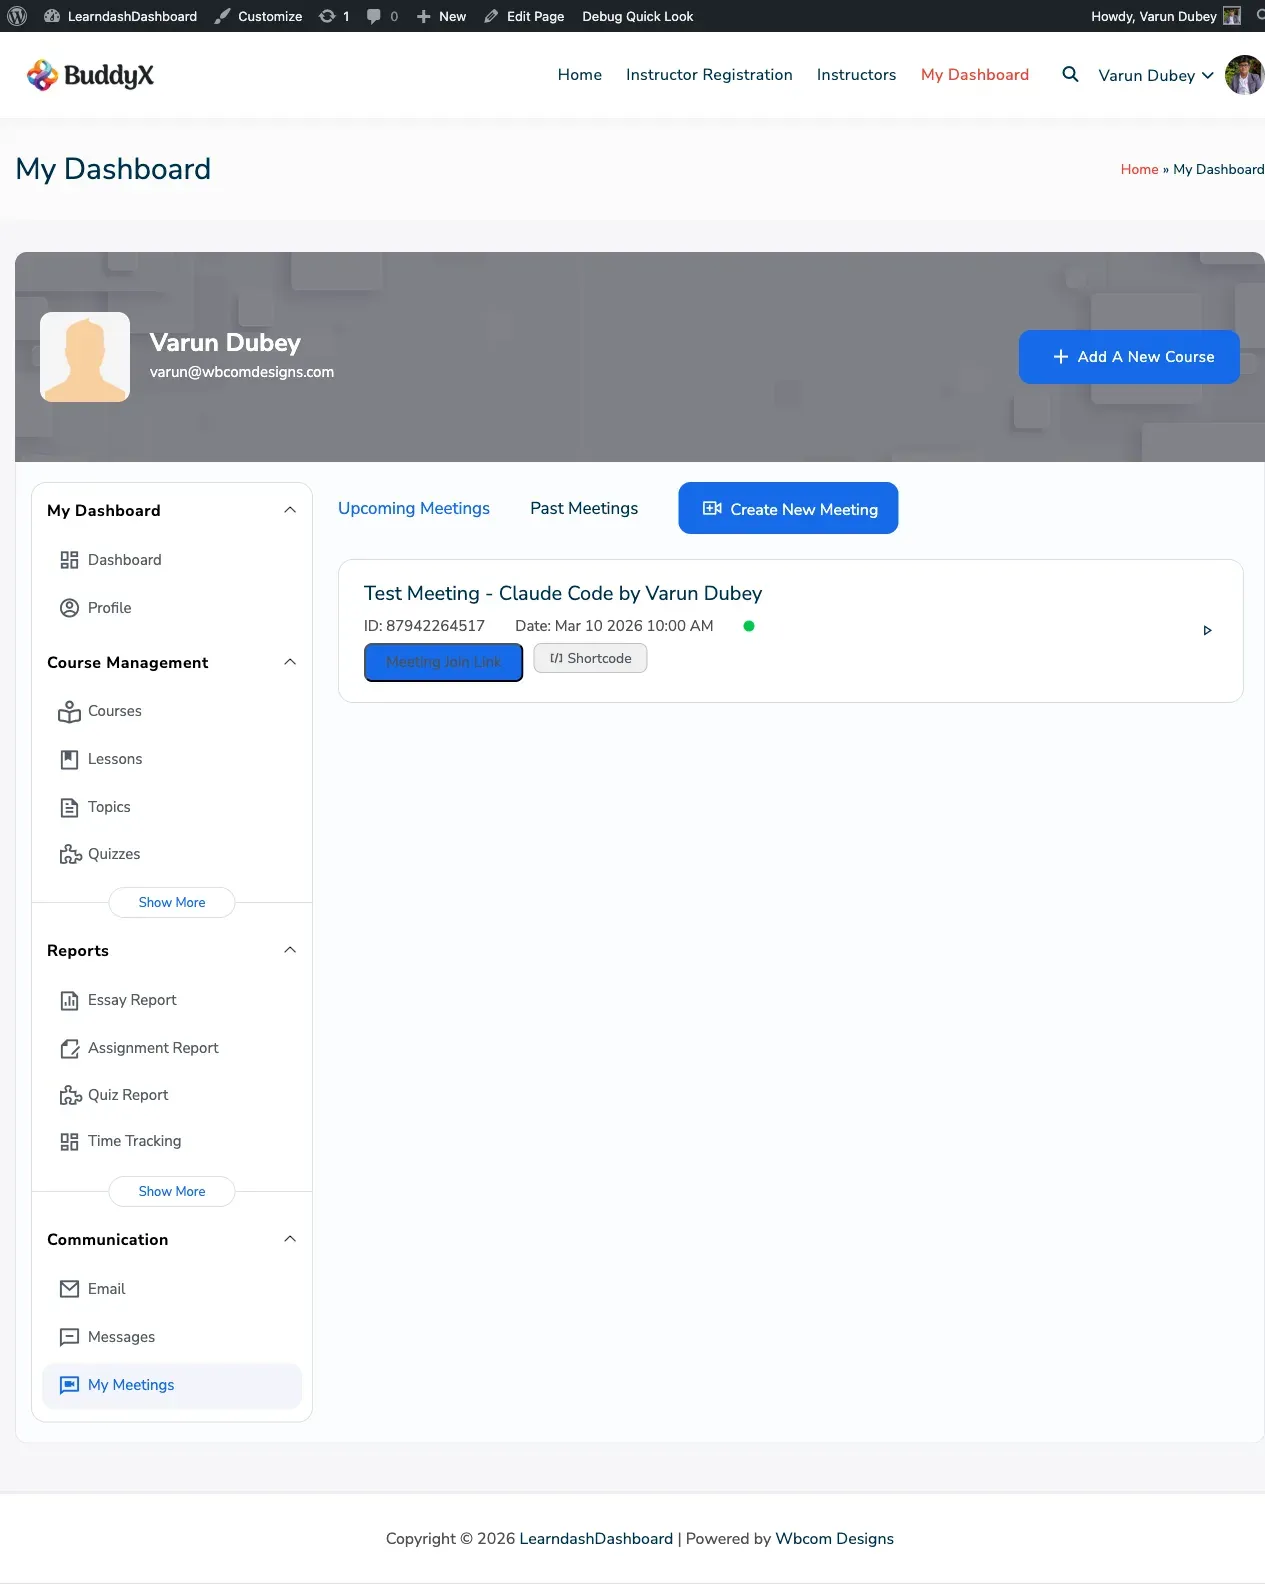
The Zoom Meetings feature lets admins and instructors create and manage Zoom meetings from directly inside the LearnDash Dashboard. You can link meetings to specific courses, and your students can join in-browser without ever leaving your site. Recordings are fetched and displayed automatically.
Find your meetings at My Dashboard > Meetings in the sidebar.
Initial Setup
Section titled “Initial Setup”Before you can create meetings, a Zoom app must be connected to the plugin. This is a one-time setup done by a site administrator.
Step 1: Create a Zoom App
Section titled “Step 1: Create a Zoom App”- Log in at marketplace.zoom.us.
- Click Develop > Build App and choose Server-to-Server OAuth.
- Complete the app setup. Copy the Account ID, Client ID, and Client Secret shown on the credentials page.
Step 2: Enter Your Credentials in the Plugin
Section titled “Step 2: Enter Your Credentials in the Plugin”- Go to Admin > LearnDash Dashboard > Zoom Settings.
- Enter your Zoom Account ID, Client ID, and Client Secret.
- Enter the Zoom host email — the Zoom account that meetings will be created under.
- Save your settings.
Admin Setting: Use Admin Account
Section titled “Admin Setting: Use Admin Account”In Zoom Settings, you’ll find a “Create meetings using admin account” checkbox. This controls whose Zoom account is used when instructors create meetings:
- Checked — All meetings are created under the admin’s Zoom account. Instructors do not need their own Zoom apps. The Zoom tab is hidden from instructor profiles.
- Unchecked — Each instructor uses their own Zoom account. They must set up their own Zoom app and enter their credentials in the dashboard (see below).
Co-hosts
Section titled “Co-hosts”You can designate specific instructors as Zoom Account Co-hosts in the admin Zoom Settings. Co-hosts can start meetings and access recordings for meetings they are assigned to.
Instructor Zoom Setup
Section titled “Instructor Zoom Setup”This is what makes LearnDash Dashboard unique — instructors can connect their own Zoom accounts and run live sessions independently, without relying on the site admin’s Zoom account.
When the admin has not enabled “Use Admin Account,” each instructor gets a Zoom tab in their profile settings at My Dashboard > Settings > Zoom.
Step 1: Create a Zoom App
Section titled “Step 1: Create a Zoom App”Each instructor needs their own Server-to-Server OAuth app in the Zoom Marketplace:
- Go to marketplace.zoom.us and sign in with your Zoom account.
- Click Develop > Build App and choose Server-to-Server OAuth.
- Complete the app setup.
- In the Scopes section, add these permissions:
meeting:write:adminmeeting:read:adminrecording:read:adminuser:read:admin
- Copy the Account ID, Client ID, and Client Secret.
Step 2: Enter Credentials in the Dashboard
Section titled “Step 2: Enter Credentials in the Dashboard”- Go to My Dashboard > Settings > Zoom.
- Enter your:
- Account ID — from your Zoom app
- Client ID — from your Zoom app
- Client Secret — from your Zoom app
- Zoom Account Email — the email address associated with your Zoom account
- Click Save.
The dashboard includes a built-in setup guide on this page that walks instructors through each step.
Step 3: Verify the Connection
Section titled “Step 3: Verify the Connection”After saving, a status indicator shows whether the connection is working:
- Connected (green check) — Your Zoom account is linked and ready to use.
- Invalid credentials (red X) — Double-check your Account ID, Client ID, and Client Secret.
- Not verified (gray dash) — Credentials have not been entered yet.
Click the Verify Connection button to test the connection at any time.
How It Works
Section titled “How It Works”Once an instructor has saved their Zoom credentials:
- Any meeting they create from My Dashboard > Meetings is hosted under their own Zoom account.
- Recordings from their meetings are automatically fetched and stored.
- Students enrolled in the linked course can join the meeting in-browser on your site.
- The instructor is the host of their meetings, with full control over settings like waiting rooms, recording, and participant permissions.
This means your site can have multiple instructors running live sessions simultaneously, each using their own Zoom account with their own meeting limits and settings.
Creating a Meeting
Section titled “Creating a Meeting”- Go to My Dashboard > Meetings.
- Click Create Meeting.
- Fill in the meeting details:
| Field | Description |
|---|---|
| Topic | The meeting title your participants will see |
| Agenda | A short description of what the meeting covers |
| Start Date / Time | When the meeting is scheduled to begin |
| Timezone | The timezone for the meeting |
| Duration | How long the meeting will run |
| Password | Optional password to restrict who can join |
| Course | The LearnDash course this meeting belongs to. Enrolled students can join it from their own Meetings tab, and (if the option below is enabled) are emailed when it is created. Leave as “Not associated with a course” for a standalone meeting. |
| Email enrolled students | When a course is selected, email everyone enrolled once, at the moment the meeting is first created. On by default; editing the meeting later never re-sends. |
| Participant Video | Whether participant cameras are on when they join |
| Mute Upon Entry | Whether participants are muted when they join |
| Host Video | Whether your camera is on when you start the meeting |
| Waiting Room | Hold participants in a waiting room until you admit them |
| Join Before Host | Allow participants to join before you start the meeting |
| Auto Recording | Choose no recording, or save to your computer or Zoom cloud |
- Click Save Meeting.
Your meeting is created in Zoom and added to your meetings list. The list shows the topic, start time, duration, and action buttons for each meeting.
Editing a Meeting
Section titled “Editing a Meeting”- Go to My Dashboard > Meetings.
- Click Edit next to the meeting you want to change.
- Update the details and click Save Meeting.
Only the person who created the meeting, or an admin, can edit it.
Deleting a Meeting
Section titled “Deleting a Meeting”- Go to My Dashboard > Meetings.
- Click Delete next to the meeting.
The meeting is removed from both the dashboard and your Zoom account.
Joining a Meeting
Section titled “Joining a Meeting”Students enrolled in the associated course can join a meeting directly from your site in their browser — no Zoom app download required.
There are three ways an enrolled student can reach a meeting:
- My Dashboard > Meetings — students see a read-only list of upcoming and past meetings for the courses they are enrolled in, each with a Join button. They cannot create, edit, or delete meetings.
- Email notification — if the instructor left Email enrolled students enabled when creating the meeting, each enrolled student receives an email with the meeting details and a join link.
- Embedded in course content — a meeting embedded in a lesson or topic with the
[ld_dashboard_meeting_single]shortcode shows a Join button inline.
Meeting Recordings
Section titled “Meeting Recordings”Recordings are automatically fetched and displayed on each meeting’s detail page. The dashboard checks for new recordings every six hours. You can also refresh recordings manually from the meeting detail view.
Access to recordings is available to admins, the meeting creator, and the assigned co-host.
Who Can Do What
Section titled “Who Can Do What”| Action | Administrator | Instructor | Student |
|---|---|---|---|
| Create a meeting | Yes | Yes | No |
| Edit their own meeting | Yes | Yes | No |
| Delete their own meeting | Yes | Yes | No |
| View the meeting list | Yes (all) | Yes (own + co-hosted) | Enrolled courses only |
| Join via browser | Yes | Yes | Enrolled students only |
| View recordings | Yes | Yes | No |