

Site Owner Journey
You operate the directory. You decide what gets listed, who can submit, how reviews are moderated, and how (or whether) money changes hands. This is your end-to-end playbook from a fresh WordPress install to a fully monetized vendor directory.
Who this is for
Section titled “Who this is for”- Operator of a community directory (city food guide, niche industry directory, local services hub)
- Lead-gen site owner monetizing via paid placement / verified badges
- Agency building a multi-tenant directory product for a client
- Marketplace builder layering vendor signups on top of a content site
Stage 1 - Get the site standing up (Day 1, ~30 minutes)
Section titled “Stage 1 - Get the site standing up (Day 1, ~30 minutes)”What you expect from a directory plugin: install, see something usable in minutes, no wrestling with placeholder pages.
What you do:
- Install Free from WordPress.org plugin search (“WB Listora”). Activate.
- The Setup Wizard auto-runs - pick 1-2 listing types (Restaurant, Hotel, Real Estate, Job, Event, Classified, …), set your default location, choose your slug structure.
- Wizard auto-creates 3 pages: Add Listing, My Listings, Directory - already wired with the correct blocks.
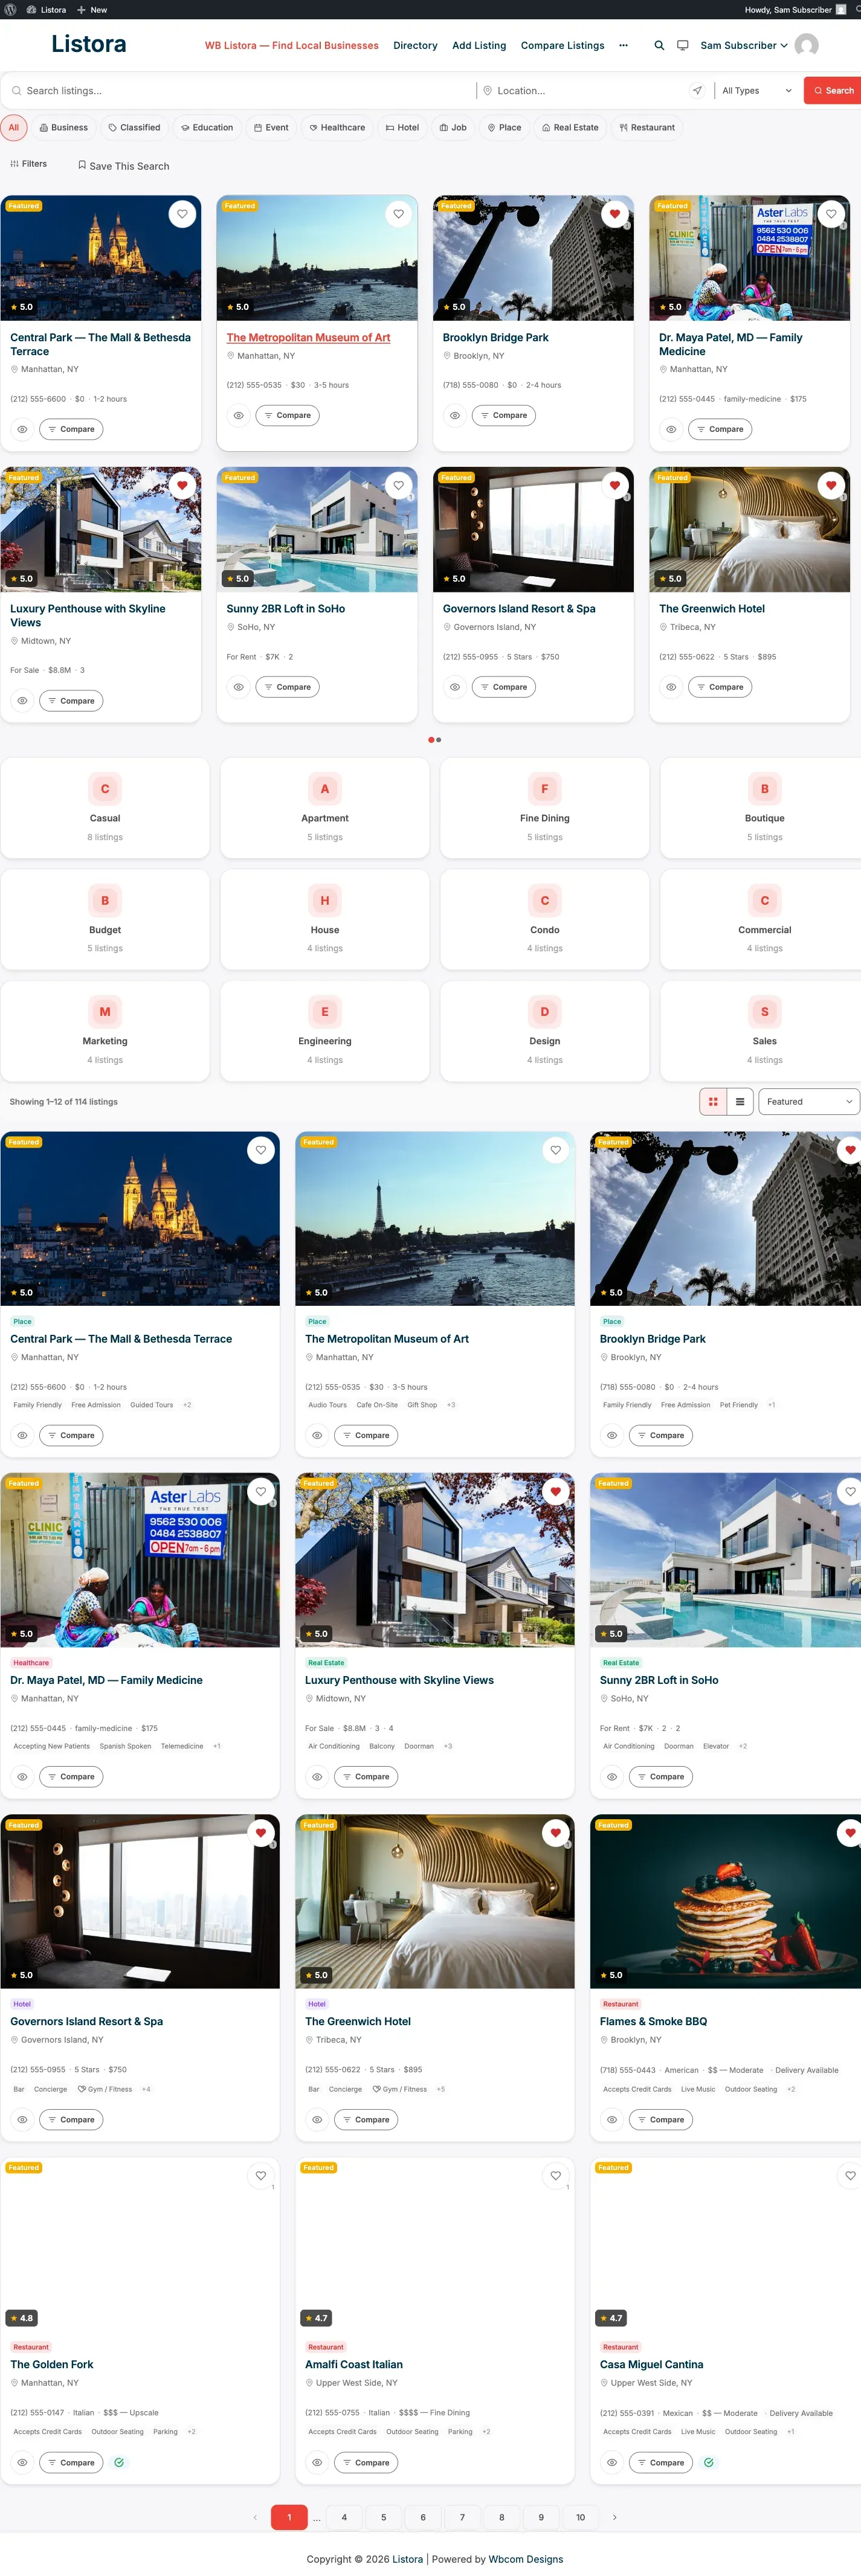
- Optionally load a demo pack:
wp listora demo seed --pack=restaurant --with-users --reindexadds ~20 realistic listings + 4 test users so you can browse a populated site immediately. - Visit your site - the Directory page shows search + filters + grid. Pages live. You’re operational.
What you’re left with: a working directory with real-looking content, ready to demo to clients or share with early vendors.
Stage 2 - Customize the look (Day 1-2, ~1 hour)
Section titled “Stage 2 - Customize the look (Day 1-2, ~1 hour)”What you expect: make it look like YOUR brand, not “another WP plugin.”
What you do:
- Open Settings → General - adjust permalink slugs (
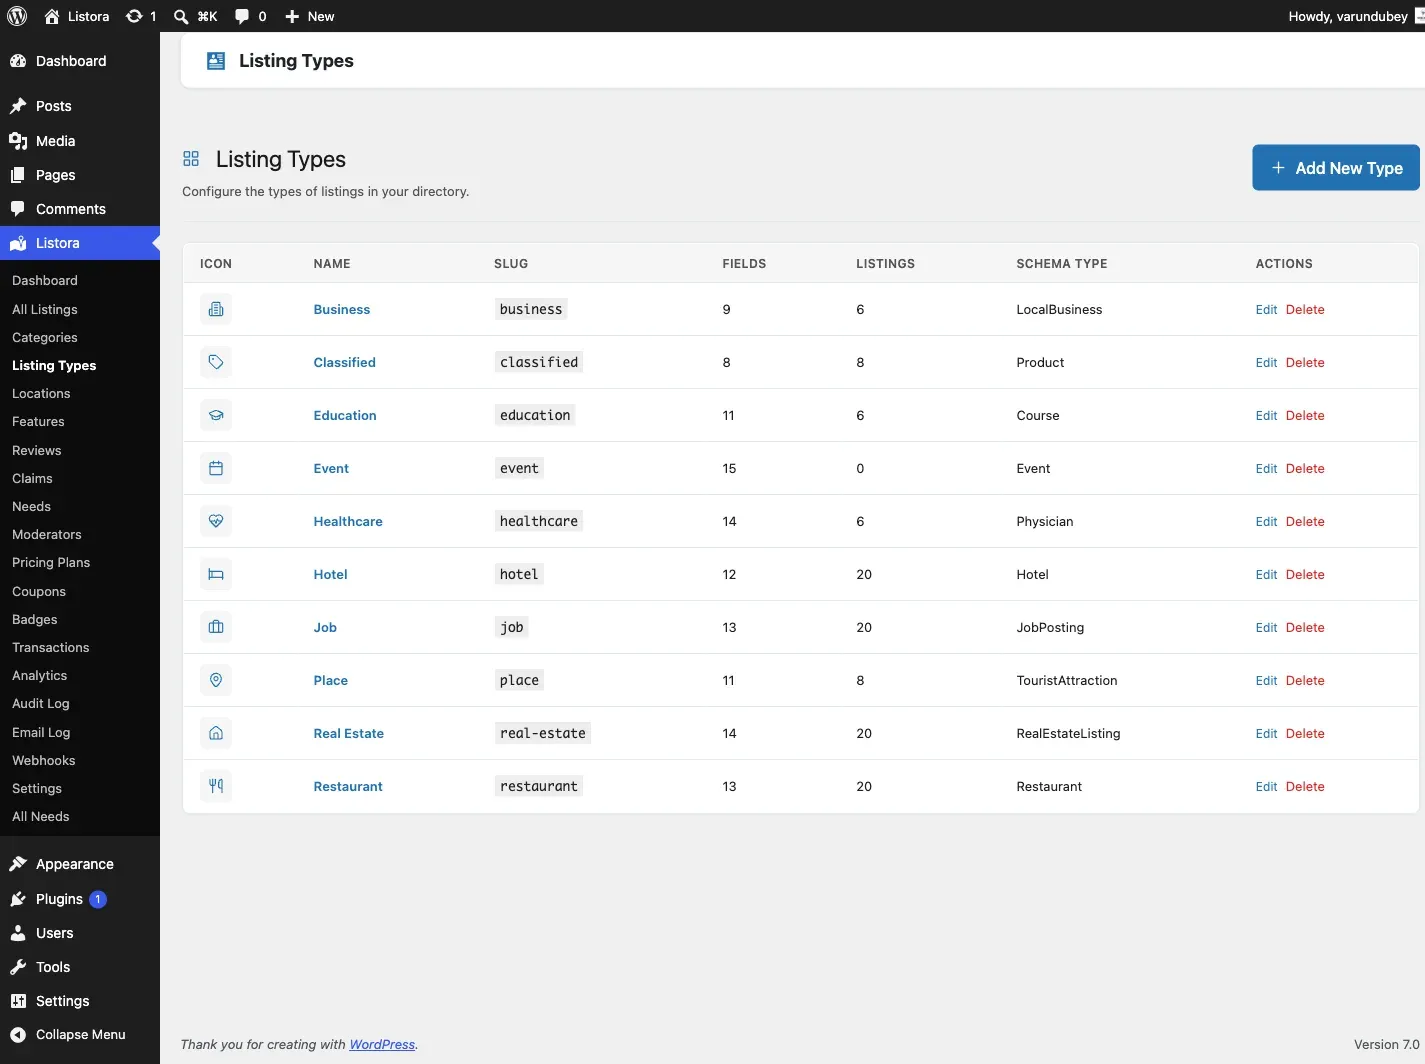
listing-cat,listing-location,listing-featuredefaults work but you can rename to match your taxonomy language). - Visit Listora → Listing Types - change icons, rename labels, mark a default type for new submissions.
- Tweak any block’s Inspector (per-instance padding, color, layout) - every block has 20 standard responsive attributes.
- Override the listing card template if needed: copy
wp-content/plugins/wb-listora/templates/blocks/listing-card/card.phpto{your-theme}/wb-listora/blocks/listing-card/card.phpand edit.
Stage 3 - Build your taxonomy (Day 2-3, ~2 hours)
Section titled “Stage 3 - Build your taxonomy (Day 2-3, ~2 hours)”What you expect: a clean, scannable browse experience - visitors find what they need without overwhelm.
What you do:
- Categories - define your top-level groupings (food, professional services, retail, …) and 2-3 levels of children.
- Locations - build your geo tree (Country → State → City → Neighborhood as deep as you need).
- Amenities / Features - flat list of 10-15 attributes customers will filter on (WiFi, Parking, Pet Friendly, Outdoor Seating, …). Keep it short.
Rule of thumb: customers can name 5-10 categories before getting bored. Anything beyond that should be a secondary filter (Feature) or a sub-category.
Stage 4 - Configure submissions (Day 3, ~30 minutes)
Section titled “Stage 4 - Configure submissions (Day 3, ~30 minutes)”What you expect: decide who can submit, whether you moderate, how much it costs.
What you do:
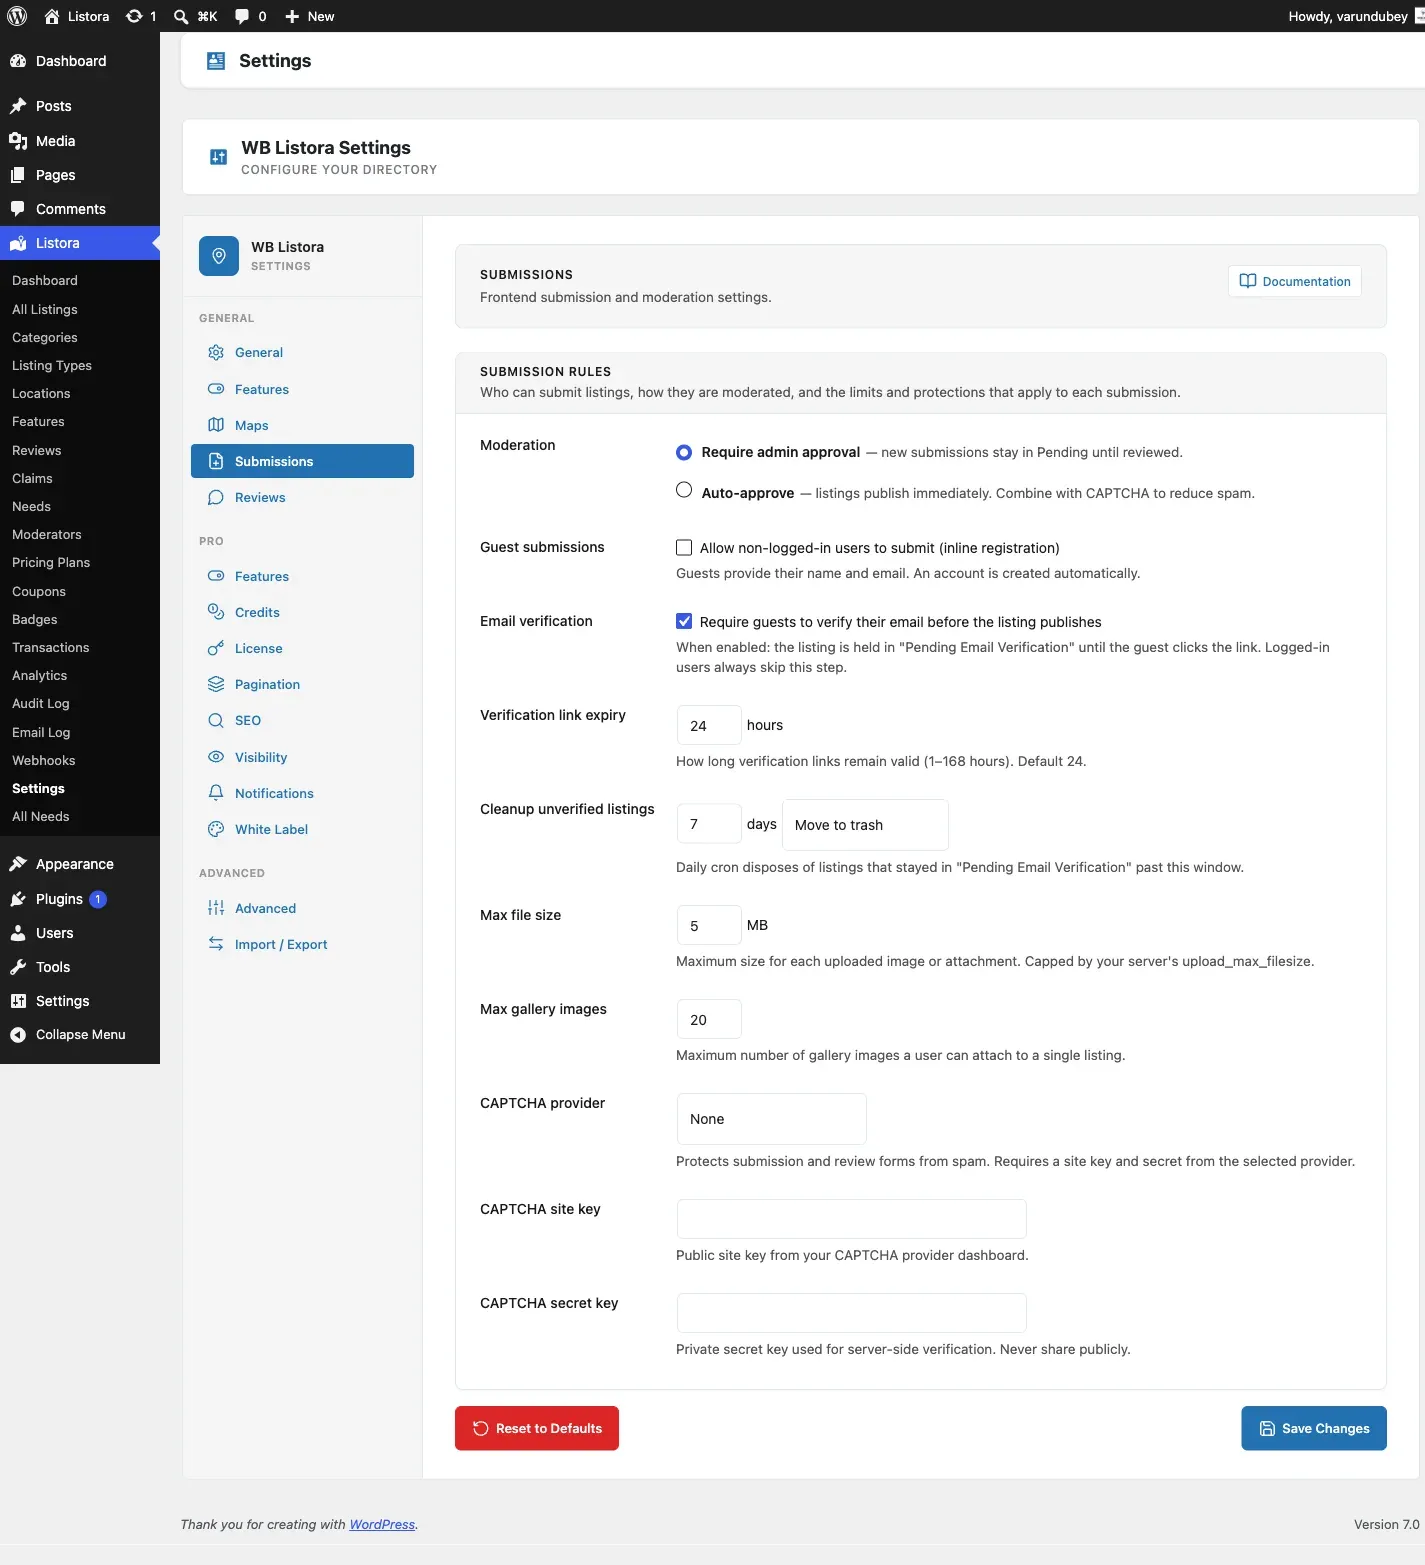
- Settings → Submissions - set the per-listing expiration window, enable auto-publish or the moderation-queue flow. (Submitting a listing requires a logged-in account.)
- Settings → Security - turn on reCAPTCHA v3 OR Cloudflare Turnstile (Turnstile is GDPR-friendly).
- Settings → Notifications - confirm the per-event emails are on; send a test email to confirm SMTP works.
- Settings → Reviews - auto-approve or hand-moderate; set minimum review length.
Stage 5 - Activate Pro (Day 3-4, ~20 minutes) - optional
Section titled “Stage 5 - Activate Pro (Day 3-4, ~20 minutes) - optional”What you expect: if you’re charging vendors or need lead capture / verification badges / multi-criteria reviews, add Pro without rebuilding what Free already gives you.
What you do:
- Install WB Listora Pro → activate → run the Pro setup wizard.
- Configure your credit packs (e.g. “5 credits / $25”, “20 credits / $80”, “100 credits / $300”).
- Define your pricing plans (Basic / Featured / Premium with credit cost + duration + entitlements).
- Toggle the Pro features you actually need from Settings → Features (Pro toggles register on this same screen since 1.1.0): Lead Forms, Verification, Badges, Audit Log, Analytics, Compare, Quick View, Coming Soon, etc. (You can leave the rest off.)
- Add a payment integration - easiest path is the bundled WooCommerce bridge or the direct Stripe webhook receiver.
Stage 6 - Open the floodgates (Week 1+)
Section titled “Stage 6 - Open the floodgates (Week 1+)”What you expect: start onboarding real vendors, see real traffic, get real reviews - no surprise failure modes.
What you do:
- Onboard vendors via frontend submission or bulk-import via CSV / GeoJSON or competitor migration.
- Watch the Audit Log - every approval / rejection / refund leaves a trail.
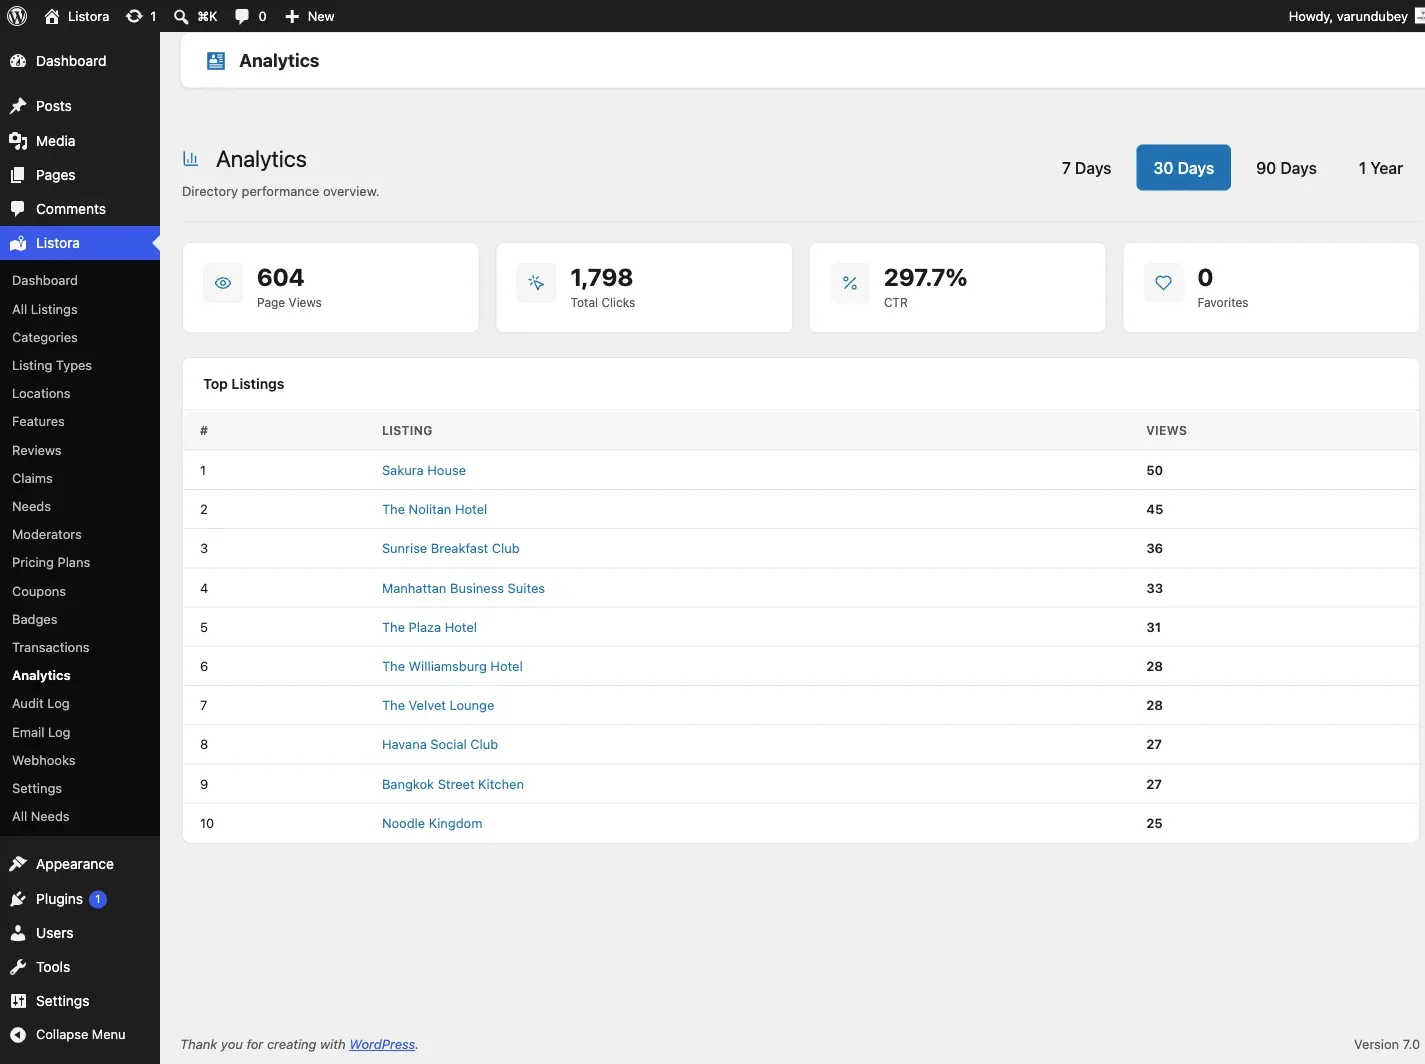
- Monitor Analytics - top listings, top categories, conversion rate, lead form fills.
- Keep an eye on the Email Log - confirm every notification delivers.
Stage 7 - Ongoing operations (Weekly)
Section titled “Stage 7 - Ongoing operations (Weekly)”| Cadence | What | Tool |
|---|---|---|
| Daily | Approve pending listings + reviews | All Listings (filter by Pending) + Listora → Reviews - pending items live on separate admin pages, NOT in a single unified queue |
| Daily | Reply to flagged content reports | Reports queue |
| Weekly | Check Audit Log for anomalies | Audit Log admin |
| Weekly | Send digest to vendors (auto, if Pro Digest is on) | Pro Digest Notifications |
| Monthly | Run wp listora repair to clean orphan index rows |
CLI |
| Monthly | Renewal reminders (auto-fire 7 days + 1 day before expiry) | (handled by cron) |
| Quarterly | Update credit pack pricing if needed | Pro settings |
What you do NOT have to do (because Listora handles it)
Section titled “What you do NOT have to do (because Listora handles it)”- No Set up cron manually - Action Scheduler is bundled in Free.
- No Worry about scale - denormalized search_index table + facet caching handles 100K+ listings.
- No Build a separate “Verified Owner” badge - Pro has it.
- No Stitch together payment integrations - credit-and-plan with 7 payment providers built-in (Stripe + PayPal direct + WooCommerce + WooSubscriptions + MemberPress + PMPro + WooMemberships adapters).
- No Manually email expiring listings - cron + the renewal flow handle it.
- No Roll your own spam protection - honeypot + rate limits + Akismet + CAPTCHA + URL density all layered out of the box.
Common pitfalls (and how to avoid them)
Section titled “Common pitfalls (and how to avoid them)”| Pitfall | Avoid by |
|---|---|
| Listing duplication when migrating from a competitor | Run wp listora migrate --dry-run first |
| Vendors confused by submission failures | Test the wizard yourself end-to-end before going live |
| Lost emails | Always send a test email from Settings → Notifications before launch |
| Outdated search results | Rebuild search index after bulk edits: Settings → Advanced → Rebuild Search Index |
| Pro features showing on Free-only sites | Pro features are gated by toggles - confirm in Settings → Features |
Related
Section titled “Related”- Listing Owner Journey - what your vendors experience.
- Visitor Journey - what your end customers experience.
- Moderator Journey - what a team member with moderator caps sees.
- Feature Matrix - full Free vs Pro capability grid.