

General Settings
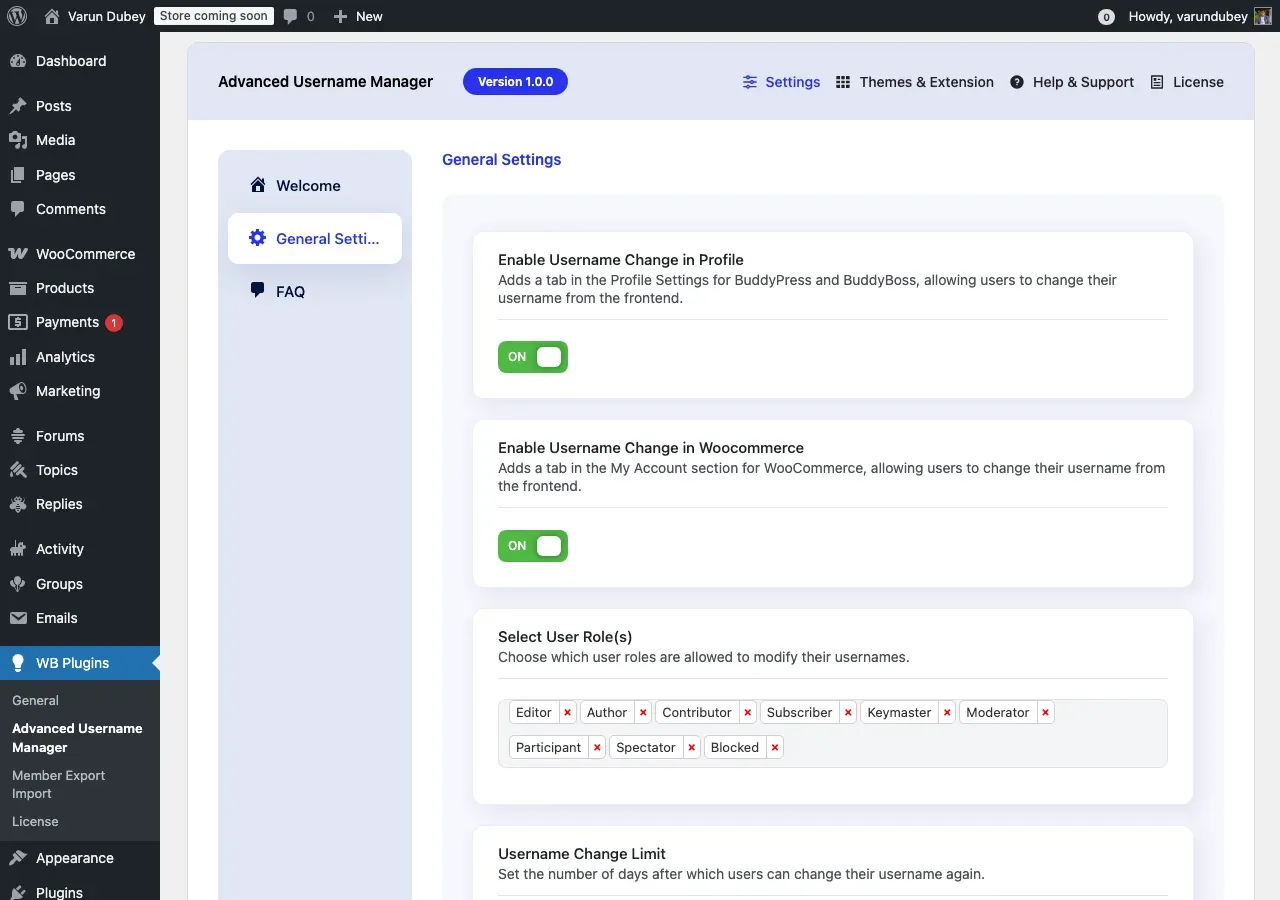
The General Settings page is the control center for Advanced Username Manager. This page allows you to configure all plugin options, control user permissions, and customize the username change experience.
Accessing General Settings
Section titled “Accessing General Settings”- Log in to your WordPress admin dashboard
- Navigate to WB Plugins → Advanced Username Manager
- Click the General Settings tab
Welcome Tab
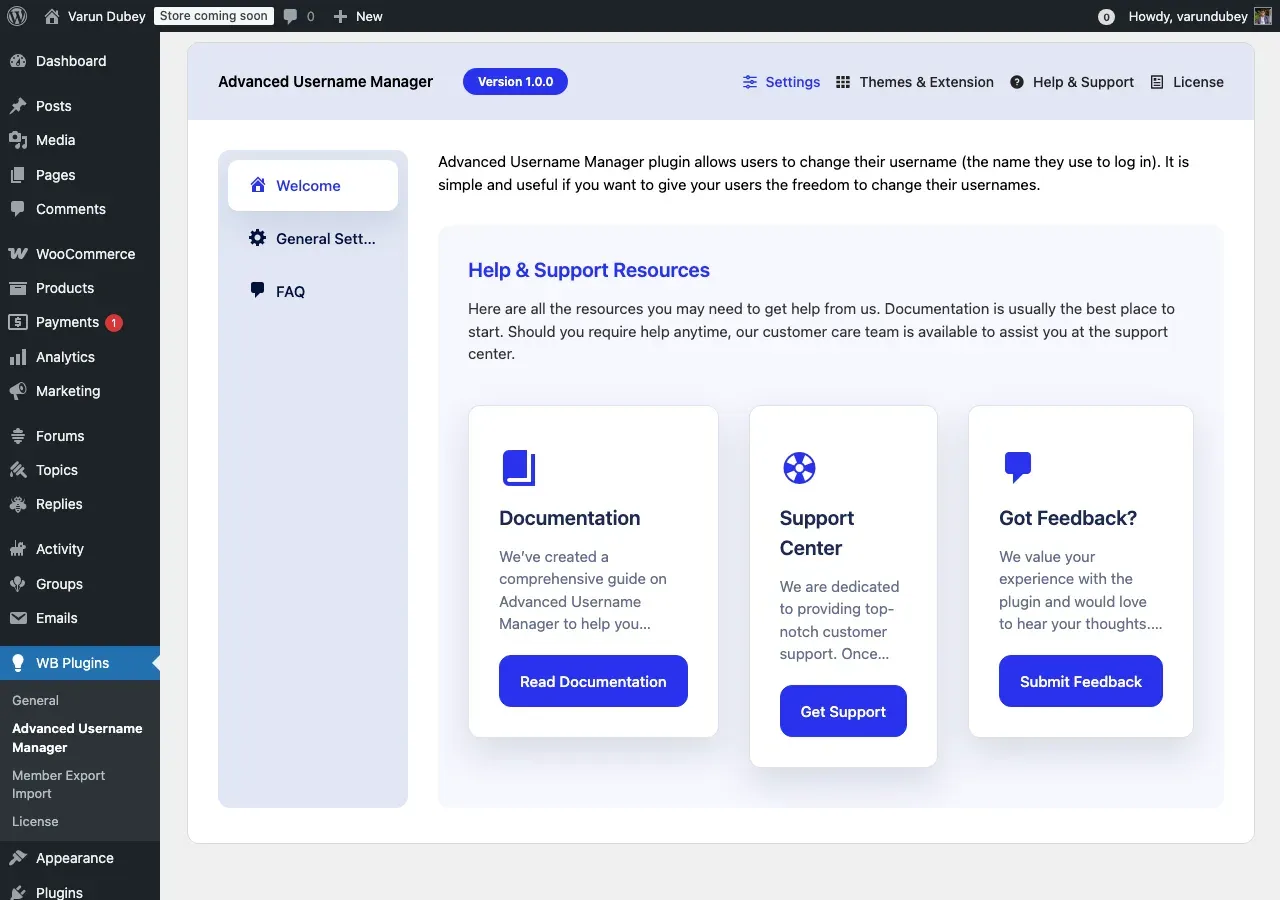
Section titled “Welcome Tab”When you first access the plugin settings, you’ll see the Welcome tab. This tab provides:
- Quick overview of the plugin features
- Links to documentation and support
- Help & support resources with direct links
General Settings Options
Section titled “General Settings Options”Enable Username Change in Profile (BuddyPress)
Section titled “Enable Username Change in Profile (BuddyPress)”This option appears only if BuddyPress or BuddyBoss Platform is active on your site.
What it does: Adds a “Username Change” tab in the Profile Settings for BuddyPress and BuddyBoss, allowing users to change their username from the frontend.
How to enable:
- Toggle the switch to ON (green)
- Click Save Changes at the bottom of the page
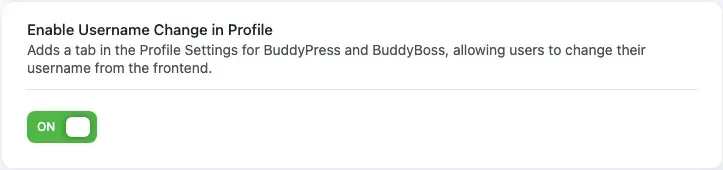
User Experience: When enabled, users will see a new tab called “Username Change” under Settings in their BuddyPress profile.
Enable Username Change in WooCommerce
Section titled “Enable Username Change in WooCommerce”This option appears only if WooCommerce is active on your site.
What it does: Adds a “Change Username” tab in the My Account section for WooCommerce, allowing customers to change their username from the frontend.
How to enable:
- Toggle the switch to ON (green)
- Click Save Changes at the bottom of the page
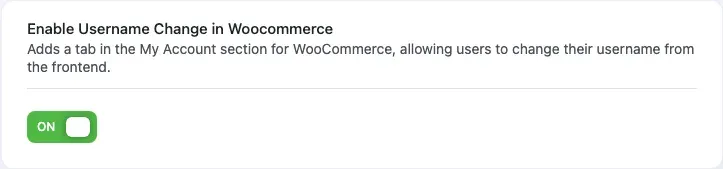
User Experience: When enabled, customers will see a new tab called “Change Username” in their My Account page.
Select User Role(s)
Section titled “Select User Role(s)”Control which user roles have permission to change their usernames.
Default Behavior: Administrators always have permission to change usernames, regardless of this setting.
How to configure:
- Click the dropdown field to see all available user roles
- Select multiple roles by clicking on each one
- Selected roles will display as tags in the field
- Click the X on any tag to remove that role
- Click Save Changes
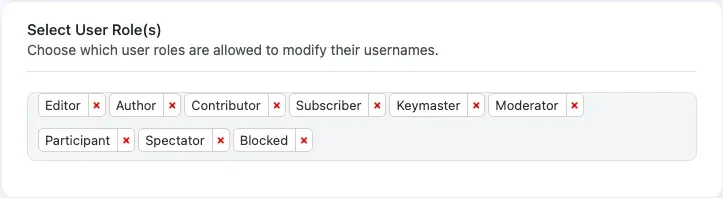
Common Role Selections:
- Subscribers - Basic site members
- Contributors - Users who can write content
- Authors - Users who can publish content
- Editors - Users with editorial privileges
- Shop Managers - WooCommerce store managers (if WooCommerce is active)
- Customers - WooCommerce customers (if WooCommerce is active)
Important: If no roles are selected, only administrators can change usernames.
Username Change Limit (Cooldown Period)
Section titled “Username Change Limit (Cooldown Period)”Set the number of days users must wait before they can change their username again. This prevents frequent username changes and potential abuse.
Available Options:
- 7 Days - Users can change username once per week
- 15 Days - Users can change username twice per month
- 30 Days - Users can change username once per month
How to configure:
- Click the dropdown menu
- Select your preferred cooldown period
- Click Save Changes
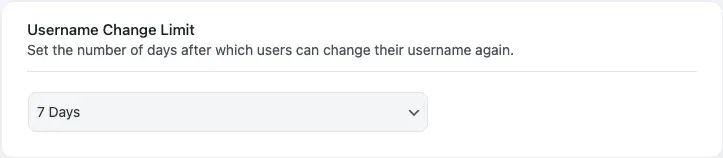
What Users See: If a user tries to change their username before the cooldown expires, they’ll see a message like:
“You have already updated your username. You can change it again after February 22, 2026.”
Best Practices:
- Use 7 days for community sites where users might need flexibility
- Use 15 days for balanced control and flexibility
- Use 30 days for professional sites or membership platforms
Minimum Username Length
Section titled “Minimum Username Length”Set the minimum number of characters required for a username.
How to configure:
- Enter a number in the text field (e.g., 5)
- Click Save Changes
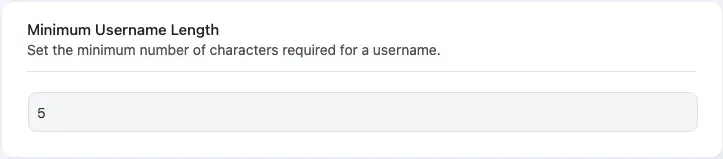
Default Value: 5 characters
Validation: The plugin validates usernames both on the frontend (instant feedback) and backend (security check).
What Users See: If a user enters a username shorter than the minimum, they’ll see:
“The username must be at least 5 characters long.”
Recommended Values:
- 3-4 characters - Very permissive (not recommended)
- 5-6 characters - Balanced (recommended)
- 7-8 characters - More restrictive but creates stronger usernames
Maximum Username Length
Section titled “Maximum Username Length”Set the maximum number of characters allowed for a username.
How to configure:
- Enter a number in the text field (e.g., 12)
- Click Save Changes
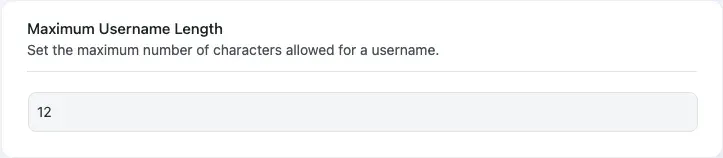
Default Value: 12 characters
Validation: The plugin prevents users from entering usernames that exceed this limit.
What Users See: If a user enters a username longer than the maximum, they’ll see:
“The username must not exceed 12 characters.”
Recommended Values:
- 12-15 characters - Standard limit (recommended)
- 16-20 characters - More flexible
- 20+ characters - Very permissive
Important: WordPress itself doesn’t impose strict username length limits, but shorter usernames are generally more user-friendly.
User Profile Link Format (BuddyPress Only)
Section titled “User Profile Link Format (BuddyPress Only)”This option appears only for BuddyPress sites (not BuddyBoss Platform).
What it does: Choose the format for member profile links (e.g., /members/username).
Available Options:
- Username - Profile URLs use the actual username (e.g.,
/members/john_doe) - Unique Identifier - Profile URLs use a random hash (e.g.,
/members/aum5f8a3c9b1)
How to configure:
- Select Username or Unique Identifier from the dropdown
- Click Save Changes
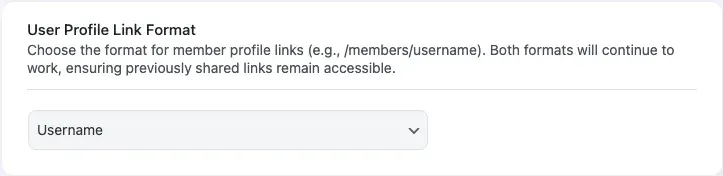
Important: Both formats will continue to work after changing this setting. Previously shared links remain accessible.
When to Use Unique Identifier:
- Enhanced privacy for members
- Prevents profile stalking based on username
- Useful for dating sites, private communities, or platforms where anonymity matters
When to Use Username:
- User-friendly, memorable URLs
- Better for SEO and public profiles
- Easier for members to share their profiles
Learn more in the Unique Identifier documentation.
Saving Your Settings
Section titled “Saving Your Settings”After configuring any options:
- Click the Save Changes button at the bottom of the page
- The page will reload with your updated settings
- Your changes are now active

Testing Your Configuration
Section titled “Testing Your Configuration”After saving settings, test the username change functionality:
For BuddyPress:
Section titled “For BuddyPress:”- Log in as a test user (with a role you selected)
- Navigate to Settings → Username Change
- Try changing your username
- Verify you receive the email notification
For WooCommerce:
Section titled “For WooCommerce:”- Log in as a customer account
- Navigate to My Account → Change Username
- Test the username change form
- Check for the confirmation email
Using Shortcode:
Section titled “Using Shortcode:”- Create a test page with
[username_manager]shortcode - View the page while logged in
- Test the username change form
Common Configuration Scenarios
Section titled “Common Configuration Scenarios”Scenario 1: Open Community Site
Section titled “Scenario 1: Open Community Site”Goal: Allow most users to change usernames with minimal restrictions
Settings:
- Enable BuddyPress/WooCommerce username changes
- Select all user roles except Administrator
- Set 7-day cooldown period
- Minimum length: 4 characters
- Maximum length: 20 characters
Scenario 2: Professional Membership Site
Section titled “Scenario 2: Professional Membership Site”Goal: Restrict username changes with tight controls
Settings:
- Enable only for specific premium member roles
- Set 30-day cooldown period
- Minimum length: 6 characters
- Maximum length: 15 characters
- Use Unique Identifier for privacy
Scenario 3: WooCommerce Store
Section titled “Scenario 3: WooCommerce Store”Goal: Allow customers to update their account usernames
Settings:
- Enable WooCommerce username changes
- Select Customer and Subscriber roles
- Set 15-day cooldown period
- Standard length limits (5-12 characters)
Troubleshooting Settings
Section titled “Troubleshooting Settings”Settings Not Saving
Section titled “Settings Not Saving”Solution:
- Check if you have administrator permissions
- Disable browser extensions that might interfere
- Try clearing your browser cache
- Check for JavaScript errors in browser console
Options Not Appearing
Section titled “Options Not Appearing”Solution:
- BuddyPress options appear only if BuddyPress/BuddyBoss is active
- WooCommerce options appear only if WooCommerce is active
- Ensure plugins are properly activated
Users Can’t Change Usernames
Section titled “Users Can’t Change Usernames”Solution:
- Verify you’ve enabled the feature (toggle is ON)
- Check the user’s role is selected in “Select User Role(s)”
- Ensure the cooldown period hasn’t blocked the user
- Check for conflicting plugins
Related Documentation
Section titled “Related Documentation”- Unique Identifier Feature - Learn about profile URL privacy options
- BuddyPress Integration - Set up BuddyPress functionality
- WooCommerce Integration - Configure WooCommerce features
- Troubleshooting Guide - Fix common issues