

Becoming a Vendor
Anyone on your marketplace can apply to become a vendor and start selling services. How the registration process works depends on which mode you have chosen as the site owner.
Three Registration Modes
Section titled “Three Registration Modes”You control how vendors join your marketplace from Settings > Vendors:
Open Registration
Section titled “Open Registration”Anyone can sign up and start selling immediately. Their account is activated right away and they can create their first service within minutes. This is the best option for growing marketplaces where you want to attract as many sellers as possible.
Requires Approval
Section titled “Requires Approval”Users can submit a vendor application, but their account stays in “Pending” status until you review and approve it. This gives you quality control over who sells on your marketplace. You will receive a notification when new applications come in.
To review applications: Go to Sell Services > Vendors, filter by “Pending” status, and approve or reject each application. The applicant receives an email letting them know the outcome.
Closed Registration
Section titled “Closed Registration”The registration form is hidden from the public. Only you (the admin) can create vendor accounts manually. This is ideal for invite-only or exclusive marketplaces.
To add a vendor manually: Go to Users > Add New, create a WordPress account, and assign the vendor role.
The Registration Form
Section titled “The Registration Form”When registration is open or requires approval, users see a registration form on your “Become a Vendor” page. They fill in:
- Display Name – Their public vendor name.
- Professional Tagline – A one-line description of what they do.
- About You – Their background and experience.
- Skills – A list of their areas of expertise.
- Terms Agreement – They must accept your marketplace terms.
If a user already has a buyer account, they can upgrade to a vendor account from this page without creating a new account.
What Happens After Registration
Section titled “What Happens After Registration”Open mode: The vendor can immediately access their dashboard, set up their profile, and create services.
Approval mode: The vendor sees a “Pending Approval” message and waits for your review. Typical review time is 1-3 business days. Once approved, they receive an email and can start selling right away.
Closed mode: The vendor is created by you, so they are active from the start.
What Vendors Can Do
Section titled “What Vendors Can Do”Once active, vendors have access to:
| Feature | Description |
|---|---|
| Vendor Dashboard | Their central hub for managing everything |
| Create Services | List services with pricing, packages, and descriptions |
| Receive Orders | Accept and fulfill buyer orders |
| Portfolio | Showcase previous work to attract buyers |
| Buyer Requests | Browse and respond to service requests posted by buyers |
| Messages | Communicate with buyers about orders |
| Earnings | Track income and request withdrawals |
Tips for Getting Approved
Section titled “Tips for Getting Approved”If your marketplace requires approval, here are tips for applicants:
- Use a professional email address.
- Fill in every field completely – sparse applications get rejected more often.
- Clearly describe the services you plan to offer.
- List relevant skills and experience.
- Be responsive if the admin reaches out with questions.
Next Steps After Registration
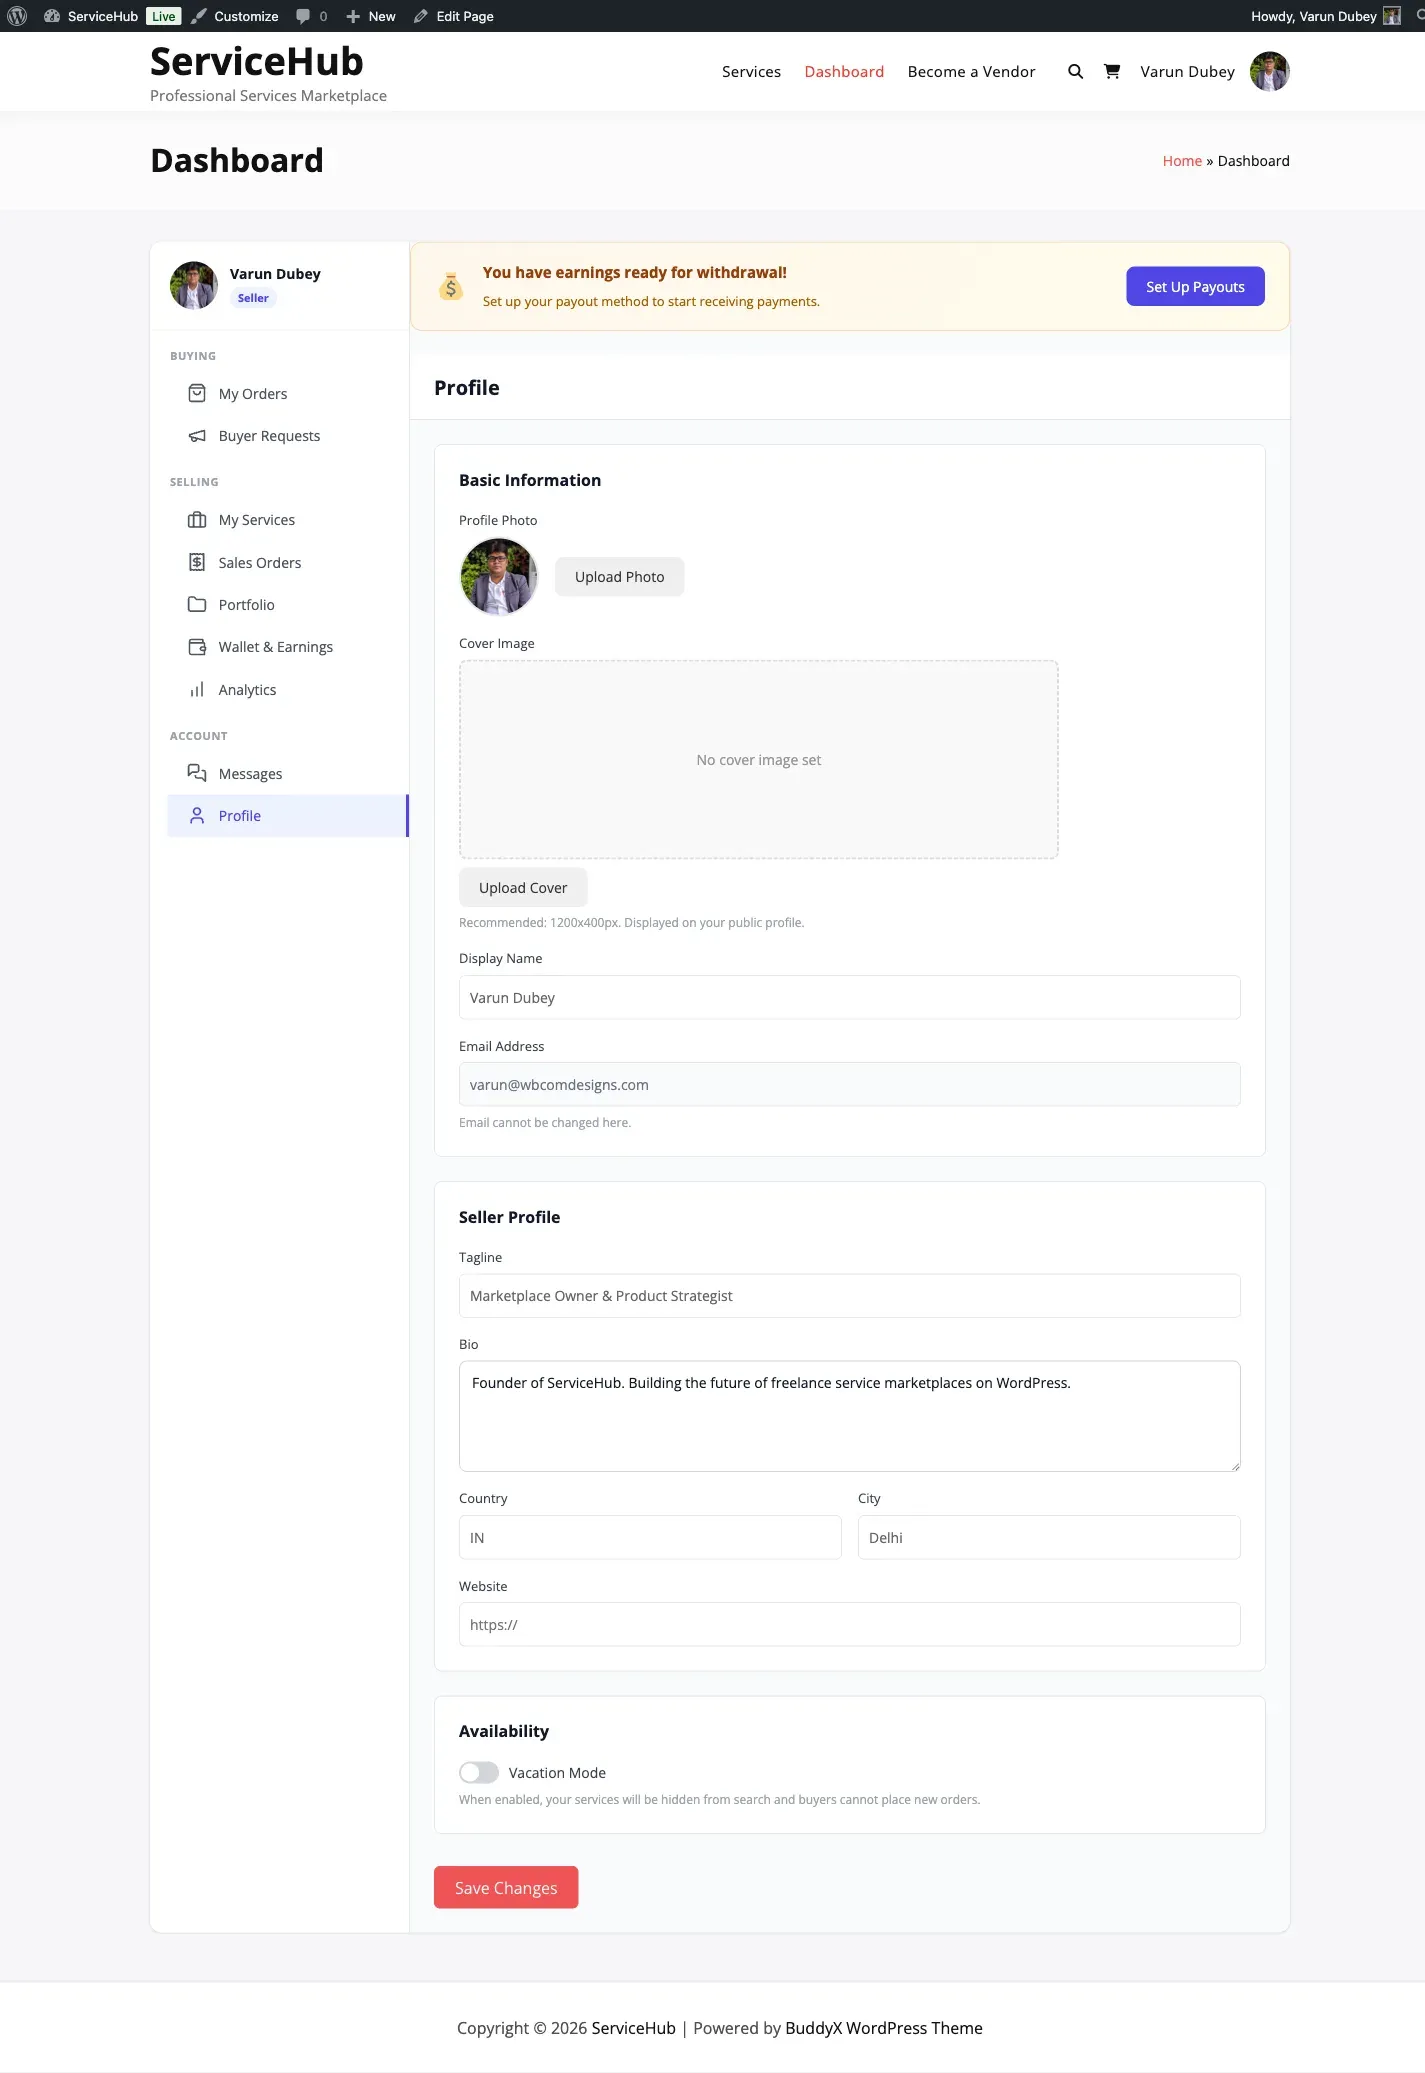
Section titled “Next Steps After Registration”- Set up your vendor profile – Add your photo, bio, and portfolio.
- Explore the vendor dashboard – Learn where everything is.
- Create your first service – Start selling.
- Learn about seller levels – Understand how to advance.