

Credit System (Pro)
Pro feature — Requires WP Career Board Pro.
The Credit System lets you charge employers credits to post jobs. Credits are purchased through your existing e-commerce plugin — WooCommerce, Paid Memberships Pro, MemberPress, or WooCommerce Subscriptions — and deducted automatically when jobs go live.
How It Works
Section titled “How It Works”- Admin creates a product — create a WooCommerce product (or PMPro plan, MemberPress membership) that represents a credit package
- Admin maps product to credits — in Settings → Credits, map that product to a credit amount (e.g., “10 Job Posting Credits” product = 10 credits)
- Employer buys credits — purchases the product through your shop using any payment gateway (Stripe, PayPal, Square, etc.)
- Credits added on purchase — when the order completes, credits are automatically added to the employer’s balance
- Credits held on submit — when the employer submits a job, the required credits are reserved
- Credits deducted on approval — when the job goes live, credits are consumed
- Refund on rejection — if the admin rejects a job, held credits are returned
Credit Ledger
Section titled “Credit Ledger”Every transaction is logged in an append-only audit trail:
| Type | Effect |
|---|---|
| Top-up | Credits added (from a purchase or manual adjustment) |
| Hold | Credits reserved (job submitted, awaiting approval) |
| Deduct | Credits consumed (job approved and live) |
| Refund | Credits returned (job rejected or cancelled) |
Supported Payment Providers
Section titled “Supported Payment Providers”WP Career Board Pro uses the Wbcom Credits SDK with adapters for each payment provider. The Credits tab automatically detects which plugins are active on your site:
| Provider | Plugin Required | How Credits Are Triggered |
|---|---|---|
| WooCommerce | WooCommerce (free) | Order status changes to “completed” |
| WooCommerce Subscriptions | WooCommerce Subscriptions | Credits added on each subscription renewal |
| Paid Memberships Pro | Paid Memberships Pro | Credits added when a membership level is activated |
| MemberPress | MemberPress | Credits added when a membership transaction completes |
You can use any payment gateway supported by your chosen provider — Stripe, PayPal, bank transfer, or anything else the provider supports. WP Career Board does not process payments directly.
Step 1: Create a Credit Product
Section titled “Step 1: Create a Credit Product”WooCommerce (recommended)
Section titled “WooCommerce (recommended)”- Go to Products → Add New in wp-admin
- Set the product name (e.g., “10 Job Posting Credits”)
- Set the product type to Simple product
- Set a price (e.g., $79.00)
- In the product description, explain what the employer gets
- Publish the product
Repeat for each credit tier you want to offer:
| Product Name | Price | Credits (mapped in Step 2) |
|---|---|---|
| Starter — 3 Credits | $29 | 3 |
| Growth — 10 Credits | $79 | 10 |
| Agency — 25 Credits | $149 | 25 |
For WooCommerce Subscriptions, create a subscription product instead. Credits will be added on each renewal, giving employers a recurring credit allowance.
Paid Memberships Pro
Section titled “Paid Memberships Pro”Create a membership level that represents a credit tier. When an employer activates that membership level, credits are added based on your mapping in Step 2.
MemberPress
Section titled “MemberPress”Create a membership that represents a credit tier. When the membership transaction completes, credits are added based on your mapping in Step 2.
Step 2: Map Products to Credits
Section titled “Step 2: Map Products to Credits”- Go to WP Career Board → Settings → Credits
- Under Credit Mappings, click Add Mapping
- Select your WooCommerce product (or PMPro level, MemberPress membership) from the dropdown
- Enter the number of credits that product should grant
- Click Save Changes
Each product can map to a different credit amount. When an employer purchases that product and the order completes, the mapped number of credits is automatically added to their balance.
Step 3: Configure Credit Settings
Section titled “Step 3: Configure Credit Settings”In WP Career Board → Settings → Credits, configure:
| Setting | Description |
|---|---|
| Credits per Job Post | How many credits are deducted when a job is approved. Set to 0 for free posting. |
| Low Balance Alert Threshold | When an employer’s balance drops to this number, they see a warning. |
| Credits Purchase URL | The URL where employers are sent to buy more credits (typically your WooCommerce shop page or a dedicated credits page). |
Detected Providers
Section titled “Detected Providers”The bottom of the Credits tab shows Detected Providers — a list of which payment plugins are currently active. If a provider is not shown, activate its plugin and refresh the page.
Employer Experience
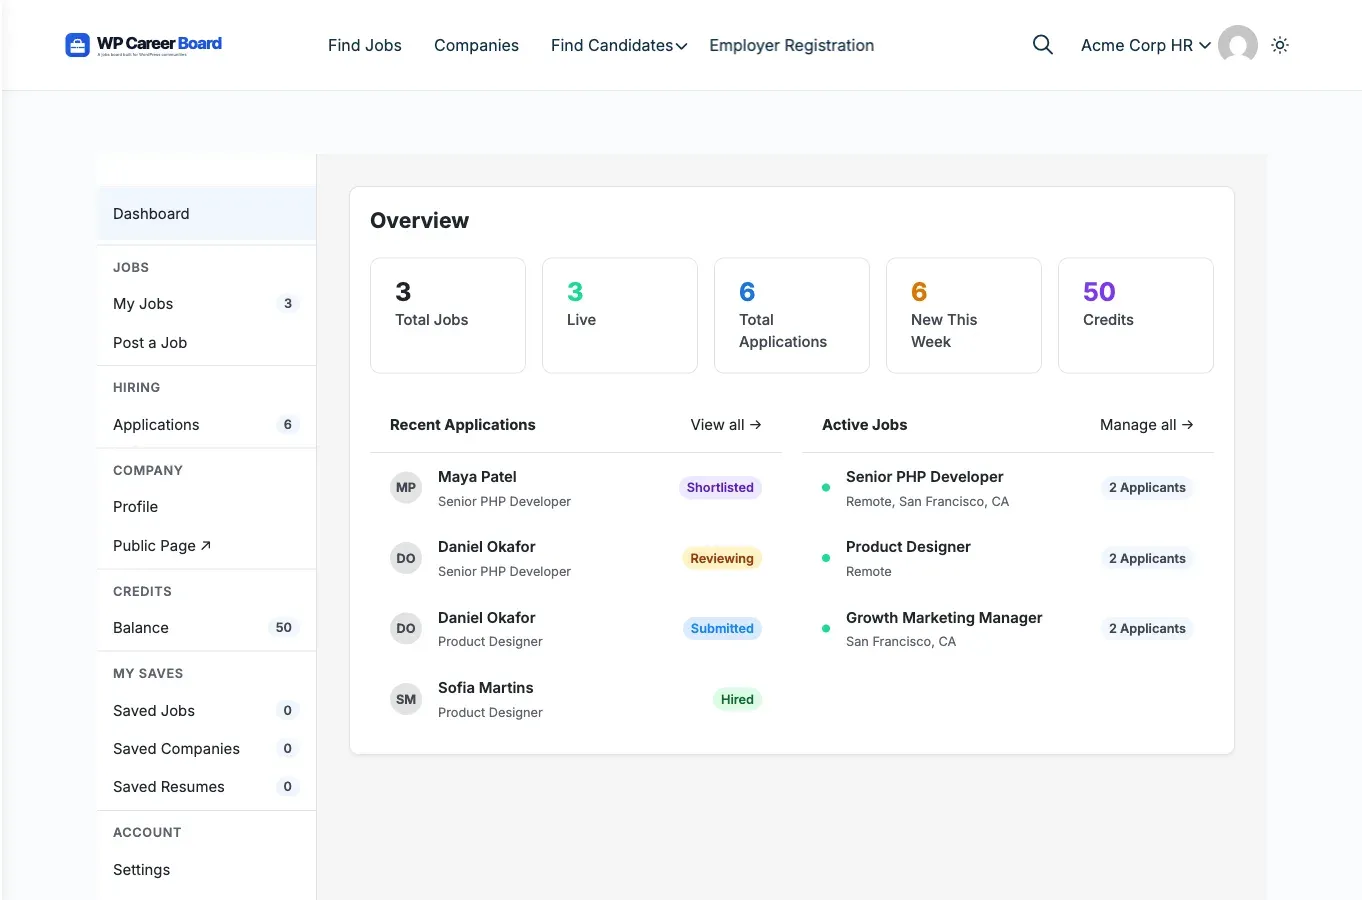
Section titled “Employer Experience”Employers see their credit balance in:
- The Employer Dashboard header
- The Confirm & Submit step of the Job Form
When their balance is too low, they see a “Buy Credits” prompt linking to your configured Credits Purchase URL. The employer completes the purchase through your WooCommerce checkout (or PMPro/MemberPress registration) using whatever payment method you have configured.
The Hold → Deduct → Refund Cycle
Section titled “The Hold → Deduct → Refund Cycle”- Hold — When an employer submits a job, the required credits are immediately reserved from their available balance. The employer cannot spend held credits on another job.
- Deduct — When the admin approves the job (or it auto-publishes), the held credits are permanently consumed.
- Refund — If the admin rejects the job, the held credits are returned to the employer’s available balance.
This ensures employers are never charged for jobs that don’t go live.
Admin Credit Adjustment
Section titled “Admin Credit Adjustment”Admins can manually add or deduct credits for any employer:
- Go to WP Career Board → Employers
- Click the employer’s name
- In the Credits section, enter the number of credits to add (or a negative number to deduct)
- Add an optional note (e.g., “Trial credits” or “Compensation for rejected job”)
- Click Adjust Credits
Manual adjustments are recorded in the credit ledger with the admin’s note, so there is always a clear audit trail.
Viewing the Credit Ledger
Section titled “Viewing the Credit Ledger”The full transaction history for any employer is visible from their admin profile — every top-up, hold, deduction, refund, and manual adjustment with timestamps and notes.