

Check-in Scanner
Check-in Scanner
Section titled “Check-in Scanner”Pro - Check-in requires Eventonomy Pro.
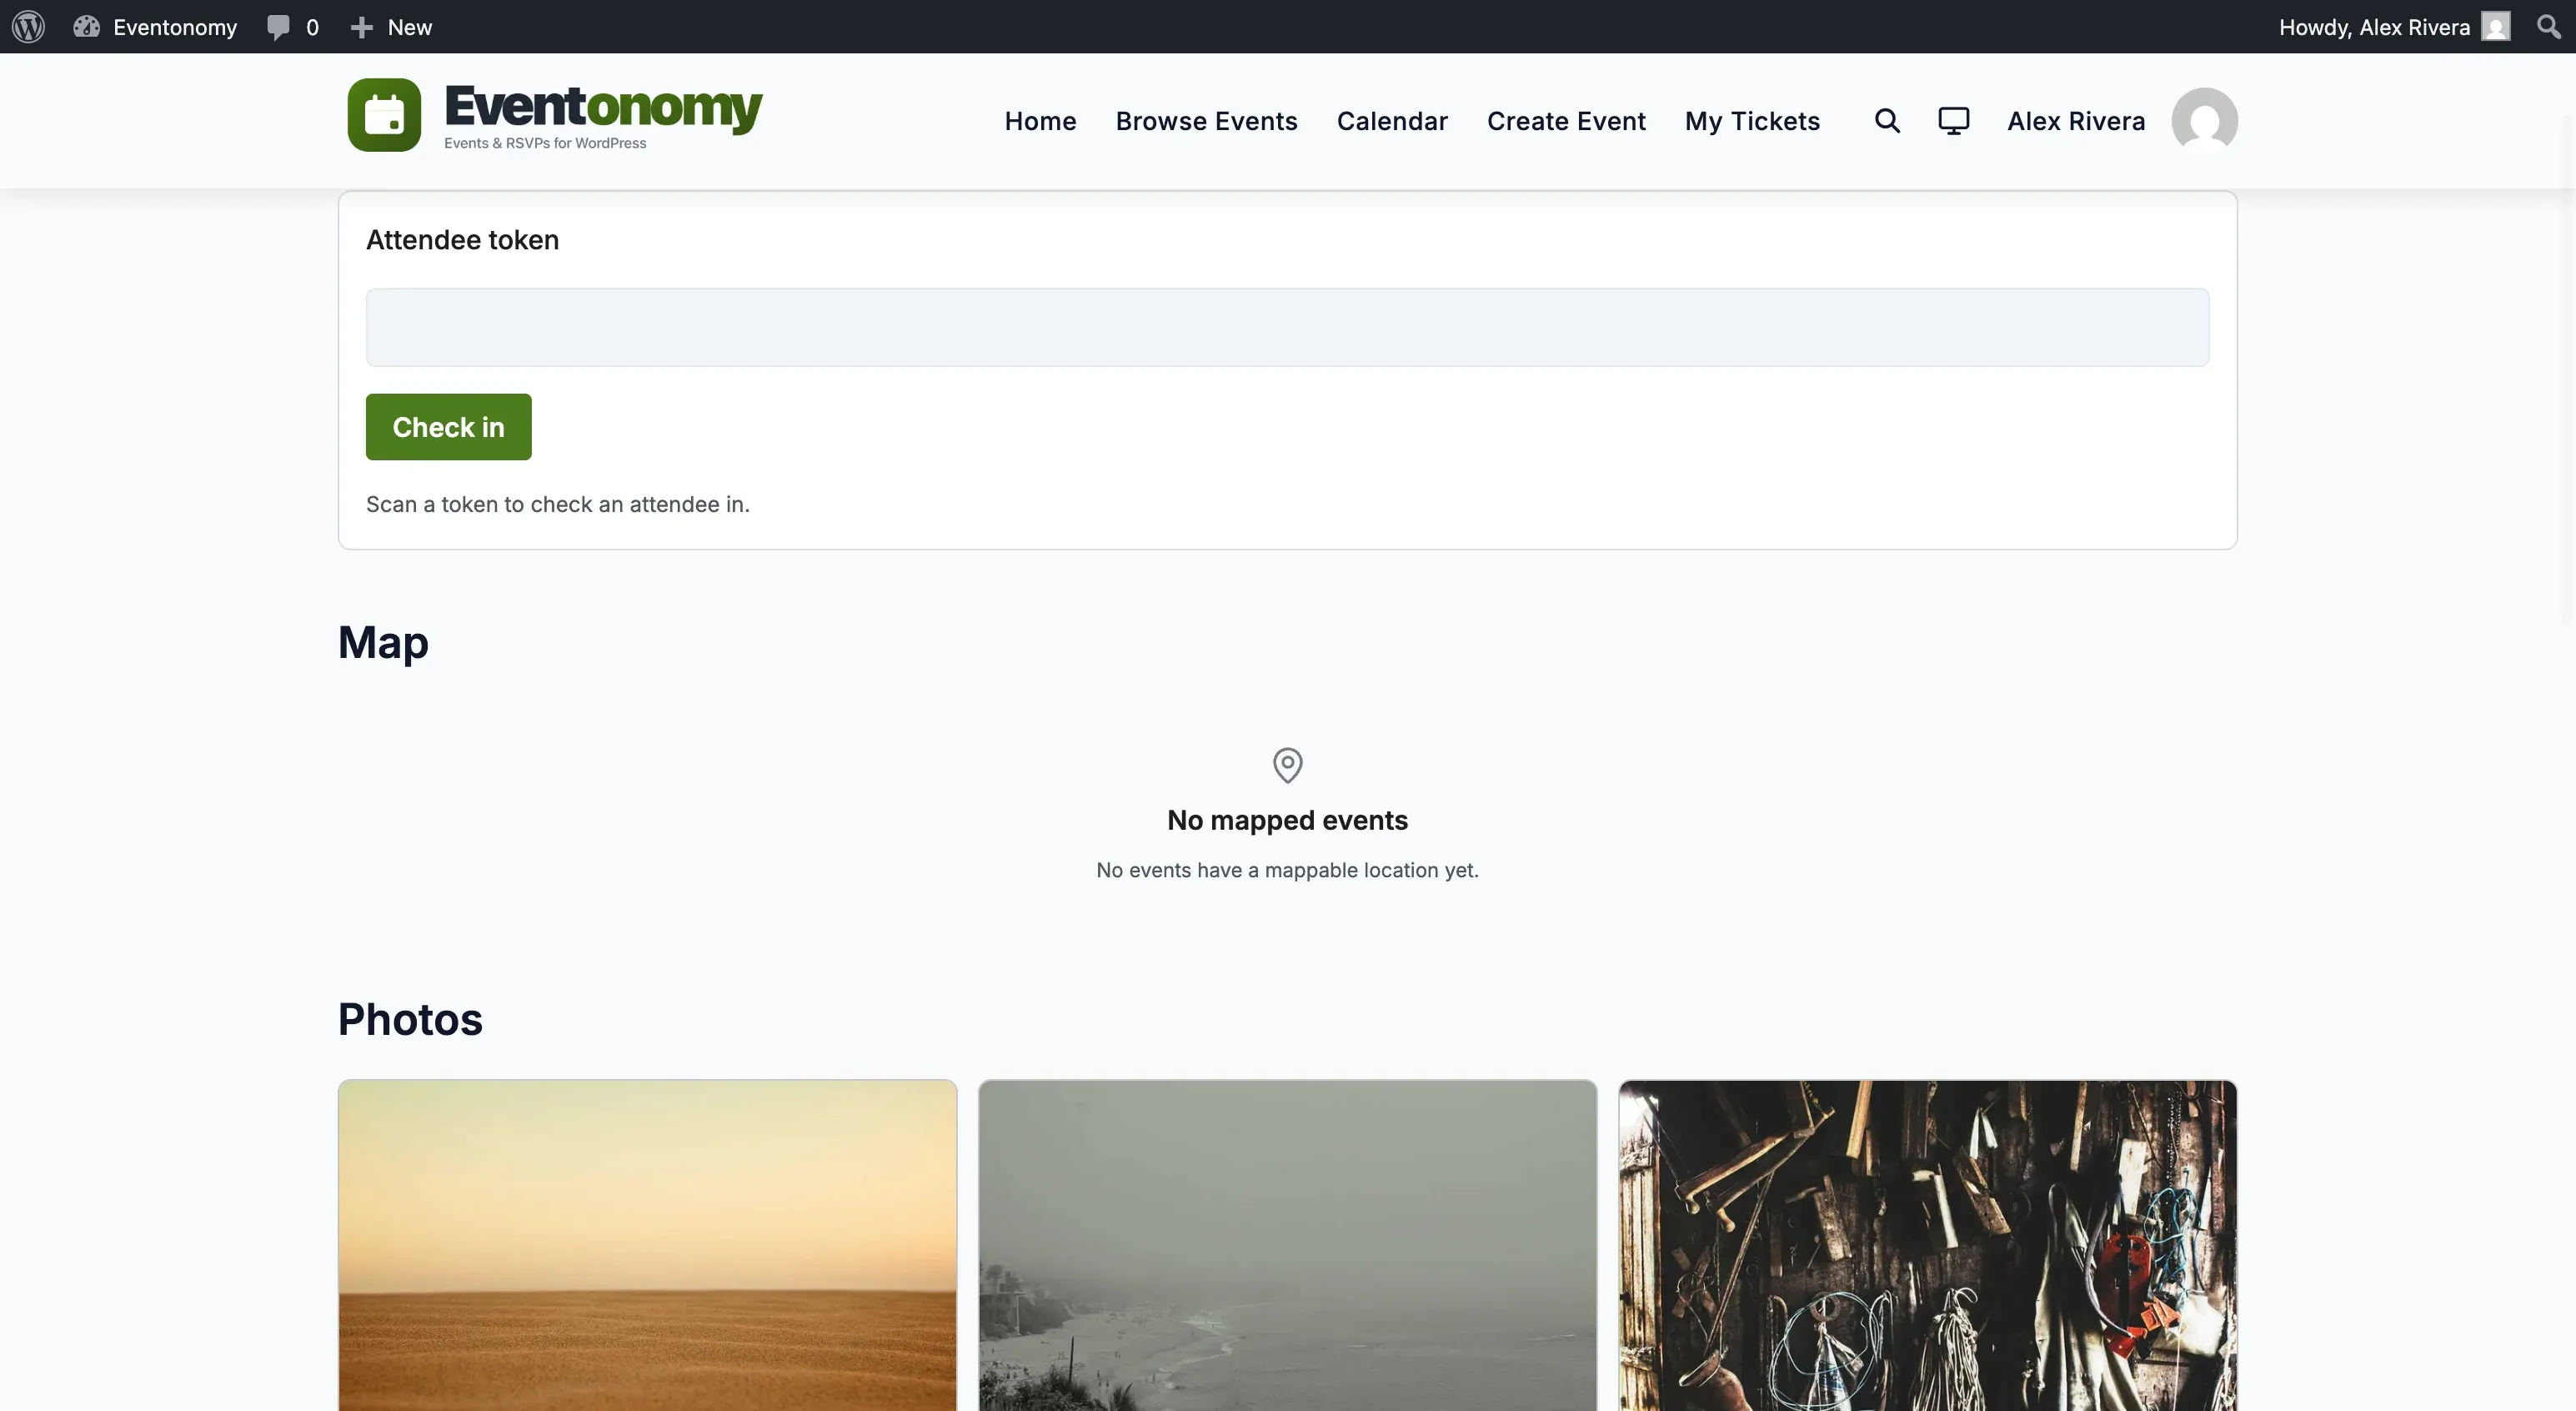
Every attendee ticket carries a QR code that encodes a check-in URL. At the door, a staff member scans the QR with any phone camera and the attendee is checked in automatically, with no app to install and no token to type. Manual check-in is available too, from the Check in section of the member dashboard (and as the eventonomy-pro/checkin block or [eventonomy_checkin] shortcode, for hardware readers).
What You Will Learn
Section titled “What You Will Learn”- How the QR check-in flow works
- Where attendees find their QR ticket
- The Check in dashboard section, and the manual block and its settings
- What happens on a repeat scan, a refunded ticket, and an attendee’s own scan
How QR Check-in Works
Section titled “How QR Check-in Works”- The attendee gets a QR ticket. Every confirmed order/RSVP mints a unique check-in token, rendered as a QR code on the order-confirmation card, in the order-confirmation email (as an image, with a plain check-in link as a fallback), and in My Tickets on their dashboard. The QR is self-contained: Eventonomy generates it in-plugin, with no external image service.
- Door staff scan it. Someone authorized to manage that event’s attendees scans the attendee’s QR with any phone camera. The QR opens
…/?evnm_checkin=<token>. In practice that means the event’s own organizer (the person who created the event) or a site administrator - see Access Control below. - The attendee is checked in through the idempotent check-in service, and staff see a “Checked in” confirmation.
Repeat scans, refunds, and self-scans
Section titled “Repeat scans, refunds, and self-scans”- Repeat scan - a second scan of the same ticket shows “Already checked in” (it never double-counts).
- Refunded / cancelled ticket - a voided ticket is refused at the door (the check-in returns a 409), so a refunded seat cannot get in.
- Attendee scans their own code (or anyone without check-in permission / logged out) - they get a neutral “present this at the door” page. No check-in happens and the token is never displayed. This is intentional: only authorized staff can redeem a ticket.
Manual Check-in Block
Section titled “Manual Check-in Block”For hardware readers, or as a backup if a phone camera is unavailable, add the eventonomy-pro/checkin block. A staff member enters (or a reader types) the attendee’s token and clicks Check in; the block posts to the Pro check-in REST endpoint and shows the result.
Where to Place the Block
Section titled “Where to Place the Block”Option 1: Single-event page - add the block to the event’s single-event page. Set the eventId attribute to filter check-ins to that event only.
Option 2: Dedicated check-in page - create a page (e.g. /check-in/) and add the block there so volunteers can check in attendees for any event from one place.
To add the block: open the page in the Block Editor, click +, search Eventonomy Check-in, insert, and configure.
Block Settings
Section titled “Block Settings”| Setting | Default | Description |
|---|---|---|
| Event ID | 0 |
The ID of the event to check attendees in to. Leave 0 to accept tokens from any event (multi-event pages). |
| Show stats | On | Show a summary line below the result area. |
| Allow manual entry | On | Show the token input field and the Check in button. Turn off if you are using a hardware reader that calls the REST endpoint directly. |
The Check in dashboard section
Section titled “The Check in dashboard section”Since 1.6.0 manual check-in lives in the member dashboard rather than only on a page you build.
Where it is. Members who run events get a Check in item in the dashboard rail. It appears only for a member who has created at least one event, so attendees never see a door tool they cannot use.
Getting to an event. Open My Events and use the Check in action on the event’s row. That opens the section with the event already selected. Reaching Check in from the rail without picking an event first shows “Choose an event first” with a link back to My Events, rather than an empty box.
What the door sees.
- The event’s name, so staff know which door they are working.
- A live “N / M checked in” count that increases as tickets are admitted.
- A field to enter an attendee’s ticket token, submitted with Enter or the button.
Results. A valid token shows Checked in and clears the field for the next attendee. A token already used shows Already checked in and the count does not move. A token that does not belong to this event shows Ticket not recognised.
Who can use it. A member can only check attendees in for an event they manage. Opening the
section for someone else’s event shows “You can only check attendees in for an event you manage”
and renders no input field. The same rule applies to the shortcode and the block, so putting
[eventonomy_checkin id="123"] on a public page is safe: a visitor is asked to sign in, and a
signed-in member who does not manage that event sees the refusal.
For developers. Filter evnm_event_checkin_link to point the rail item and the per-row action
at your own check-in destination.
Access Control
Section titled “Access Control”Check-in is authorized per event, and only two kinds of logged-in user can redeem a ticket - both via the QR scan and via the manual block:
- The event’s own organizer, meaning whoever created the event. Ownership alone is enough; they need no WordPress editing permission.
- Site managers, meaning anyone with the
manage_optionsWordPress capability. On a default site that is the Administrator role only.
Everyone else sees the neutral door page or a “Sign in to check attendees in” notice. Notably, an Editor is not admitted at the door for an event they did not create: Editors have edit_others_posts, but check-in maps to evnm_manage_rsvps, which maps to manage_options.
Changed in 1.3.0. Before 1.3.0,
evnm_manage_rsvpsmapped toedit_others_posts, so any Editor could redeem check-in tokens on any event. If your door staff are Editors on events they do not own, they will now be refused. Either make the staff member the author of the event, or grant them the Administrator role (ormanage_options). Full map: capability reference.
What’s Next?
Section titled “What’s Next?”Configure paid ticket checkout with a payment gateway.