

Managing Courses
The Courses tab is your central hub for creating and managing LearnDash courses from the frontend dashboard. Admins and instructors can create, edit, clone, and delete courses without going into the WordPress admin area.
Who Can Do What
Section titled “Who Can Do What”| Action | Admin | Instructor | Group Leader |
|---|---|---|---|
| View courses | All courses | Own courses only | Assigned courses (read-only) |
| Create course | Yes | Yes | No |
| Edit course | Yes | Own courses only | No |
| Delete course | Yes | Own courses only | No |
| Clone course | Yes | Own courses only | No |
Each course card shows an access badge: Your Content (you created it), Shared (you’re a co-instructor), or View Only (read access).
Screenshots
Section titled “Screenshots”Admin View
Section titled “Admin View”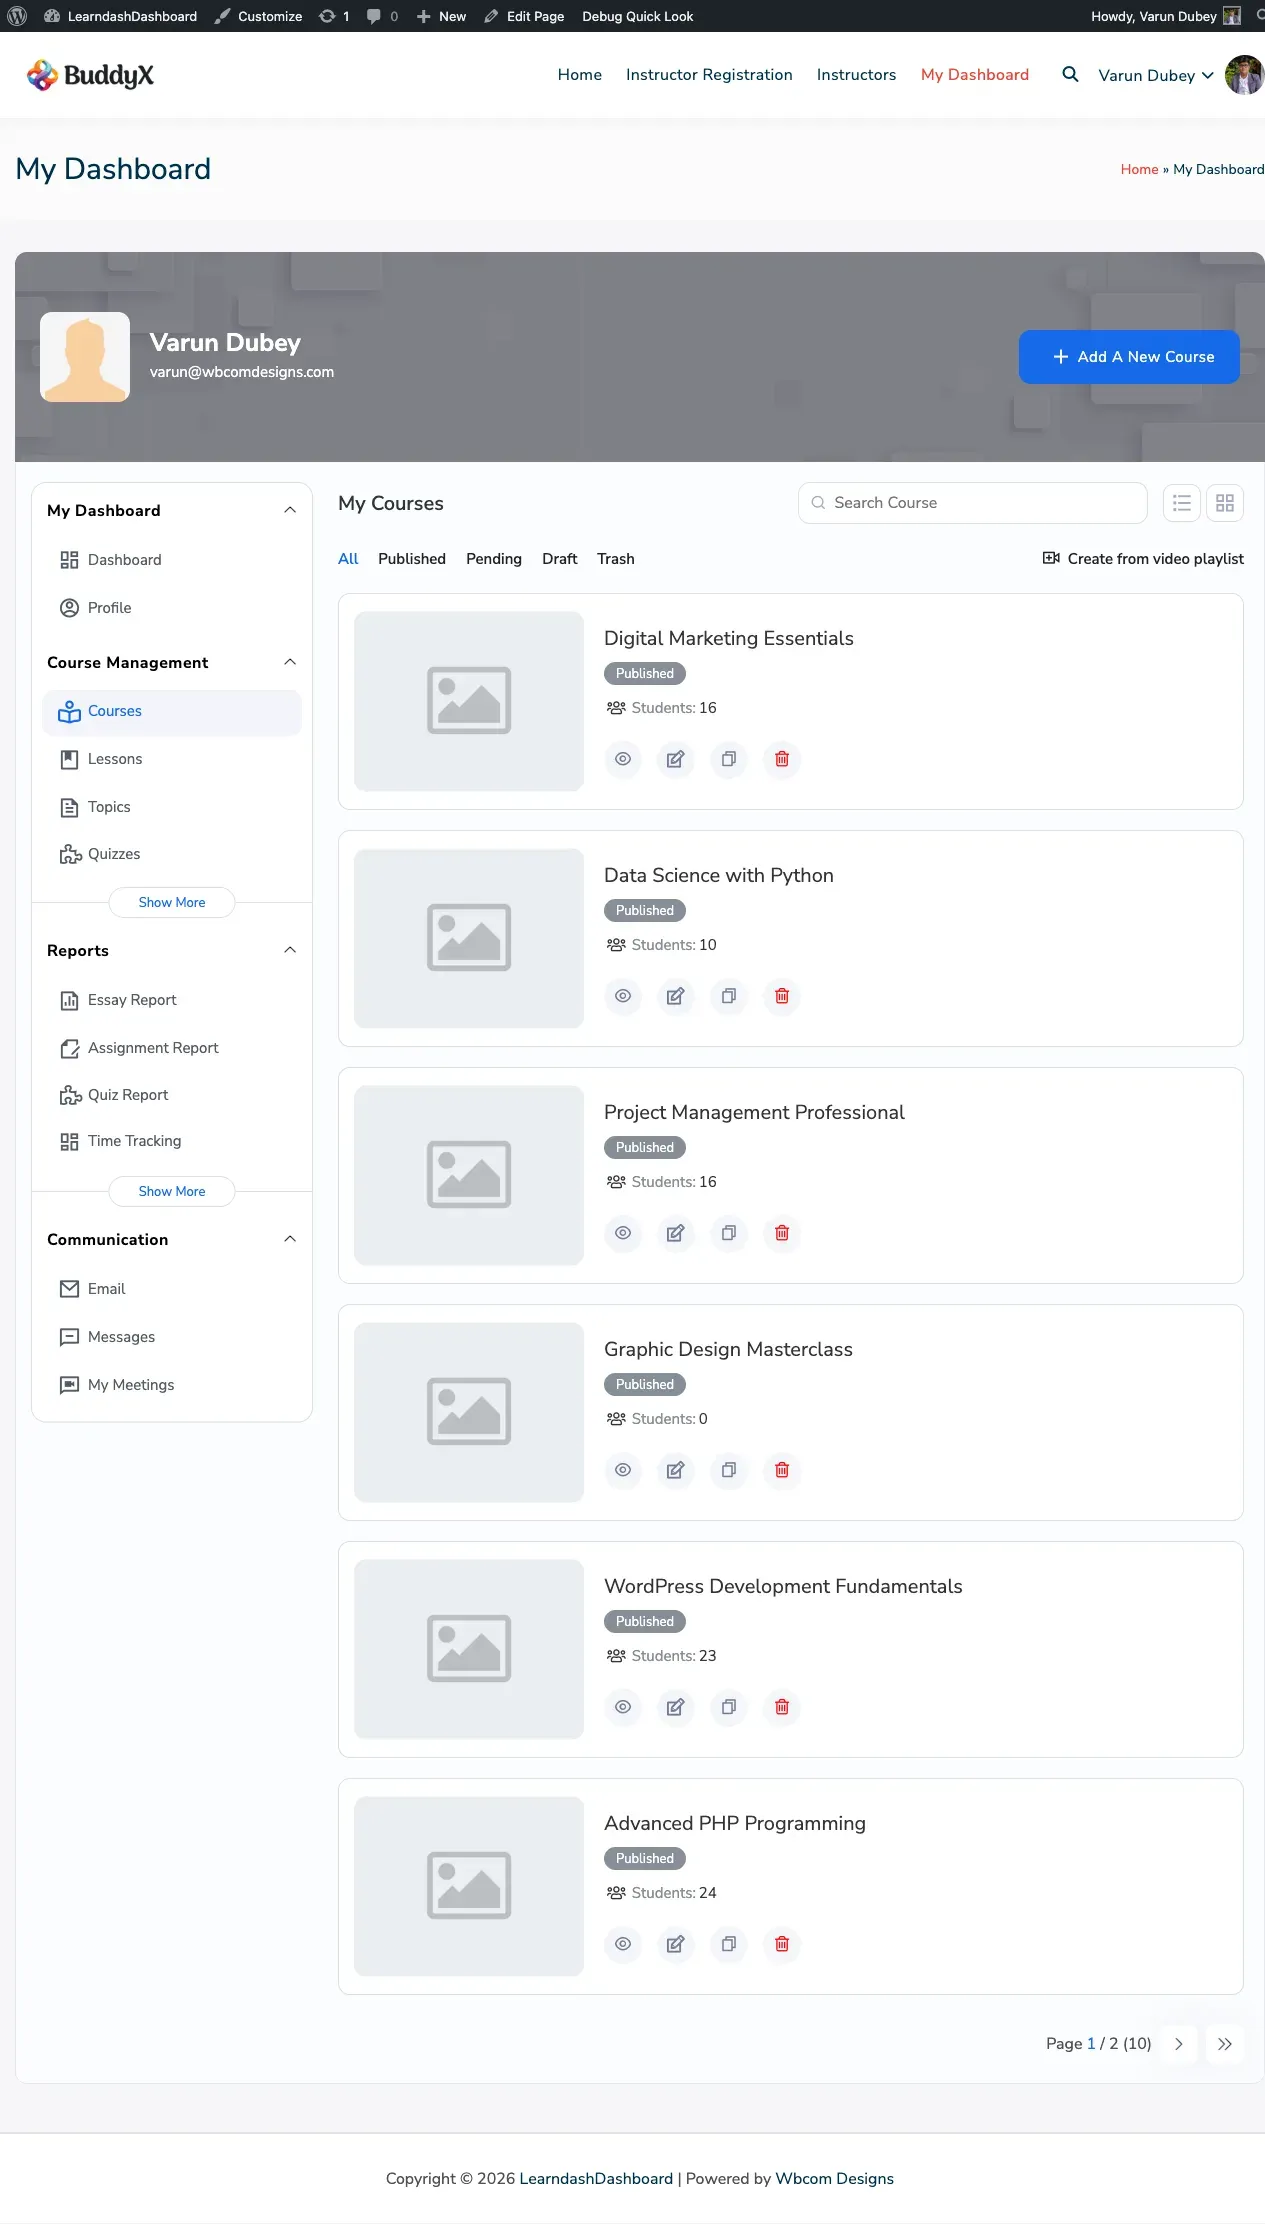
Instructor View
Section titled “Instructor View”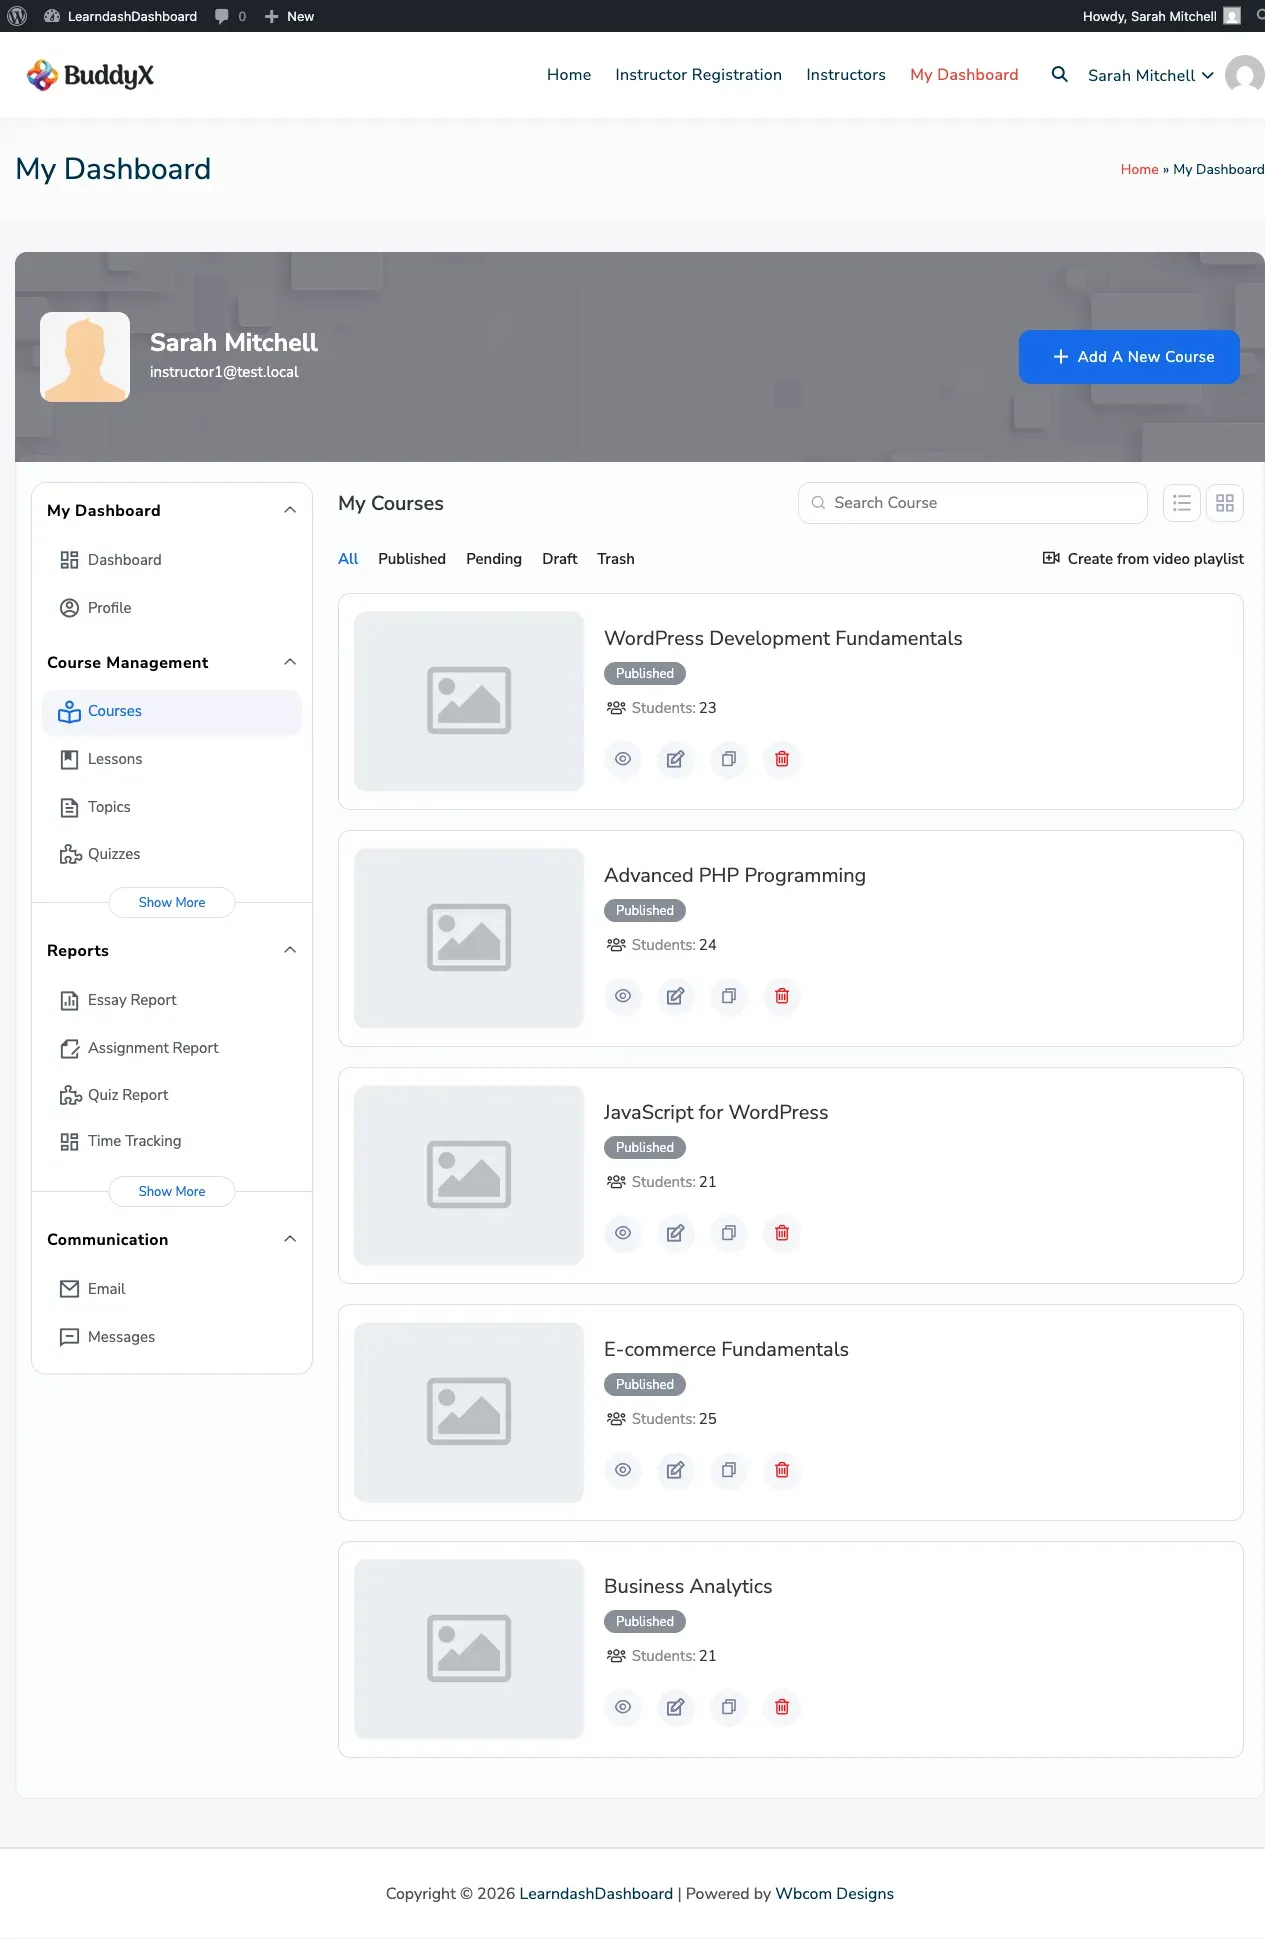
Course Creation Form
Section titled “Course Creation Form”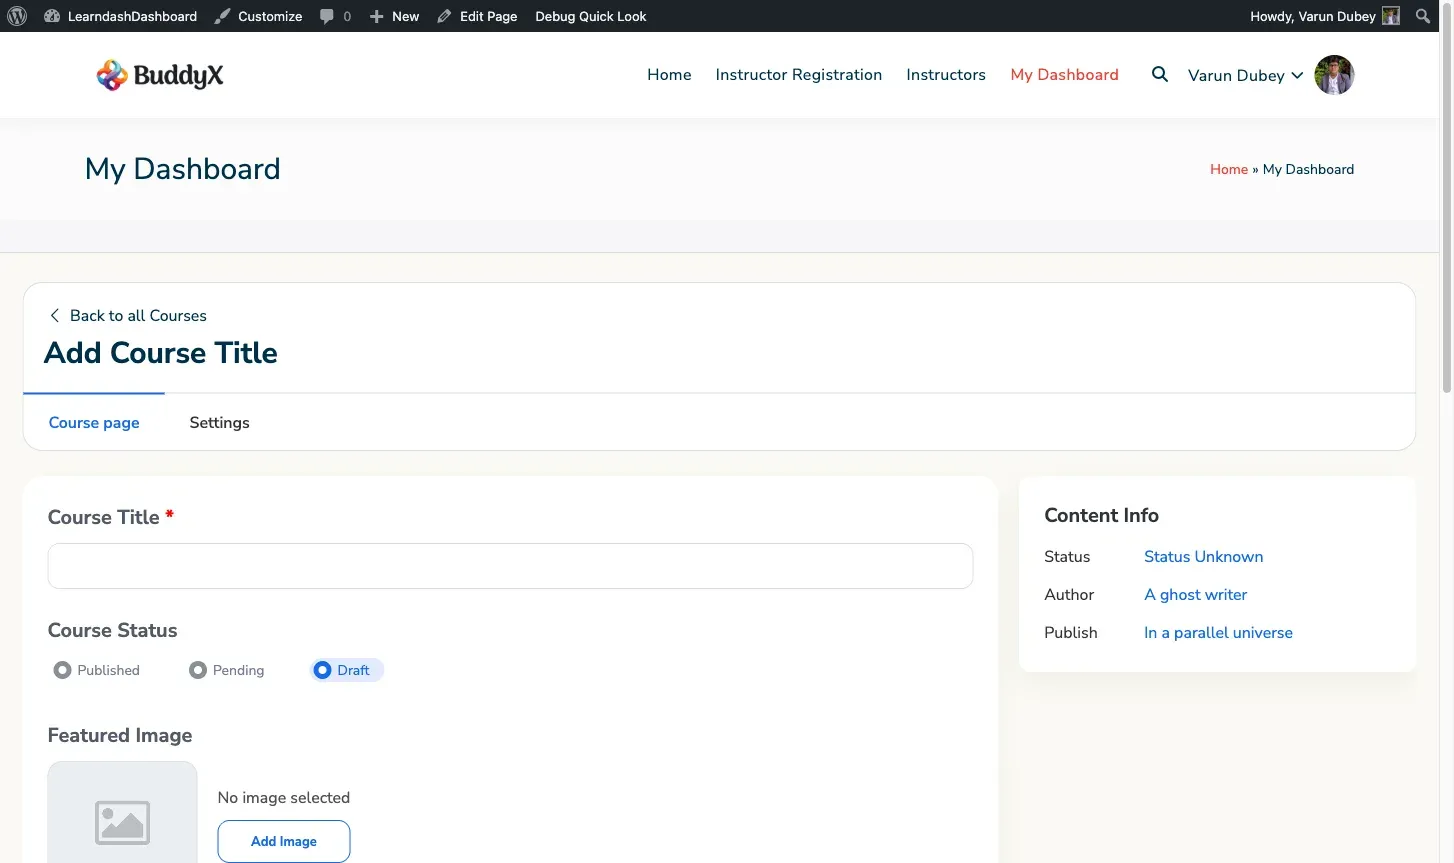
Viewing Your Courses
Section titled “Viewing Your Courses”Go to My Dashboard > Courses. Each course shows:
- Course title
- Publication status: Published, Draft, or Pending
- Categories and tags
- Action buttons: View, Edit, Delete, and Edit with Elementor (if your site uses Elementor)
Use the search bar or status filter above the list to find specific courses. The list shows 7 courses per page.
Creating a Course
Section titled “Creating a Course”-
Go to My Dashboard > Courses.
-
Click Add New Course.
-
Fill in the Post Data tab:
Field Required Description Course Title Yes The name of your course Status No Published, Pending, or Draft Featured Image No The course thumbnail Course Content No The main course description Course Categories No Organize courses by category Course Tags No Add searchable tags -
Switch to the Settings tab and configure:
Field Description Course Materials Add downloadable resources for students Course Certificate Choose a certificate students earn on completion Challenge Exam Set a quiz students can take to skip the course Course Content Visibility Show content to everyone or enrolled students only Access Mode Open, Free, Buy Now, Recurring, or Closed Course Price Price (shown when Buy Now or Recurring is selected) Billing Cycle How often a recurring payment is charged Prerequisites Require students to complete other courses first Course Points Points awarded when a student completes the course Access Expiration Number of days until a student’s access expires Student Limit Maximum number of students (0 means unlimited) Course Start Date The date the course becomes available Lesson Pagination Number of lessons shown per page -
Click Save Course.
Note for instructors: If your site administrator has restricted instructor publishing rights, your new course saves as Pending and waits for admin approval before going live.
Editing a Course
Section titled “Editing a Course”- Find the course in your listing.
- Click the Edit icon on the course card.
- Make your changes across the Post Data and Settings tabs.
- Click Save Course.
Deleting a Course
Section titled “Deleting a Course”- Click the Delete icon on the course card.
- Confirm the deletion.
The course moves to the trash and disappears from your listing immediately. Student progress records are kept — they are not deleted when you remove a course.
Arranging Course Content with the Course Builder
Section titled “Arranging Course Content with the Course Builder”The Course Builder lets you set the order of lessons and topics within a course.
- Open a course edit form.
- Scroll to the Course Builder section.
- Drag and drop lessons and topics to rearrange them.
- Click Save to apply the new order.
Courses contain lessons, and lessons can contain topics and quizzes. The Course Builder reflects this structure.
Cloning a Course
Section titled “Cloning a Course”Cloning creates an exact copy of a course — including all its lessons, topics, and quizzes — as a new draft.
- Find the course in your listing.
- Click the Clone button on the course card.
- Wait for the confirmation message.
The cloned course appears as a Draft with “(Clone)” added to the title. Edit and publish it when you’re ready.