

Custom Widgets
BuddyX Pro includes custom widgets for enhanced functionality.
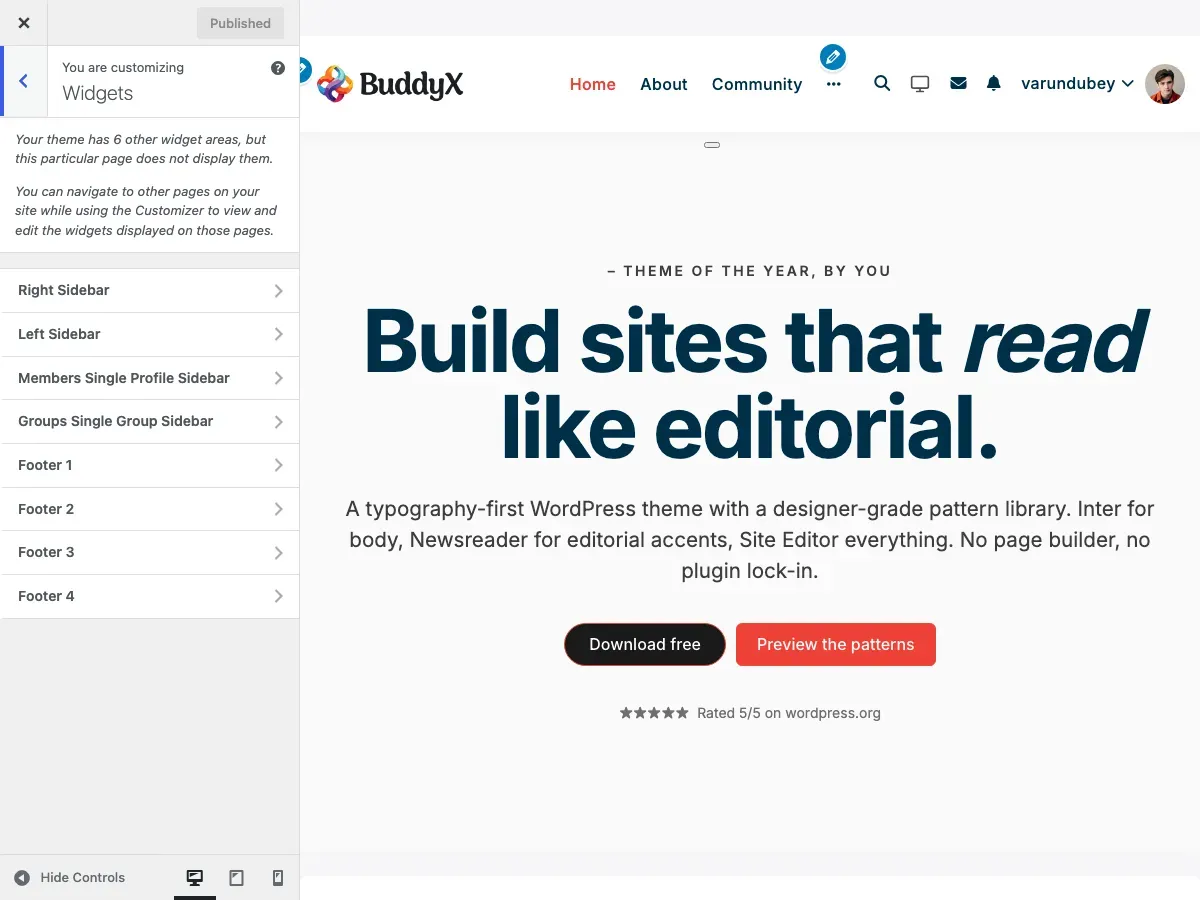
Available Widgets
Section titled “Available Widgets”1. BP Profile Completion Widget
Section titled “1. BP Profile Completion Widget”File: inc/widgets/bp-profile-completion-widget.php
Requires: BuddyPress
Displays a profile completion progress bar encouraging users to complete their profile.
Features:
- Progress percentage display
- Visual progress bar
- Links to incomplete sections
- Customizable message
Settings:
- Title
- Completion message
Best used in:
- BuddyPress member sidebar
- Dashboard widgets
- Activity stream sidebar
2. LearnDash Featured Course Widget
Section titled “2. LearnDash Featured Course Widget”File: inc/widgets/ld-featured-course-widget.php
Requires: LearnDash
Showcases a featured course with image, title, and enrollment button.
Features:
- Course thumbnail
- Course title
- Short description
- Enrollment/continue button
- Price display
Settings:
- Title
- Course to feature
- Display style
Best used in:
- Homepage sidebar
- Blog sidebar
- Course archive sidebar
3. Login Widget
Section titled “3. Login Widget”File: inc/widgets/login-widget.php
Displays a login form for logged-out users and user info for logged-in users.
Features:
- Login form with username/password
- Remember me checkbox
- Register and forgot password links
- User avatar when logged in
- Logout link when logged in
Settings:
- Title
- Show/hide register link
- Show/hide forgot password link
- Redirect URL after login
Best used in:
- Sidebar
- Header widget area
- Off-canvas sidebar
4. Vendor Profile Widget
Section titled “4. Vendor Profile Widget”File: inc/widgets/class-vendor-profile-widget.php
Requires: Dokan or WC Vendors
Displays vendor information on store and product pages.
Features:
- Vendor avatar
- Store name
- Store rating
- Contact information
- Store link
Settings:
- Title
- Display elements
Best used in:
- Product sidebar
- Store sidebar
- Marketplace pages
Widget Areas
Section titled “Widget Areas”BuddyX Pro registers multiple widget areas:
Main Widget Areas
Section titled “Main Widget Areas”| Area | Description |
|---|---|
| Main Sidebar | Primary sidebar for pages/posts |
| Right Sidebar | Secondary sidebar (when using both sidebars) |
| Footer Widgets | Footer widget area (columns configurable) |
Specialty Widget Areas
Section titled “Specialty Widget Areas”| Area | Description | Requires |
|---|---|---|
| BuddyPress Sidebar | BuddyPress pages sidebar | BuddyPress |
| WooCommerce Sidebar | Shop/product sidebar | WooCommerce |
| Off Canvas Sidebar | Off-canvas filter area | WooCommerce |
Adding Widgets
Section titled “Adding Widgets”Via Customizer
Section titled “Via Customizer”- Go to Appearance → Customize → Widgets
- Select a widget area
- Click Add a Widget
- Select your widget
- Configure settings
- Click Publish
Via Widgets Screen
Section titled “Via Widgets Screen”- Go to Appearance → Widgets
- Find the widget you want
- Drag it to a widget area
- Configure settings
- Click Save
Widget Styling
Section titled “Widget Styling”Widgets inherit theme styling:
- Background colors from theme settings
- Typography from theme fonts
- Spacing from theme design
Custom Widget CSS
Section titled “Custom Widget CSS”Target widgets with these classes:
.widget { } /* All widgets */.widget-title { } /* Widget titles */.widget_buddyx_login { } /* Login widget */.widget_bp_profile_completion { } /* Profile completion */Conditional Display
Section titled “Conditional Display”Many widgets show different content based on user state:
Login Widget
Section titled “Login Widget”| User State | Displays |
|---|---|
| Logged Out | Login form |
| Logged In | User info + logout |
Profile Completion Widget
Section titled “Profile Completion Widget”| User State | Displays |
|---|---|
| Logged Out | Nothing |
| Logged In | Progress bar |
| 100% Complete | Congratulations message |
Plugin Compatibility
Section titled “Plugin Compatibility”Some widgets require specific plugins:
| Widget | Required Plugin |
|---|---|
| BP Profile Completion | BuddyPress |
| LearnDash Featured Course | LearnDash |
| Vendor Profile | Dokan or WC Vendors |
| Login Widget | None (works standalone) |
Widgets that require plugins will not appear if the plugin is not active.
Best Practices
Section titled “Best Practices”Widget Placement
Section titled “Widget Placement”- Place login widget in easily accessible areas
- Use profile completion in member-focused areas
- Feature courses on high-traffic pages
- Match widget areas to page purpose
Performance
Section titled “Performance”- Limit widgets per area (5-7 recommended)
- Use caching for complex widgets
- Avoid duplicate widgets
Mobile Experience
Section titled “Mobile Experience”- Test widget display on mobile
- Consider hiding some widgets on mobile
- Ensure touch-friendly interactions
Developer Information
Section titled “Developer Information”Creating Custom Widgets
Section titled “Creating Custom Widgets”class My_Custom_Widget extends WP_Widget {
public function __construct() { parent::__construct( 'my_custom_widget', __( 'My Custom Widget', 'buddyxpro' ), array( 'description' => __( 'Widget description', 'buddyxpro' ), ) ); }
public function widget( $args, $instance ) { echo $args['before_widget']; echo $args['before_title'] . $instance['title'] . $args['after_title']; // Widget content here echo $args['after_widget']; }
public function form( $instance ) { // Admin form fields }
public function update( $new_instance, $old_instance ) { // Save logic return $new_instance; }}
add_action( 'widgets_init', function() { register_widget( 'My_Custom_Widget' );});Related Documentation
Section titled “Related Documentation”- Sidebar Options - Configure sidebars
- Block Patterns - Alternative to widgets
- BuddyPress Options - BuddyPress settings